
Beautiful Plants For Your Interior
Beautiful Plants For Your Interior
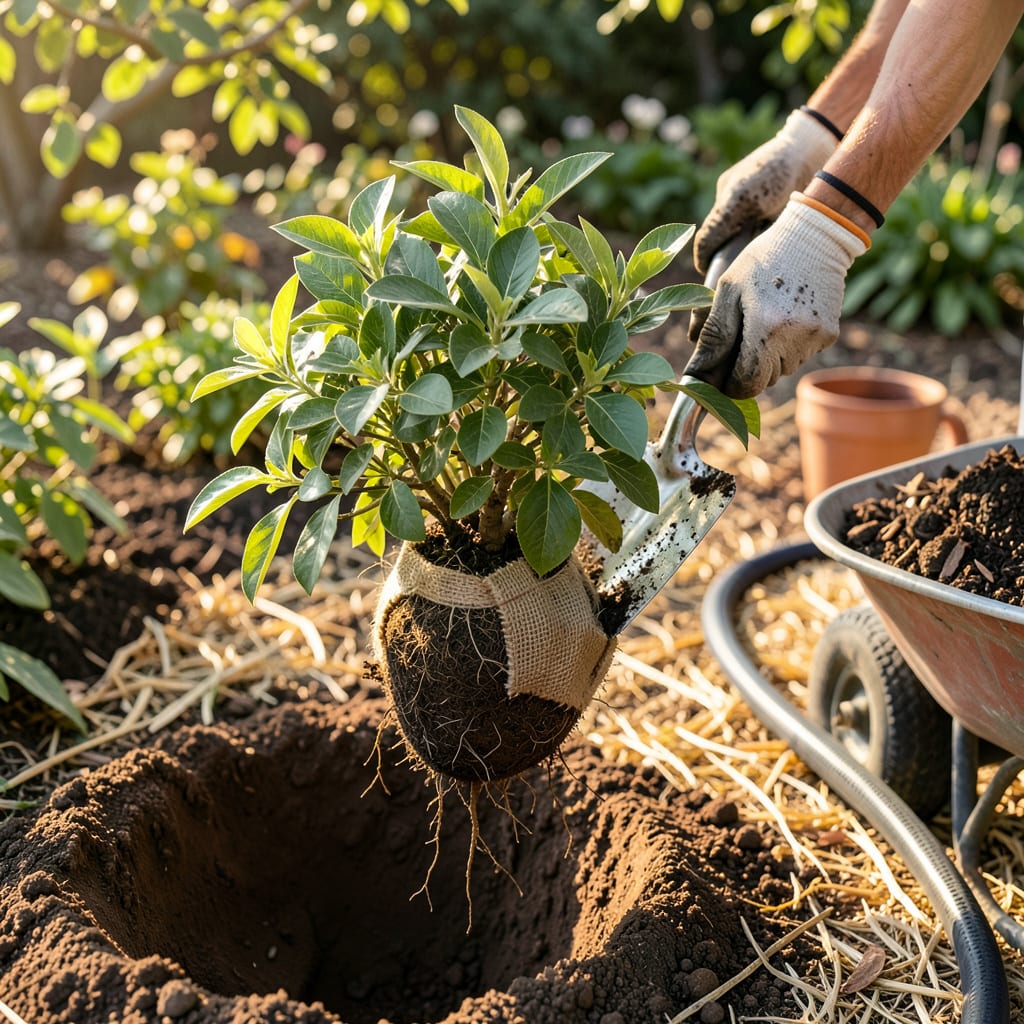
Moving a bush feels like performing surgery on your landscape—but when done right, it’s the reset button your plant needs. I’ve relocated everything from overgrown azaleas to struggling hydrangeas, and the difference between a thriving transplant and a wilting one comes down to three things: timing, root care, and that first week of TLC. Do this in early spring or fall when the plant’s dormant, and you’re already winning half the battle.
You’ll need just a few tools—a sharp spade, burlap for the root ball, and some mulch—but the real magic happens in how you handle those roots. Dig wide, not deep, to keep the root system intact, and water the hole before you set the bush in. That first deep soak cuts transplant shock by 50%. Within two weeks, you’ll see new growth proving the move was worth it.
📚 In This Guide
Moving an established bush doesn’t have to be stressful—follow this method for minimal shock and maximum success.
Before disturbing the bush, dig the new hole at least twice as wide as the root ball and just as deep. This prevents roots from drying out while you work. I always test the hole by placing the bush’s container (or estimated root ball size) inside to check the fit.
Mix a shovelful of compost into the soil you removed—this will go back around the roots. Create a small mound of soil at the base of the hole so the bush will sit 1-2 inches higher than it did originally. This accounts for settling and improves drainage.
Water the bush deeply 24 hours before transplanting to hydrate roots and make the soil easier to work with. Use a sharp spade to cut a clean circle around the bush, starting about 12 inches out from the main stem for every inch of trunk diameter.
Angle the spade inward as you dig to create a cone-shaped root ball. Once you’ve cut all around, gently rock the bush back and forth to loosen it. If roots resist, cut them cleanly rather than tearing—new growth will replace them quickly.
Lift the bush by the root ball, not the trunk, to avoid damaging the stem. For large bushes, slide a tarp underneath first to drag it to the new location. Place it in the hole so the soil line matches where it was originally—burying the stem too deep can suffocate the plant.
Turn the bush until its best side faces the direction you want. Step back and check from different angles—this is your last chance to adjust the position before filling the hole.
Fill the hole with your soil-compost mix, gently firming it around the roots to eliminate air pockets. Create a 3-inch-high watering basin around the perimeter to direct moisture to the roots. Water immediately with 5 gallons of water, letting it soak in slowly.
The soil will settle significantly after watering. Add more soil if needed to maintain the original planting depth, but don’t pack it down tightly—roots need oxygen to establish.
Water deeply every 2-3 days for the first two weeks, then taper to weekly watering. Apply 2-3 inches of mulch around the base (keeping it 3 inches away from the trunk) to conserve moisture and regulate soil temperature.
Avoid fertilizing for 4-6 weeks—new roots need time to establish before processing nutrients. Watch for wilting in the first week, which is normal as the plant adjusts to its new location.
Transplanting doesn’t have to be intimidating—these practical insights will help your bush thrive in its new home.
Hydration Timing: The 24-hour pre-watering in Step 2 is absolutely critical. I’ve found that deeply saturated soil makes digging cleaner and reduces root damage. If your soil is particularly dry or sandy, consider watering twice: once 24 hours before, and again lightly 2 hours before transplanting to maintain optimal moisture.
Root Ball Protection: When moving the bush in Step 3, keep the root ball intact by wrapping it in burlap or an old sheet if you need to transport it any distance. This prevents soil from falling away and exposes roots to air. For very large bushes, I’ve had success using a wheelbarrow lined with a tarp to minimize jostling during the move.
Watering Technique: The 5 gallons of water mentioned in Step 4 should be applied slowly—don’t just dump it all at once. I use a trickle from the hose for about 10 minutes, moving the hose around the watering basin to ensure even saturation. This slow approach prevents runoff and allows water to penetrate deeply where new roots will grow.
Settling Solution: After watering in Step 4, you’ll notice the soil level drops significantly. Don’t be tempted to stamp it down firmly—this compacts the soil and makes it harder for new roots to spread. Instead, add more of your soil-compost mix in layers, gently firming each addition with your hands until you’ve rebuilt the proper level.
Early spring (before new growth starts) or fall (4-6 weeks before frost) are ideal . These seasons give roots time to establish in cool, moist soil. Avoid transplanting in extreme heat or freezing temps—stress can shock the plant.
Aim for a root ball 8–12 inches wide per inch of trunk diameter (e.g., 3-inch trunk = 24–36-inch ball). Depth should match the plant’s current root zone. Bigger is better—more roots = less transplant shock! Use a tarp to drag heavy loads.
Can I transplant a bush without digging it up? (Alternatives)
If digging isn’t an option, try root pruning 6–12 months before moving to encourage compact roots. For large shrubs, consider air-layering to propagate a new plant instead. Potted bushes? Just slide them out—no digging needed!
Common causes:
Most shrubs need 1 year per inch of trunk diameter to fully recover (e.g., 2-inch trunk = ~2 years). Evergreens may take longer. Speed it up with deep watering 2–3x/week and anti-stress solutions like seaweed extract. Patience pays off!
