
Beautiful Plants For Your Interior
Beautiful Plants For Your Interior
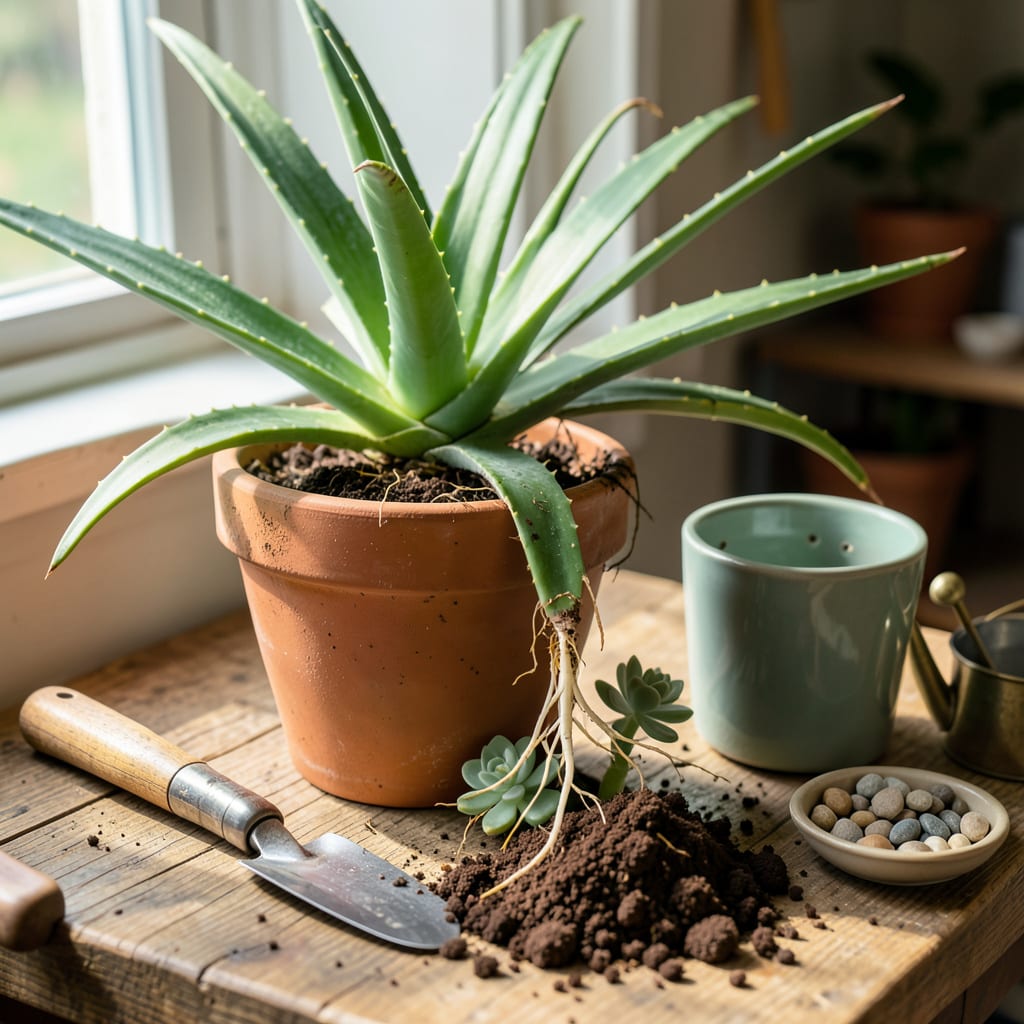
That moment when your aloe vera outgrows its pot is exciting—until you realize moving it wrong can set growth back months. I’ve transplanted dozens of these resilient plants, and the difference between a thriving transplant and a stressed one comes down to three things: timing, root care, and the right soil mix.
Do it right, and your aloe will push out fresh, plump leaves within weeks. The process takes less than 20 minutes with basic supplies, and I’ll walk you through each step—from gently loosening roots to the critical (but often skipped) waiting period before watering. No guesswork, just a foolproof method that works every time.
📚 In This Guide
This simple process will give your aloe vera the space it needs to thrive—no guesswork, just healthy growth.
Transplant when your aloe vera shows crowded roots or pups around the base, typically every 2-3 years. I always pick a container that’s 1-2 inches wider than the current one, with drainage holes—aloe roots rot quickly in standing water.
Clean the new pot with warm, soapy water to remove any bacteria. For best results, use unglazed terra cotta, which allows excess moisture to evaporate through the walls. Place a coffee filter or small piece of mesh over the drainage hole to prevent soil from washing out while still letting water escape freely.
Water your aloe lightly 24 hours before transplanting—this helps the soil hold together when you remove it. Tip the pot sideways, then gently squeeze the sides while supporting the base of the plant. If it resists, run a butter knife around the inner edge to loosen it.
Once free, brush away old soil to expose the roots. Healthy aloe roots are firm and white or tan. Trim any dark, mushy roots with clean scissors—they’re rotting. If you see pups (baby plants), you can separate them now by gently twisting them away from the mother plant.
Fill the new container 1/3 full with fresh cactus/succulent mix. I avoid regular potting soil because it holds too much moisture. Place your aloe in the center, ensuring the base sits at the same level it was before—burying the stem causes rot.
Hold the plant steady while adding soil around it, pressing lightly to secure it. Leave 1/2 inch of space at the top for watering. Don’t water immediately—wait 5-7 days to let any damaged roots heal, which prevents rot from excess moisture in fresh soil.
Place your transplanted aloe in bright, indirect light for the first week—direct sun can stress it while roots re-establish. After that, return it to your usual sunny spot. Water sparingly, only when the soil feels completely dry 2 inches down.
Watch for signs of stress: yellowing leaves mean too much water, while wrinkled leaves indicate thirst. I’ve found that aloe recovers fastest when left undisturbed—no fertilizing or moving for at least 4 weeks after transplanting. The plant will tell you it’s happy when new growth appears at the center.
Transplanting aloe vera doesn’t have to be stressful—these practical insights will help your plant transition smoothly and thrive in its new home.
Root Health Check: In Step 2, when inspecting the roots after removal, pay special attention to the color and texture. Healthy roots should be firm and white or light tan. If you notice any dark brown or black roots, trim them immediately with clean scissors—they’re already rotting. I’ve found that even a single rotting root can spread to healthy ones if left unchecked. Also, if the roots appear tightly bound in a circular pattern, gently loosen them before repotting to encourage outward growth in the new container.
Soil Selection Matters: The instructions mention using cactus/succulent mix in Step 3, and this is crucial. Regular potting soil retains too much moisture, which aloe vera hates. For even better drainage, I recommend mixing your cactus soil with an equal part of perlite or coarse sand. This creates air pockets that prevent water from pooling around the roots. If you’re in a humid climate, consider adding a thin layer of small pebbles at the bottom of the pot before adding soil—this creates additional drainage space without risking root rot.
The Waiting Game: Step 3 advises waiting 5-7 days before watering, and this is one of the most important steps. I know it’s tempting to water immediately to “help” the plant settle in, but those damaged roots need time to callous over. Watering too soon creates the perfect environment for rot. Instead, place your aloe in bright, indirect light during this waiting period and resist the urge to check on it constantly. The plant is focusing its energy on root recovery, not leaf growth, during this critical time.
Light Transition Strategy: When following Step 4’s advice about bright, indirect light for the first week, consider this: if your aloe was previously in low light, the “bright indirect” might still be too intense. Watch for leaf discoloration—if you notice any reddening or browning at the tips, move it to slightly lower light. I’ve found that east-facing windows often provide the perfect gentle light for recovery. After the first week, gradually reintroduce it to its final location over 2-3 days to prevent sunburn on the leaves.
Transplant your aloe vera every 2–3 years or when it outgrows its pot (roots circling the bottom or pups crowding the container). Younger plants may need repotting annually. Spring or early summer is the best time for minimal stress.
Yes! Aloe vera pups (offsets) can be transplanted even if they lack roots. Let the cut end callus for 1–2 days, then plant in well-draining soil. Keep the soil lightly moist (not soggy) until roots develop—usually within 2–4 weeks.
Use a cactus or succulent mix (or DIY: 2 parts potting soil + 1 part perlite/pumice + 1 part coarse sand). Avoid dense, moisture-retentive soils—they cause root rot. Terracotta pots help wick away excess moisture.
Drooping is normal for 1–2 weeks due to transplant shock. Ensure the plant gets bright, indirect light (no direct sun yet!) and water sparingly (only when soil is bone-dry). If wilting persists, check for overwatering or poor drainage.
No—aloe vera hates sitting in water! Propagate in soil only to prevent rot. For cuttings, dip the base in rooting hormone (optional) and plant directly in dry soil. Mist lightly once a week until roots form.
