
Beautiful Plants For Your Interior
Beautiful Plants For Your Interior
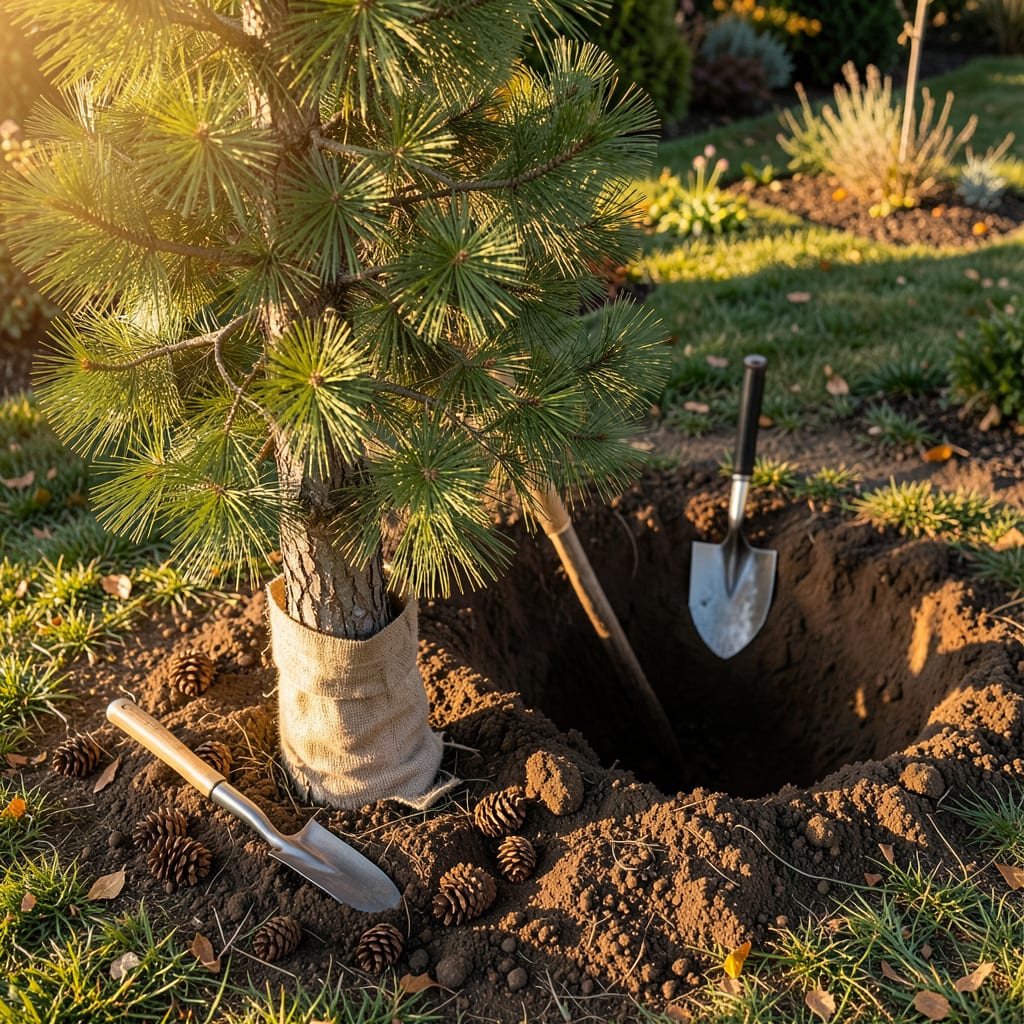
Moving a 6-foot pine isn’t just about muscle—it’s about timing and technique. I’ve relocated dozens of mature trees, and the ones that thrive always follow this rule: early spring or fall when roots are dormant but soil is workable. The difference between a tree that struggles and one that takes off? Preparing the root ball properly before the shovel even hits the dirt.
You’ll need more than just determination—burlap, a sharp spade, and a helper are non-negotiable. I learned the hard way that cutting corners on root ball size or skipping the pre-watering step leads to transplant shock. Do this right, and your pine will establish faster than you’d expect, with needles staying green through the first critical months.
📚 In This Guide
Moving an established pine requires careful planning, but this method ensures your tree thrives in its new location.
Dig the new hole first—it should be twice as wide as the root ball and the same depth. This prevents roots from drying out while you prepare the transplant. I use a shovel to create sloped sides, which encourages outward root growth in the new location.
Test the hole depth by placing a board across it—your root ball should sit 1-2 inches above ground level to allow for settling. Mix the excavated soil with 20% compost to improve drainage and nutrient availability. Keep this blend nearby for backfilling.
Three months before moving, use a sharp spade to cut a 12-inch diameter circle around the tree at 12-18 inches deep. This severs peripheral roots and encourages new feeder roots to form within the future root ball. Water deeply immediately after pruning.
Twenty-four hours before transplanting, saturate the soil thoroughly. You want the root ball to hold together when lifted—this reduces transplant shock. I check moisture by digging a small test hole near the tree; the soil should form a ball when squeezed but not drip water.
Wrap the root ball in burlap before lifting to prevent soil loss. For a 6-foot pine, expect a root ball 18-24 inches wide. Use a tarp to drag the tree to its new location—never lift by the trunk, as this can separate roots from the soil.
Place the tree immediately in the prepared hole. The root flare (where roots meet trunk) should be visible above soil level. If it’s buried, remove soil until you see the natural flare. This prevents girdling roots that can kill the tree years later.
Fill the hole with your soil-compost mix in 3-inch layers, watering between each to eliminate air pockets. Create a 3-inch high watering berm around the perimeter to direct moisture to roots. I use my hands to gently firm each layer—never compact with your feet.
Install three sturdy stakes at 120-degree angles, securing the trunk with wide, flexible ties. Leave 1-2 inches of slack to allow for natural movement, which stimulates root growth. Remove stakes after one growing season to prevent girdling.
Water deeply every 3-4 days for the first month, then taper to weekly. Apply 3-4 inches of mulch in a 3-foot diameter circle, keeping it 2 inches away from the trunk to prevent rot. Pine needles make excellent mulch as they maintain soil acidity.
Monitor for stress signs: yellowing needles indicate overwatering, while brown tips suggest underwatering. Avoid fertilizing for 6 months—new roots need to establish before processing nutrients. I’ve found that evening watering reduces evaporation stress during the critical first weeks.
Transplanting an established pine requires attention to detail—these insights will help you avoid common pitfalls and ensure your tree thrives in its new home.
Root Pruning Precision: The three-month root pruning in Step 2 is non-negotiable. When cutting that 12-inch diameter circle at 12-18 inches deep, use a sharp spade to make clean cuts rather than tearing roots. This encourages robust feeder root development within the future root ball, which is critical for minimizing transplant shock. I learned this the hard way after losing a pine that had jagged root cuts.
Moisture Management: The 24-hour pre-transplant watering in Step 2 makes all the difference. Don’t just water the surface—use a soaker hose or drip irrigation to saturate the entire root zone to 18 inches deep. Test moisture by squeezing a handful of soil from 12 inches down; it should hold shape but not drip. Overwatering is just as dangerous as underwatering during this phase.
Root Ball Handling: During Step 3’s extraction, never lift the tree by its trunk. The 18-24 inch root ball of a 6-foot pine can weigh 200-300 pounds when properly saturated. Use a sturdy tarp to drag it, and keep the burlap wrapping intact until the tree is positioned in its new hole. I’ve seen root balls disintegrate from improper handling, which almost always leads to transplant failure.
Post-Transplant Monitoring: The every 3-4 day watering schedule in Step 5 isn’t just about frequency—it’s about depth. Each watering should penetrate 12-18 inches to reach the entire root system. Use a moisture meter or dig test holes to verify penetration. Evening watering truly does reduce evaporation by up to 30% during those critical first weeks, as mentioned in the instructions.
While it’s possible to move a 6-foot pine solo, it’s not recommended. The root ball can weigh 100+ lbs, and maneuvering it without damaging roots or your back is tricky. Recruit 1-2 helpers or use a tree dolly. For trees taller than 8 feet, consider hiring pros with a spade truck.
Early spring (before buds swell) or fall (6+ weeks before frost) are ideal—cool temps and moist soil reduce stress. Avoid summer heat or winter freezes! If you must transplant in summer, water deeply 2-3x weekly and provide temporary shade.
Transplanting a 6-foot pine costs $50–$200 (tools, soil, labor), while a 6-foot sapling runs $100–$300. However, saplings establish faster with less shock. If the tree has sentimental value or is a rare species, transplanting wins!
Don’t panic! Some browning is normal (transplant shock). Check soil moisture—overwatering is worse than underwatering. Prune dead branches, mulch 2–3 inches deep, and avoid fertilizer for 6 weeks. If new growth appears in spring, it’s recovering!
Plant pines at least 15–20 feet from structures—roots spread widely, and mature heights (40–60+ ft) can threaten roofs or foundations. Check your pine’s species (e.g., White Pine needs more space than Mugo Pine). When in doubt, consult an arborist!
