
Beautiful Plants For Your Interior
Beautiful Plants For Your Interior
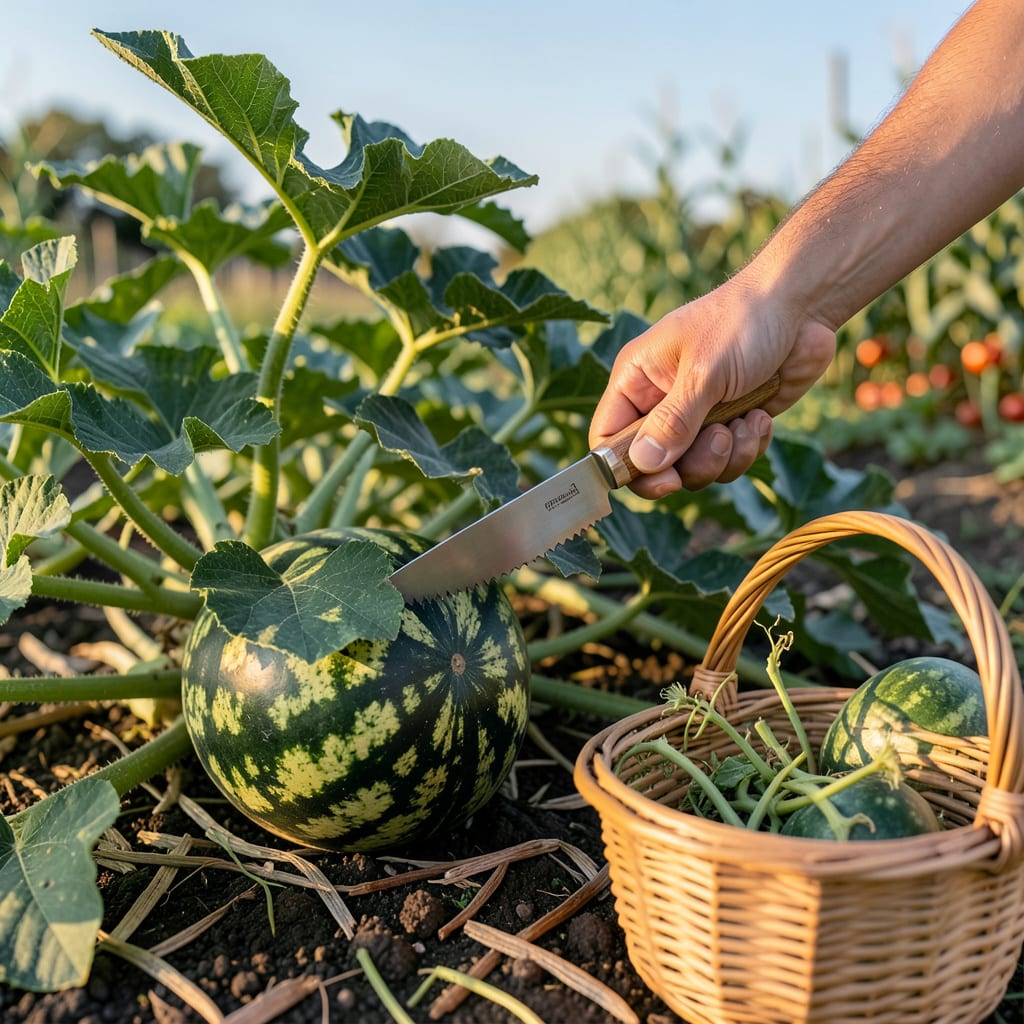
Nothing beats the disappointment of cutting into a homegrown watermelon only to find it underripe—or worse, overripe and mushy. That perfect balance of sweetness and crispness hinges on one critical moment: knowing exactly when to pick it.
After years of trial and error with my own 🍉 patches, I’ve narrowed it down to five foolproof signs that take the guesswork out of harvesting. No more thumping mysteries or crossed fingers—just science-backed clues that work every time. Let’s get you picking like a pro.


After months of tending your watermelon vines, the moment of truth arrives: when to pick. Unlike tomatoes or peppers, watermelons don’t keep ripening after harvest, so timing is everything. I’ve ruined my share by guessing wrong—too early means bland, too late means mushy.
The good news? Your watermelon visually broadcasts its readiness. No fancy tools needed—just your eyes, hands, and a little know-how. Let’s break down the five foolproof signs I rely on every season. Trust me, your taste buds will thank you.
The curly tendril nearest the fruit shifts from green to dry brown when ripe. If it’s still flexible, wait!
The underside (where it touches soil) turns from white to buttery yellow. No yellow? Not ready yet.
A ripe watermelon has a dull, matte rind. If it’s glossy or bright green, it needs more time.
Gently press near the stem—if it gives slightly or shows tiny cracks, it’s a green light for harvesting.
Picnic-sized (15–20 lbs) or icebox (5–10 lbs)? Compare to the seed packet’s mature size.
Let’s start with the tendril test, my personal favorite. That little curlycue near the fruit’s stem is like a nature’s ripeness gauge. When it’s green and springy, your watermelon is still maturing. Once it dries to a brittle brown, you’re in the sweet spot.
Next, flip the melon (gently!) to check the ground spot. This is where the fruit rests on the soil, and it’s a dead giveaway. A white or pale green spot means “hold off.” But when it turns creamy yellow or even orange, you’re golden. Pro tip: The deeper the color, the sweeter the flesh!
The rind’s texture is another silent clue. Run your hand over the surface—if it feels smooth and waxy, it’s not ready. A ripe watermelon has a rougher, matte finish, almost like it’s been dusted with powder. This change happens as sugars develop inside.
Now, about that stem crack. Don’t yank the fruit off the vine! Instead, press near where the stem meets the melon. A slight give or tiny fissures mean the fruit is detaching naturally. If it’s rock-hard, give it a few more sunny days.
Finally, size matters. Seed packets list mature weights, but here’s a quick guide: Icebox varieties (like ‘Sugar Baby’) max out at 5–10 pounds, while classic picnic watermelons (think ‘Crimson Sweet’) can hit 15–20 pounds. When yours matches the expected heft, it’s go time.
I’ll let you in on a secret: I combine at least three of these signs before harvesting. Why? Because weather swings or soil quirks can throw off one indicator. For example, a heatwave might dry the tendril prematurely, but the ground spot will still tell the truth.
Still unsure? Try the thump test (we’ll dive deeper in the next section), but remember: visual cues are 90% of the battle. Once you’ve checked these boxes, grab your pruning shears and cut the stem cleanly—leaving an inch attached helps storage.
And here’s your bonus tip: Harvest on a sunny morning after the dew dries. The fruits will be firmer and store longer. Now, go enjoy that juicy reward—you’ve earned it! 🪴
Not all watermelons play by the same rules. That ‘Sugar Baby’ icebox you’re growing ripens faster than a ‘Carolina Cross’ giant, and seedless varieties? They’ve got their own timeline. I learned this the hard way when my first seedless crop stayed stubbornly green weeks past expectations.
Here’s the deal: Variety matters. Heirlooms like ‘Moon and Stars’ might take 90+ days, while hybrid ‘Crimson Sweet’ melons are ready in 80 days. Even the rind patterns differ—striped, solid, or speckled—each gives unique ripeness clues. Let’s decode what your specific type is telling you.
| Variety | Days to Maturity | Size at Ripeness | Key Ripeness Clue |
|---|---|---|---|
| Sugar Baby (Icebox) | 75–80 days | 6–10 lbs | Tendril dries fast; rind turns deep green |
| Crimson Sweet | 80–85 days | 15–25 lbs | Ground spot turns golden-orange |
| Seedless (e.g., ‘Triple Crown’) | 85–90 days | 10–15 lbs | Rind loses stripes; thump sounds higher-pitched |
| Moon and Stars (Heirloom) | 90–100 days | 25–40 lbs | Yellow “stars” brighten; tendril fully brown |
| Charleston Gray | 85–90 days | 25–35 lbs | Rind turns light gray-green; heavy for size |
Seedless watermelons are the trickiest. They often lack the classic tendril dry-out, so I focus on the ground spot (should be bright yellow) and rind texture. Pro tip: Their rinds stay slightly shinier than seeded types, so don’t wait for a full matte finish.
For icebox varieties like ‘Sugar Baby’ or ‘Golden Midget’, watch the size. These compact melons hit ripeness at just 6–10 pounds, so don’t assume bigger is better. Their tendrils also dry 1–2 days earlier than larger varieties, so check daily once they’re close.
Heirlooms like ‘Moon and Stars’ or ‘Black Diamond’ need patience. Their longer maturity (up to 100 days) means I start testing ripeness cues at day 85. Look for the unique rind patterns to intensify—like the yellow “stars” on ‘Moon and Stars’ becoming more pronounced.
Cool climates? Add 5–7 extra days to the maturity estimate. Heatwaves? Your melons might ripen 3–5 days faster. I keep a garden journal to track these shifts year to year. And remember: Morning harvests always taste sweeter—the fruits are firmer after a cool night. 🌱
Even experienced gardeners get watermelon harvesting wrong sometimes. I’ve been there—cutting into a melon only to find it underripe and crunchy or overripe and mealy. The key is avoiding these common pitfalls that throw off your timing.
One of the biggest mistakes? Relying solely on the thump test. While a hollow sound can indicate ripeness, it’s not foolproof. I’ve had perfectly ripe melons that didn’t thump “right” and unripe ones that sounded hollow. Always combine multiple signs for accuracy.
Another critical error is misreading the ground spot. A white spot doesn’t always mean unripe—some varieties naturally have lighter ground spots. Instead, look for the shift from white to creamy yellow. If in doubt, compare it to the melon’s overall color.
Weather plays a bigger role than most realize. In cool climates, watermelons often need an extra week to ripen. Heatwaves can speed things up, but drought stress might stall sugar development. I track temperatures and adjust my harvest window accordingly—it’s saved many a melon!
Finally, don’t forget the stem connection. A melon that’s fully detached from the vine is often overripe. Look for tiny cracks or slight give near the stem, not a complete break. And always leave 1–2 inches of stem attached to prevent rot during storage.
Here’s my golden rule: When in doubt, wait one more day. Watermelons won’t ripen further off the vine, but an extra day on the plant can make all the difference. Your patience will be rewarded with that perfect crisp, sweet bite we all crave. 🌿
The curly tendril near the stem is your best ripeness indicator. When it turns from green to brown and crispy, the melon is ready. If it’s still flexible or green, give it more time. This works for most varieties, though seedless types may dry slightly later.
The thump test can be misleading! A hollow sound suggests ripeness, but factors like variety or soil moisture can affect it. Always cross-check with visual cues like the ground spot color and rind texture for accuracy.
A pale or white ground spot means the melon needs more time. Wait until it turns creamy yellow or orange—this indicates full sugar development. In cool climates, this process might take an extra 3-5 days, so be patient.
Heatwaves can speed up ripening by 2-3 days, while cool, cloudy weather may delay it by 5-7 days. Track local temperatures and adjust your harvest window accordingly. Morning harvests after dry spells yield the sweetest results.
