
Beautiful Plants For Your Interior
Beautiful Plants For Your Interior
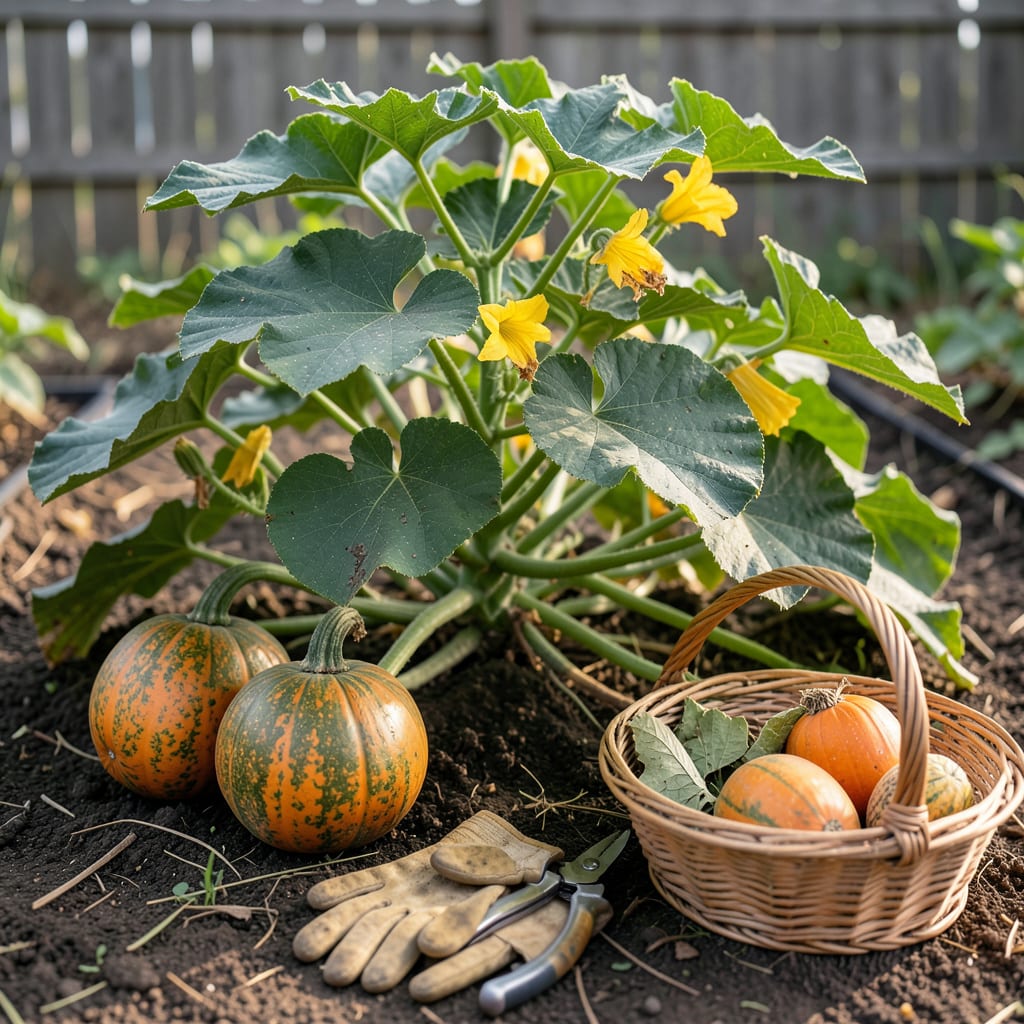
There’s nothing worse than cutting into a squash only to find it underripe or past its prime. That perfect moment of harvest makes all the difference between a meal that sings with flavor and one that falls flat. I’ve been there—standing in the garden, staring at my 🎃 squash plants, wondering if today’s the day.
Timing your harvest right doesn’t just reward you with better taste—it actually encourages your plants to keep producing. We’ll break down the 5 clear signs your squash is ready, so you’ll never second-guess that critical decision again. Let’s get you picking with confidence.


When I first started growing squash, I’d stare at my plants wondering, “Is it ready yet?” The truth is, squash gives us clear visual clues when it’s harvest time. Summer varieties like zucchini grow quickly and need frequent checking, while winter squash develops more slowly with tougher rinds.
Your squash’s color, size, and skin texture are the biggest giveaways. I’ve learned that waiting for that perfect moment means sweeter flavor and better storage life. Let’s break down what to look for before you grab those pruners.🎃
| Sign | Summer Squash | Winter Squash |
|---|---|---|
| Color | Deep green/yellow, glossy | Dull, uniform hue (orange, tan, green) |
| Size | 6-8 inches long | Full mature size per variety |
| Skin | Tender, pierces easily | Hard, resists thumbnail |
| Stem | Soft, green | Dry, brown, corky |
| Sound | N/A | Hollow when tapped |
💡 Pro Tip: Harvest summer squash every 2-3 days to encourage more production!
The thumbnail test is my go-to for winter squash. When you can’t pierce the rind with your thumbnail, it’s ready. For summer varieties, I look for that glossy sheen—once it dulls, you’ve waited too long. Size matters too: zucchini tastes best at 6-8 inches, not baseball bat size!
For pumpkins and acorn squash, color change is dramatic. They’ll shift from green to their final orange or dark green. The ground spot where they rest turns from white to cream or orange. This is nature’s way of saying “I’m ready!” I mark harvest dates on my calendar once flowers appear.
Remember, overripe squash attracts pests and drains plant energy. When in doubt, harvest a test squash and cut it open. The seeds should be plump and white (summer) or mature and dark (winter). This simple check saves me from disappointment every season.✂️
Finally, always use clean pruners and leave 1-2 inches of stem on winter squash. This prevents rot during storage. I keep a small bucket of 10% bleach water nearby to dip my tools between cuts—it’s saved many a harvest from fungal issues!
Even when squash looks ready, I always double-check with these hands-on tests. Visual cues are great, but tactile confirmation prevents those “oops” moments where you cut into an underripe squash. These methods work for both summer and winter varieties, though winter squash needs extra attention.
The thumbnail test is my favorite for winter squash like butternut or acorn. When you can’t pierce the rind with your thumbnail, it’s ready. For summer squash, I check the skin firmness—it should yield slightly to gentle pressure but not feel mushy. Let’s explore these foolproof techniques.🪴
💡 Pro Tip: Test multiple squash—variations in ripeness are normal!
For summer squash, I use the gentle squeeze test. The flesh should feel firm but give slightly under pressure. If it feels rock-hard, give it another day. If it’s soft or spongy, you’ve waited too long. I check my zucchini every morning during peak season—they grow shockingly fast!
The stem condition tells a surprising story. Winter squash stems should be dry and corky, while summer squash stems stay green and flexible. I’ve found that when the stem starts to crack where it meets the fruit, that’s nature’s signal to harvest. Always cut stems cleanly—never twist or pull.✂️
Remember, overripe squash develops tough seeds and stringy flesh. If you miss the window, don’t despair! Overripe summer squash can be composted or fed to livestock. Winter squash that’s slightly overripe can still be used immediately—just don’t store it long-term. I keep a notebook to track which varieties mature fastest in my garden.
Summer varieties like zucchini need daily checks during peak season—they grow shockingly fast! Winter squash develops more slowly, so 2-3 times weekly is sufficient. I make it part of my morning garden routine.
Underripe squash will be tough, bitter, and lack sweetness. The seeds will be small and underdeveloped. For summer varieties, you’ll get less yield since the plant focuses on ripening existing fruit. Winter squash won’t store well if harvested early.
Overripe summer squash becomes spongy and seedy—best for compost or animal feed. Winter squash can still be eaten immediately if slightly overripe, but won’t store well. I use overripe butternut in soups where texture matters less.
This usually happens when stems are too short (less than 1 inch) or damaged. Always use clean pruners and leave 1-2 inches of stem. I dip tools in 10% bleach water between cuts to prevent fungal spread.
