
Beautiful Plants For Your Interior
Beautiful Plants For Your Interior
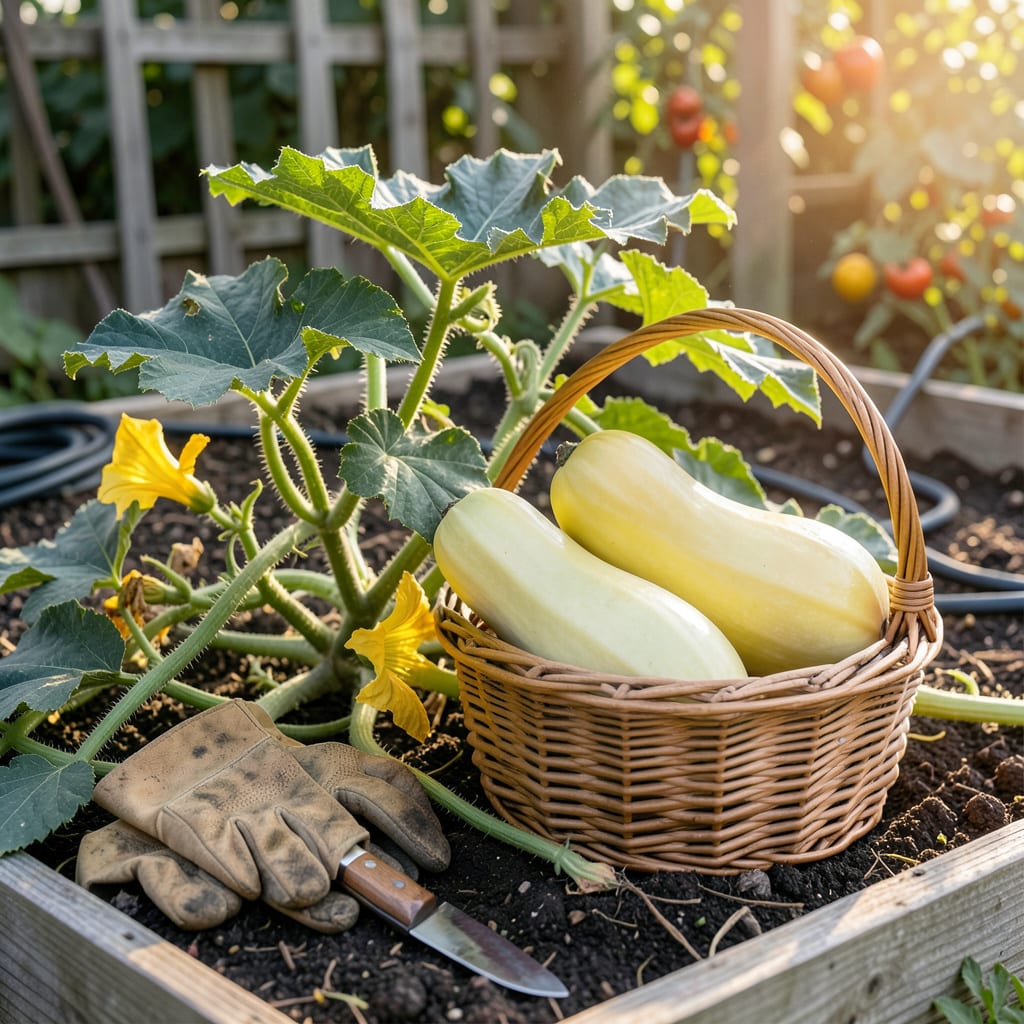
That moment when you’re staring at your spaghetti squash 🎃 wondering, “Is it ready or not?”—I’ve been there. One simple test with your fingernail can save you from the disappointment of a watery, underripe harvest or a mushy, overripe one.
After months of tending your vines, the last thing you want is to guess wrong. I’ll show you the foolproof signs (beyond just color) that guarantee perfect ripeness every time. No more second-guessing—just golden, strand-perfect squash waiting for your fork.


If you’ve ever wondered when to harvest your spaghetti squash, I’ve got great news: the answer is literally at your fingertips. The fingernail test is my go-to method for determining ripeness, and it’s more reliable than guessing based on size or color alone. This simple trick works because the rind hardness changes dramatically as the squash matures.
I learned this method after ruining an entire harvest by picking too early—trust me, you don’t want to serve underripe squash that turns to mush when cooked. The nail test takes the guesswork out of harvesting, and once you master it, you’ll never second-guess your spaghetti squash harvest time again. Here’s how to do it right.
One common mistake I see is gardeners pressing too gently during the test. Remember, you’re not checking for softness—you’re testing for hardness. If you’re unsure, compare the resistance to a pumpkin or butternut squash at the grocery store. Both should have similar rind firmness when fully ripe.
The nail test works because as spaghetti squash matures, the rind lignifies (turns woody), which is nature’s way of protecting the seeds inside. This process usually happens 80–100 days after planting, but weather conditions can speed it up or slow it down. That’s why the nail test beats relying on days to maturity estimates!
If you’re growing multiple squash, test a few different ones to compare. I like to mark the ripest candidates with a piece of gardening twine so I can prioritize harvesting them first. This is especially helpful if frost is in the forecast—you’ll want to pick the ripest squash before cold temperatures damage them.
Another thing to watch for: overripe squash can sometimes pass the nail test but have other issues. If the rind feels hard but the squash has soft spots or a fermented smell, it’s gone too far. In that case, compost it and focus on the others. Timing is everything with spaghetti squash!
Once you’ve confirmed ripeness with the nail test, it’s time to harvest. Use pruning shears or a sharp knife to cut the stem, leaving 1–2 inches attached to the squash. This extra stem helps prevent rot during storage. Avoid twisting or pulling the squash off the vine, as this can damage the plant or the fruit.
After harvesting, let your squash cure in the sun for 5–7 days to further harden the rind. This step is crucial for long-term storage. I like to place mine on a wooden pallet or cardboard box in a dry, warm spot. Properly cured spaghetti squash can last 2–3 months in a cool, dark place.
Now that you’ve mastered the nail test, you’ll never have to wonder about spaghetti squash ripeness again. This method takes the stress out of harvesting and ensures you get the best flavor and texture from your homegrown squash. Next up, let’s talk about what to do if you accidentally pick one too early—or leave it on the vine too long! 🌱
While the nail test is my go-to method, I always double-check with these visual cues before harvesting. A ripe spaghetti squash will have a uniform yellow color—no green streaks or patches. The rind should look dull and matte, not shiny like an underripe fruit.
Next, examine the stem and vine. A ready-to-pick squash has a dry, corky stem that’s turned brown. If the stem is still green and flexible, give it more time. The vine itself may start to wither and die back, which is nature’s way of saying, “Time to harvest!”
| Sign | Underripe | Ripe |
|---|---|---|
| Rind Color | Shiny, greenish 🟢 | Dull, deep yellow 🟡 |
| Stem Condition | Green, flexible 🌿 | Brown, dry, corky 🌾 |
| Nail Test | Punctures easily 🔴 | Resists pressure ✅ |
| Vine Appearance | Healthy, green 🌱 | Withering, drying 🪴 |
Don’t forget to check the weight and size. A ripe spaghetti squash should feel heavy for its size, typically weighing 4-8 pounds. Smaller squash may still be immature, while overly large ones could be past their prime. Compare your squash to the seed packet’s size estimate for the variety.
Climate plays a role too! In hotter regions, squash may mature faster and show ripeness signs earlier. If you’ve had a cool, wet summer, your squash might need extra time. I always keep a gardening journal to track these variables year to year.
One final tip: If you’re unsure, leave it a bit longer. A spaghetti squash left on the vine too long is still edible, but one picked too early won’t ripen properly off the vine. When in doubt, test a small section of the rind with your nail—if it’s still soft, wait a few more days.
Once you’ve confirmed ripeness, use pruning shears to cut the stem, leaving 2-3 inches attached. This helps prevent rot during storage. Now you’re ready to enjoy your homegrown harvest! 🎃
Timing your spaghetti squash harvest wrong can turn months of effort into a disappointing meal. Picking too early means watery, bland strands that lack the signature texture. I’ve learned this the hard way—underripe squash just doesn’t hold up in storage or cooking.
Leave it too long, and you’ll face stringy, mushy flesh that’s past its prime. Overripe squash also attracts pests and risks vine rot if left in damp conditions. The sweet spot? That 7-10 day window when the rind hardens and the stem dries.
If you’ve picked early, try curing indoors. Place squash in a warm (80°F), dry spot for 10 days to toughen the rind. This won’t fix flavor but can extend storage slightly. For late harvests, immediate processing is key—freeze cooked strands for later use.
Climate throws curveballs too. A cool, wet fall may force early picking to avoid frost damage, while heatwaves can accelerate ripening. I mark my calendar at 90 days post-planting to start testing, then adjust based on daily weather and the nail test results.
Remember: Stem health trumps all. If the stem detaches easily, the squash is overripe. If it’s still firmly attached but the rind passes the nail test, use pruning shears to cut cleanly, leaving 2-3 inches of stem for storage longevity.
When in doubt, harvest in stages. Test one squash first, then adjust timing for the rest. Your patience will pay off with perfectly textured strands that store for 3-6 months in cool, dry conditions. That’s the reward for nailing the timing! 🎃
Green streaks usually mean it needs more time, even if the rind feels hard. Wait until the color is uniform yellow—this ensures full sugar development. A week of warm sunshine often finishes the ripening process beautifully.
A light frost won’t ruin mature squash, but it’s risky. Cut them immediately if frost is forecast—even ripe ones can develop soft spots. Underripe squash won’t recover, so prioritize those first. Store frost-exposed squash in a cool, dry place and use within 2 weeks.
A hollow sound actually indicates perfect ripeness! This means the seeds have fully developed and the flesh is dry enough for storage. Compare it to tapping a watermelon—ripe squash should sound deep and dull, not tinny or high-pitched.
Once fully ripe, you’ve got about 1-2 weeks before quality declines. After that, seeds get larger, flesh turns stringy, and pests move in. In hot climates, harvest promptly—heat accelerates deterioration. Cool fall weather buys you a little extra time.
No—this myth can backfire! The vine feeds the squash until the very end. Only cut vines if they’re diseased or frost is imminent. For stubborn squash, try reducing water slightly to stress the plant into focusing energy on ripening.
