
Beautiful Plants For Your Interior
Beautiful Plants For Your Interior
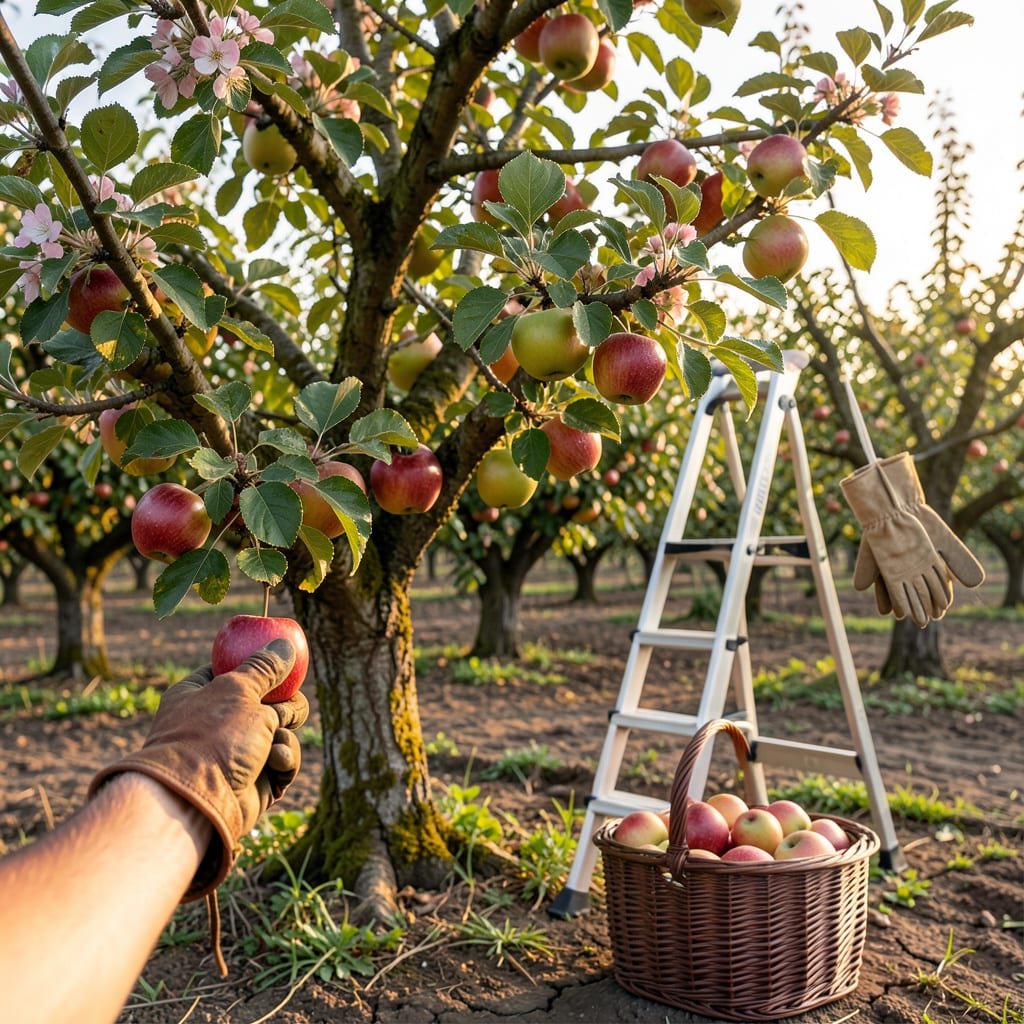
There’s nothing quite like biting into a perfectly ripe apple—crisp, juicy, and bursting with flavor. But how do you know when your 🍎 are ready to leave the branch? Picking too early means tart disappointment, while waiting too long risks mealy texture.
I’ve spent years perfecting the art of apple harvesting, and the secret lies in a few simple signs. Whether you’re growing Honeycrisp or Granny Smith, I’ll show you exactly what to look for—so every apple you pick is sweet, firm, and at its peak.


Timing is everything when it comes to picking perfectly ripe apples. Miss the window, and you’ll end up with fruit that’s either sour and starchy or mushy and overripe. After years of testing, I’ve narrowed it down to five foolproof signs that tell you it’s harvest time.
Don’t rely on color alone—Granny Smiths stay green even when ripe! Instead, combine visual, tactile, and taste cues. Below, I’ll break down each sign so you can confidently fill your basket with tree-ripened sweetness every time.
Look for a deep, uniform hue—reds darken, greens turn slightly yellow, and blush varieties develop richer tones.
Gently lift and twist the apple. If it separates easily with the stem intact, it’s ready.
Cut one open—brown seeds mean ripe, while white or green seeds indicate it needs more time.
Press lightly near the stem. A ripe apple yields slightly to pressure but isn’t soft.
Sample one! Ripe apples are sweet, not starchy, with no bitter aftertaste.
Let’s start with the color shift. Many gardeners assume red apples are ripe when they turn bright, but that’s not always true. For example, Fuji apples develop a deep crimson, while Golden Delicious transition from pale green to golden yellow. Always compare against your variety’s expected ripe color.
The twist test is my favorite trick. Hold the apple in your palm, give it a quarter-turn twist, and lift upward. If it pops off cleanly, it’s ready. If it resists, leave it for a few more days. This method works because apples release naturally from the tree when their ethylene gas peaks.
For a science-backed check, try the seed color method. Slice an apple crosswise and examine the seeds. Immature seeds are pale or white, while ripe ones turn dark brown. This works for all varieties, from Honeycrisp to Gala, and is especially useful for green apples.
Texture matters too. A ripe apple should feel firm but slightly yielding when pressed near the stem. Avoid apples that are rock-hard (underripe) or squishy (overripe). Pro tip: If you’re harvesting for storage, pick them just before they reach peak softness—they’ll ripen slightly off the tree.
Finally, the taste test is the ultimate judge. Pluck a sample and take a bite. Ripe apples are juicy, sweet, and aromatic, with no mealy texture. If it tastes starchy or bland, wait another week and test again. Remember, flavor develops last, so this is your final confirmation.
If you’re growing multiple varieties, keep a harvest log. Note when each type ripens—early-season apples like Zestar! ripen in late summer, while late-season varieties such as Pink Lady may not be ready until October. Climate matters too: cooler regions delay ripening by 1-2 weeks.
One common mistake? Assuming all apples on a tree ripen simultaneously. In reality, fruit on the outer branches often ripens first because it gets more sun. Check different areas of the tree, and harvest in multiple passes over 7–10 days for the best results.
Now that you know the signs, grab a basket and head to your tree. The reward—crisp, homegrown apples that taste far better than store-bought—is worth the effort. Happy picking! 🌳
Not all apples ripen at the same time—variety matters just as much as the signs we discussed earlier. Early-season apples like Ginger Gold may be ready by late July, while Granny Smith won’t reach peak ripeness until October. Climate plays a role too: cooler zones delay harvest by 1-2 weeks.
Below, I’ve compiled a harvest timeline for 12 common varieties, including their typical ripening window and key color cues. Use this as your cheat sheet when planning multiple harvests or visiting a U-pick farm. Remember, these are general guidelines—always combine them with the physical signs from Section 1 for best results.
| Variety | Harvest Window | Color at Ripeness | Days from Bloom |
|---|---|---|---|
| Ginger Gold | Late July – Early Aug | Pale yellow-green | 100-110 |
| Zestar! | Mid-August | Red blush over yellow | 110-120 |
| McIntosh | Early September | Deep red with green undertones | 120-130 |
| Honeycrisp | Mid-September | Red with yellow highlights | 130-140 |
| Gala | Late September | Orange-red stripes | 125-135 |
| Fuji | Early October | Deep pink-red | 140-150 |
| Granny Smith | Mid-October | Bright green | 150-160 |
| Pink Lady | Late October | Pink blush over yellow | 150-160 |
Notice how early varieties like Ginger Gold ripen in under 110 days, while late-season apples like Pink Lady need up to 160 days. This is why planting a mix of varieties extends your harvest from summer through fall. If you’re unsure which type you have, check the days-from-bloom column.
For example, if your tree bloomed in early May, a Honeycrisp would likely be ready by mid-September (about 135 days later). Cooler climates may push this back to late September. Always cross-reference with the color cues—a Fuji won’t taste sweet until it develops that deep pink-red hue.
Pro tip: If you’re growing heirloom varieties like Arkansas Black or Winesap, add 2-3 weeks to these estimates. These older cultivars often have longer ripening periods but reward you with complex flavors and excellent storage potential. I’ve stored Arkansas Black apples in a cool root cellar until February!
Don’t forget that microclimates in your yard can create variations. Apples on the south side of the tree (more sun) often ripen 3-5 days earlier than those in shade. For the most accurate harvest, test apples from different branches and keep notes year to year. Your records will become your best guide.
Now that you’ve got the variety-specific details, pair this chart with the five ripeness signs from Section 1. Together, they’re your ticket to a perfectly timed harvest—every single year. 🌳
Even experienced gardeners sometimes misjudge the perfect harvest window. Pick too soon, and you’ll get apples that are starchy, tart, and underwhelming. Wait too long, and they turn mealy or drop to the ground. I’ve learned the hard way—both scenarios are disappointing!
Let’s break down what happens in each case, plus how to salvage less-than-perfect apples. Whether you’re dealing with a batch of early-picked Honeycrisp or overripe Granny Smiths, there are ways to make the most of your harvest. Here’s what to expect—and how to fix it.
Fix it: Ripen indoors at room temperature in a paper bag with a banana for 3-5 days.
Fix it: Use immediately for applesauce, baking, or freeze for later.
If you’ve picked apples too early, don’t panic. Many varieties will continue to ripen off the tree if stored properly. Place them in a paper bag with an ethylene-producing fruit (like a banana) at room temperature. Check daily—they’ll soften and sweeten in 3-5 days.
For overripe apples, speed is key. Use them within 24-48 hours for sauces, pies, or dehydrating. Overripe fruit still packs flavor—it just won’t keep fresh. I like to freeze slices on a tray, then transfer to bags for smoothies or winter baking. Even bruised apples work well in recipes!
Prevention is the best strategy. Test a few apples before harvesting the whole tree, and remember that outer branches often ripen first. If you’re unsure, err on the side of slightly early—apples ripen faster off the tree than they do on it. Keep a harvest journal to track ripening patterns year to year.
One final tip: If you’re growing storage varieties like Arkansas Black or Rome, pick them just before full ripeness. They’ll keep for months in a cool, dark place and develop deeper flavor over time. Now you’re ready to handle any harvest hiccups like a pro! 🪴
Some varieties like Granny Smith stay green even when ripe. Check the seeds—if they’re brown, it’s ready. For other types, green skin usually means they need more time. Always combine color with the twist test for accuracy.
Pick in the early morning when temperatures are cool. Apples are crispest then, and the heat won’t soften them during handling. Avoid harvesting after rain—wet fruit bruises easily and may not store as well.
Keep them in a cool, dark place (like a root cellar) or refrigerator. Store in single layers or ventilated containers to prevent moisture buildup. Most varieties last 1-3 months if stored properly.
Early drop can happen due to overcrowding, pests, or stress like drought. Thin fruit in early summer to prevent this. If healthy apples fall, they’re likely ripe—check the seeds to confirm.
