
Beautiful Plants For Your Interior
Beautiful Plants For Your Interior
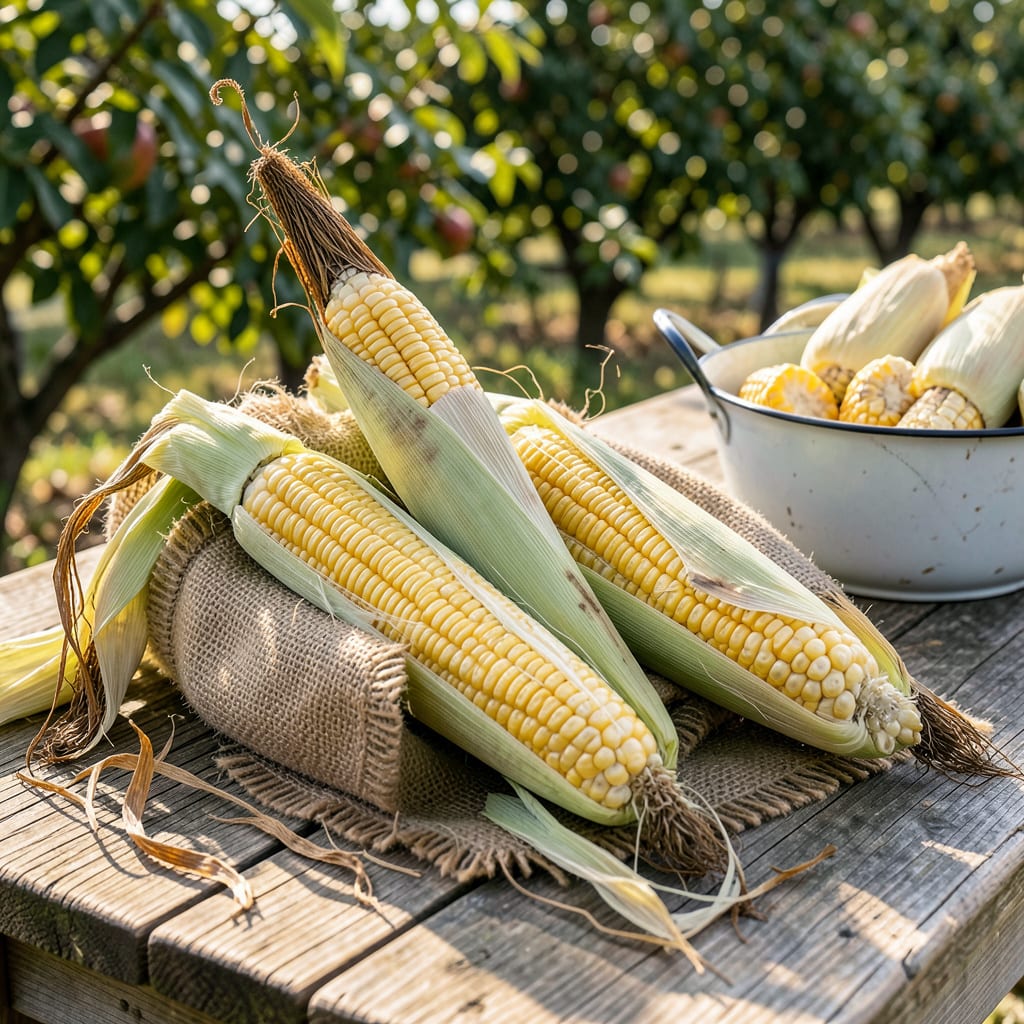
There’s nothing like biting into a perfectly ripe ear of corn—sweet, juicy, and bursting with flavor. But timing is everything. I’ve pulled ears too early (starchy and disappointing) and waited too long (tough kernels, lost sweetness). After years of trial and error, I’ve learned the exact signs to look for.
The silk is your first clue—it should be brown and dry, not green or damp. Gently peel back the husk and press a kernel with your thumbnail. If it releases a milky liquid, it’s ready. If it’s clear, wait a day or two. For sweet corn varieties, this window is short—just 3-5 days—so check daily once silks darken.
📚 In This Guide
Timing is everything when it comes to sweet corn—here’s how I check for that perfect moment every time.
Corn typically reaches maturity about 20 days after silks first appear, though this varies slightly by variety. I start checking daily once those brown, papery tassels at the top of the stalk turn completely brown and begin drying out. This is your first visual clue that the ears are nearing readiness.
The silks (those hair-like strands emerging from each ear) should also have turned from bright yellow to a deep brown color. If they’re still mostly yellow or green, the kernels inside aren’t fully developed yet. Don’t rush this stage—picking too early means starchy, underdeveloped kernels.
Gently peel back just enough of the husk to expose a small section of kernels near the top of the ear. Press a kernel with your fingernail. When corn is perfectly ripe, the kernel will release a milky white liquid. This is the sweet spot—literal sugar water that makes fresh corn so delicious.
If the liquid appears clear and watery, the corn needs more time. If nothing comes out or the kernel feels doughy, you’ve waited too long and the sugars have started converting to starch. I check multiple kernels on different ears since they can mature at slightly different rates.
Look at the kernels you exposed during the finger test. They should appear plump and rounded at the top, not flat or indented. The color should be bright and consistent—deep yellow for yellow varieties, creamy white for white corn, or the specific hue of your variety.
Run your finger down the row of exposed kernels. They should feel firm but slightly tender when pressed, like a ripe peach. If they feel hard as a rock, you’ve missed the prime window. The husk should still be green and tightly wrapped around the ear at this stage.
For maximum sweetness, I always pick corn in the early morning when temperatures are coolest. The sugars in corn begin converting to starch as soon as it’s picked, and heat accelerates this process. Morning-harvested corn will stay sweeter longer, whether you’re eating it immediately or storing it.
Use a sharp knife or pruners to cut the ear from the stalk with a quick, clean motion about 1 inch above the ear. Avoid twisting or pulling, which can damage the plant. Handle ears gently—the kernels bruise easily at this ripe stage. I immediately place picked ears in the shade or refrigerator to preserve that just-picked sweetness.
Before cooking, give each ear one last quality check. The husk should feel slightly crisp but not dry or papery. When you peel it back, the silks should come away easily without leaving too much residue on the kernels. The ear should feel heavy for its size—a sign it’s full of plump, juice-filled kernels.
If you’re still unsure, cook one test ear. Perfectly ripe corn will have kernels that burst with sweet juice when bitten, with a tender yet slightly crisp texture. Underripe corn tastes starchy and mealy, while overripe corn becomes tough and chewy. Trust me—once you’ve tasted corn at this perfect stage, you’ll never settle for less.
Getting the timing just right makes all the difference between sweet, juicy corn and disappointing results.
Timing Insight: The 20-day window mentioned in Step 1 isn’t arbitrary—this is when corn reaches its sugar peak. I’ve found that checking daily after day 18 gives you the best chance to catch that perfect moment. Don’t rely solely on the calendar though; always confirm with the finger test from Step 2, as weather conditions can speed up or slow down maturity.
Morning Harvest Advantage: Step 4 mentions picking in the morning for good reason. I once harvested corn in the afternoon and noticed it lost sweetness twice as fast. The cooler morning temperatures preserve those delicate sugars, giving you up to an extra day of prime flavor. If you can’t pick in the morning, immediately refrigerate the ears to slow starch conversion.
Visual Confirmation: When performing the finger test in Step 2, pay special attention to the kernel’s appearance after pressing. Perfectly ripe corn should leave a slight indentation that slowly springs back, like pressing a ripe peach. If the kernel stays dented or feels mushy, you’ve waited too long. This visual cue is just as important as the milky liquid.
Equipment Tip: For the clean cut mentioned in Step 4, I recommend using sharp pruning shears rather than a kitchen knife. The shears make a cleaner cut with less risk of crushing the stalk, and they’re easier to maneuver in tight spaces between plants. Keep a small bucket of soapy water nearby to clean your tools between cuts—this prevents spreading any potential plant diseases.
Most sweet corn varieties mature in 60–100 days after planting, depending on the type and growing conditions. Early varieties may be ready in 60–70 days, while late-season types can take up to 100 days. Check the seed packet for specifics, and start testing kernels around day 55 for early signs of ripeness!
Yes! A bright green, tightly wrapped husk is actually a good sign—it often means the corn is fresh and juicy. The key is checking the kernels, not just the husk. Peel back a small section and press a kernel with your fingernail. If it releases a milky liquid, it’s ready!
Dented or shriveled kernels mean the corn is overripe—it’s past its prime sweetness and may taste starchy. Harvest earlier next time, or try picking a test ear a few days sooner. Overripe corn works best for cornmeal or feeding livestock.
Look for husks that are green, slightly sticky, and free of brown spots. Gently press the ear through the husk—it should feel plump, not hollow. Check the tassel (silk) at the top; if it’s brown and dry, the corn is likely ripe. Avoid ears with loose or yellowing husks.
Nope! Corn loses sweetness fast once mature—sugar converts to starch within days. For the best flavor, pick it the same day you plan to cook it. If you must store it, refrigerate with husks on (unshucked) for up to 3 days. Freeze extras for longer storage!
