
Beautiful Plants For Your Interior
Beautiful Plants For Your Interior
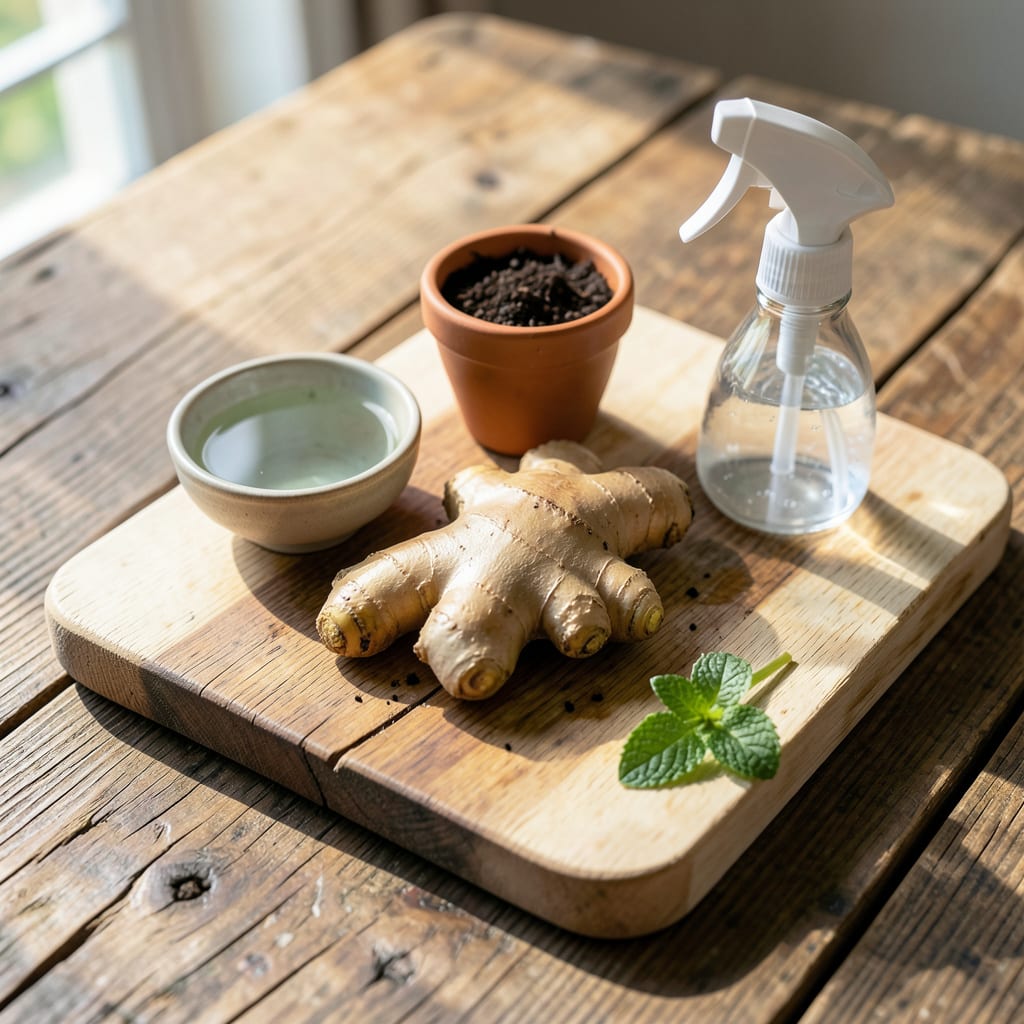
Starting ginger from root transforms your kitchen scraps into a thriving plant. This method delivers consistent results without special equipment.
You’ll see green shoots within 2-3 weeks in warm soil. By summer, the rhizomes multiply underground, ready for harvest. Simple, reliable, and rewarding.
📚 In This Guide
This method delivers consistent results, and you’ll have fresh ginger growing in no time.
Choose a plump ginger rhizome with visible eye buds (those small, bump-like protrusions). The more buds present, the better your chances of success. I prefer organic ginger because non-organic varieties are often treated with growth inhibitors to prevent sprouting.
Aim for a rhizome that’s 3-4 inches long with multiple segments. If it’s larger, you can cut it into pieces, ensuring each has at least one bud. Let the cut surfaces dry and callus over for 24-48 hours before planting to prevent rot.
Place your prepared rhizome on a tray or shallow dish with the buds facing upward. Cover it with 1-2 inches of warm, moist potting mix or sphagnum moss. Keep the setup in a warm spot, ideally 70-80°F, and maintain consistent moisture without waterlogging.
You should see green shoots emerging from the buds within 2-4 weeks. This pre-sprouting step ensures the rhizome is viable and gives it a head start. Once shoots reach 2-3 inches tall, it’s time to transplant.
Fill a 12-14 inch wide container with well-draining potting mix. Ginger thrives in rich, loose soil, so I always amend with compost or well-rotted manure. Plant the sprouted rhizome 1-2 inches deep, with buds facing upward, and space multiple pieces 6-8 inches apart.
Water thoroughly after planting, then place the container in a location with bright, indirect light. Avoid direct sunlight, which can scorch the tender shoots. Maintain 70-85°F for optimal growth.
Keep the soil consistently moist but not soggy. Ginger loves humidity, so I mist the leaves regularly or place the pot on a humidity tray. Fertilize lightly with a balanced, water-soluble fertilizer every 4-6 weeks during the growing season.
You’ll notice the plant growing slowly at first, then accelerating as temperatures rise. Yellowing leaves often signal overwatering, while brown tips may indicate low humidity. Adjust your care accordingly.
Ginger matures in 8-10 months under ideal conditions. You can harvest small pieces as needed once the plant is 4-6 months old by carefully digging at the soil’s edge. For a full harvest, wait until the leaves begin to yellow and die back.
Use a fork to gently lift the rhizomes from the soil. Brush off excess dirt, but don’t wash them until you’re ready to use them. Store unwashed rhizomes in a cool, dry place for up to 3 months, or replant a piece to keep your supply going.
These practical insights will help you avoid pitfalls and get the best results from your ginger growing efforts.
Selection Secret: In Step 1, choosing organic ginger is crucial because non-organic varieties are often treated with growth inhibitors. Look for rhizomes with multiple prominent eye buds—the more you see, the better your chances of successful sprouting.
Pre-Sprouting Tip: For Step 2, maintain that 70-80°F temperature consistently. I learned the hard way that fluctuations can delay sprouting beyond the 2-4 weeks timeframe. A seedling heat mat can help if your home runs cool.
Planting Depth Matters: When you get to Step 3, don’t plant too deep. The 1-2 inches depth is perfect—any deeper and the shoots may struggle to emerge. Also, that 12-14 inch container width gives roots plenty of room to spread.
Patience Pays Off: The 8-10 months maturation time in Step 5 might seem long, but ginger rewards patience. You can start harvesting small pieces at 4-6 months, but waiting for full maturity gives you the most flavorful rhizomes.
Ginger typically sprouts in 2-4 weeks when kept in warm, moist conditions. Patience is key—ensure the soil stays damp but not soggy to encourage growth.
Yes! Place your ginger root in a pot with well-draining soil near a sunny window. Indoor ginger thrives in warm (70-80°F) and humid environments, making it perfect for kitchen gardening.
Early spring is ideal, as ginger loves warm weather. If you’re in a cooler climate, start indoors 1-2 months before the last frost to give it a head start.
Check for overwatering, cold temperatures, or poor soil drainage. Ginger needs warmth, consistent moisture, and indirect light. If the root is rotten or shriveled, try a fresh piece.
Absolutely! Choose organic ginger (non-treated) with visible buds or “eyes.” Soak it overnight to remove growth inhibitors before planting.
