
Beautiful Plants For Your Interior
Beautiful Plants For Your Interior
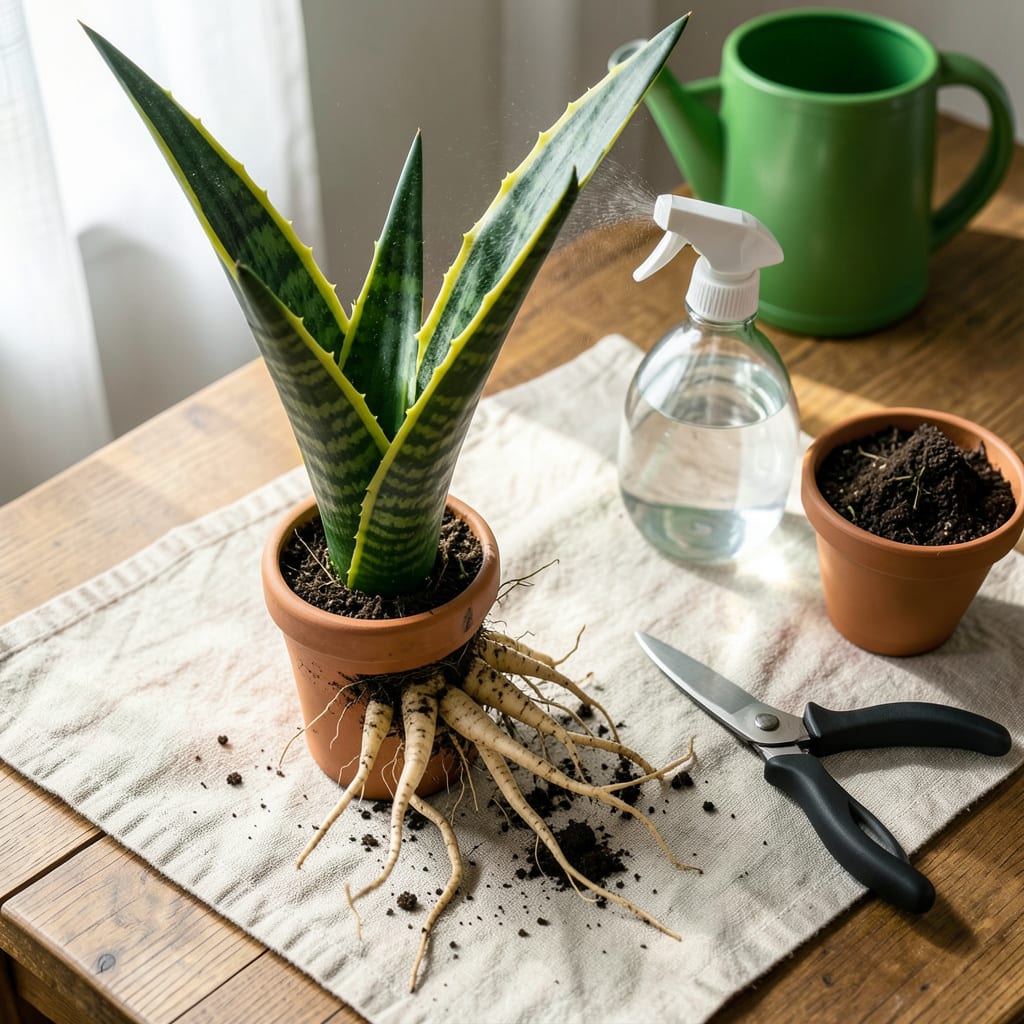
That overcrowded snake plant in the corner? It’s practically begging for a refresh. I’ve divided dozens of these tough plants, and the process is simpler than you’d think—no green thumb required. Separating snake plants gives you free baby plants, rejuvenates the mother plant, and prevents that tangled mess where leaves compete for space.
You’ll need just three things: a clean knife, fresh potting mix, and about 20 minutes of your time. The secret is working with the plant’s natural growth pattern—each pup already has its own root system waiting to thrive independently. I’ll walk you through exactly where to cut and how to spot the healthiest divisions for the best results.
📚 In This Guide
Here’s how I divide my snake plants with zero stress—you’ll end up with healthy pups ready to thrive.
Start by watering your snake plant 2-3 days before dividing. This makes the roots more pliable and reduces shock during separation. Choose a clean, flat surface to work on—I like using a plastic tray or old towel to catch any soil spills.
Gently remove the entire plant from its pot by tipping it sideways and squeezing the container to loosen the root ball. If it’s stubborn, run a knife around the inner edge of the pot. Lay the plant on its side so you can clearly see where the individual pups (baby plants) connect to the mother plant.
Look for the rhizomes—those thick, horizontal underground stems that connect the pups to the main plant. Each pup should have its own set of roots and at least 3-4 leaves. Use your fingers to gently separate the soil around these connections.
Here’s the thing—don’t force anything. If two pups are tangled together, work slowly with your hands to tease them apart. I’ve found that twisting gently while pulling downward often does the trick. For stubborn connections, a clean knife can help, but sanitize it with rubbing alcohol first to prevent disease.
Once separated, check each pup for healthy roots. Trim any that are black, mushy, or excessively long with clean scissors. You want to keep about 2-3 inches of roots intact—this gives the new plant stability without overwhelming it.
Real talk: Some pups might not have many roots, and that’s okay. As long as they have a few healthy white roots and firm leaves, they’ll grow. Let the divided plants sit out of direct sunlight for 1-2 hours to allow any cut surfaces to callous over—this prevents rot when you repot them.
Choose pots that are 1-2 inches wider than the pup’s root ball. I use well-draining potting mix designed for succulents—regular soil stays too wet. Plant each pup at the same depth it was growing before, with the base of the leaves just above the soil line.
Don’t water immediately. Wait 5-7 days before giving them a thorough drink. This gives any damaged roots time to heal. Place the new plants in bright, indirect light for the first two weeks as they establish—direct sun can stress them during this vulnerable period.
Dividing snake plants doesn’t have to be intimidating—these practical insights will help you avoid common pitfalls and ensure your pups thrive.
Preparation Timing: The 2-3 days of pre-watering mentioned in Step 1 is crucial for success. This window allows the roots to become flexible without being waterlogged, which makes separation much cleaner. I’ve found that watering exactly 48 hours before dividing gives the perfect balance—roots are pliable but not oversaturated, reducing the risk of tearing during separation.
Root Handling Technique: When you reach Step 3 and need to trim roots to 2-3 inches, use sharp scissors and make clean cuts. Here’s what nobody tells you—ragged cuts can invite infection. After trimming, I like to dust the cut ends with a tiny bit of cinnamon powder (it’s a natural antifungal) before letting them callous during that 1-2 hour resting period. This extra step has significantly reduced my rot issues.
Pup Selection Wisdom: In Step 2, when identifying pups with 3-4 leaves, prioritize those with thicker rhizomes over those with more leaves. I learned this the hard way after losing several small pups that had plenty of foliage but weak underground stems. A robust rhizome means better water storage and faster establishment in its new pot. Don’t hesitate to discard any pups that feel mushy at the base—no matter how cute they look.
Post-Division Care: The 5-7 day waiting period before watering in Step 4 is non-negotiable, but here’s my pro move: place your newly potted pups on a tray with pebbles and a little water underneath. This creates humidity around the plants without wetting the soil, helping them recover while you wait to water. Just make sure the pots themselves aren’t sitting in water—this is about ambient moisture, not soil moisture.
Spring or early summer is ideal—your plant’s active growth phase helps pups recover faster. Avoid winter when dormancy slows healing. If urgent (like root rot), proceed carefully but expect slower progress.
Patience! Younger plants or low-light conditions may delay pup growth. Boost light (bright, indirect) and water less to encourage offshoots. If waiting isn’t an option, try leaf cuttings instead—just snip a healthy leaf and root it in soil.
How do I know if the separated pup is healthy enough?
Look for firm, plump leaves and white, fibrous roots (at least 1–2 inches long). Avoid mushy stems or black roots—those signal rot. A healthy pup bounces back when gently squeezed (like a stress ball! ). Overwatering is the #1 culprit! Let soil dry completely between waterings post-division. Other causes: too much direct sun (scorches leaves) or poor drainage. Trim any black roots and repot in fresh, gritty mix. Not ideal—snake plants hate “wet feet” and rot easily in water. Soil division gives better success rates. Exception: You can root leaf cuttings in water temporarily, but transfer to soil once roots sprout (2–3 weeks).
3
My divided snake plant is wilting—what went wrong?
4
Can I separate snake plants in water instead of soil?
