
Beautiful Plants For Your Interior
Beautiful Plants For Your Interior
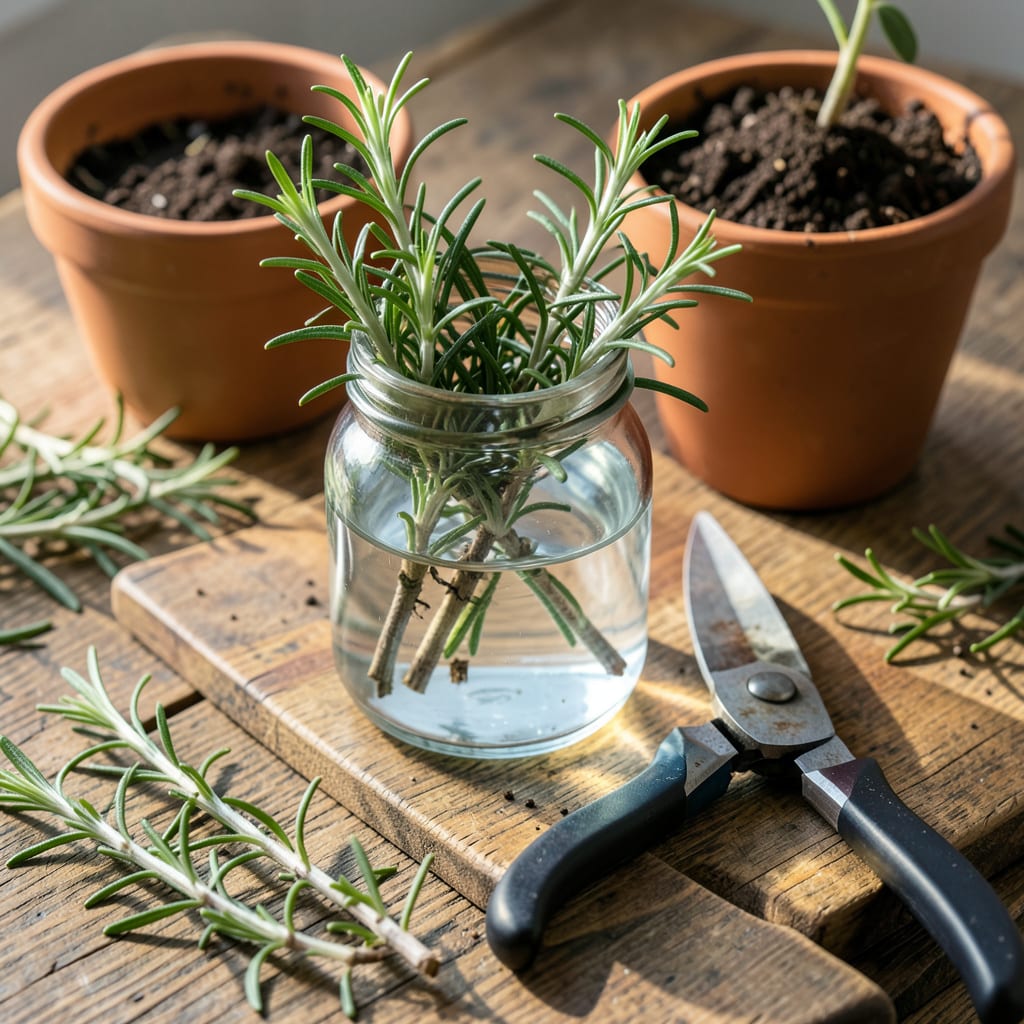
I’ve turned countless rosemary clippings into thriving plants using this foolproof water method. It takes just a few healthy stems, a glass of water, and about 3-4 weeks of patience.
This approach works because it lets you watch the roots develop, ensuring success before transplanting. No special tools required—just follow the simple steps and avoid the common mistakes that kill most cuttings.
📚 In This Guide
This water propagation method is simple and reliable for establishing new rosemary plants from cuttings.
Choose 4-6 inch stems from the current season’s growth, ideally in spring or early summer when the plant is actively growing. Look for healthy, non-flowering shoots with plenty of new growth at the tips. I always select stems that are firm but not woody—this is where rooting potential is highest.
Using clean, sharp pruners, make a cut just below a leaf node (where leaves emerge from the stem). Remove the lower 2-3 inches of leaves, leaving only the top foliage. This reduces water loss and prevents the submerged leaves from rotting. The cutting should have 3-4 nodes available for root development.
Dip the cut end in rooting hormone powder (optional but recommended for faster results). Tap off any excess—too much can inhibit root formation rather than help it. I’ve found that while rosemary can root without hormone, the process is more reliable with it.
Place each cutting in a clear glass or jar filled with room temperature water, ensuring at least 2 nodes are submerged. Use filtered or distilled water if your tap water is hard, as minerals can interfere with root development. The water level should cover the bare stem but not touch any remaining leaves.
Set the jar in a location with bright, indirect light—a north or east-facing windowsill works well. Avoid direct sun, which can overheat the water and damage the cutting. Maintain consistent temperatures between 65-75°F for optimal rooting.
Change the water every 3-4 days to prevent bacterial growth and oxygenate the stem. You’ll see tiny white bumps (root initials) forming within 2-3 weeks, followed by visible roots. This is the most exciting part—watch as the cutting begins to transform into a new plant.
Once roots reach 1-2 inches long (typically after 4-6 weeks), the cutting is ready for soil. Fill a small pot with well-draining potting mix and plant the cutting, keeping the soil level the same as it was in the water. Water lightly to settle the soil around the roots.
Keep the new plant in bright, indirect light for the first week to reduce transplant shock. Gradually introduce more direct sunlight over 7-10 days. The cutting may show some wilting initially—this is normal as it adjusts to soil. Resist the urge to overwater; rosemary prefers slightly dry conditions.
Here’s what I’ve learned from propagating dozens of rosemary cuttings—avoid these pitfalls and you’ll have roots in no time.
The Cutting Selection: In Step 1, focus on stems with visible new growth at the tips. I’ve found that stems slightly thicker than a pencil root most successfully, while thin, spindly ones often fail. Avoid flowering shoots entirely, as they’re more likely to rot than root.
Water Quality Matters: For Step 2, tap water can be hit or miss depending on your local supply. If your water is particularly hard or chlorinated, filtered or distilled water dramatically improves your success rate. I lost my first three batches before switching to filtered water—problem solved.
Light and Temperature: The 65-75°F range in Step 3 is non-negotiable. Below 60°F, rooting slows to a crawl, and above 75°F, the water can overheat. A north-facing window works best for consistent, indirect light. If your home stays cool, consider placing the jar on top of the fridge where it’s slightly warmer.
Transplant Timing: When you see those 1-2 inch roots in Step 4, don’t wait. The longer roots stay in water, the harder the transition to soil. I’ve had cuttings develop 3-inch roots in water only to struggle after transplanting—stick to the 1-2 inch guideline.
Rosemary clippings typically take 2-6 weeks to root in water. Change the water every 3-5 days, and keep the cutting in bright, indirect light to speed up the process. Patience is key—some may take longer!
Yes! While water propagation is popular, you can also root rosemary directly in well-draining soil. Dip the cutting in rooting hormone, plant it in moist soil, and keep it humid (e.g., with a plastic bag) for best results.
Yellowing or browning often signals overwatering, rot, or poor light. Trim any mushy stems, refresh the water, and move the cutting to a brighter spot. Ensure the lower leaves aren’t submerged.
Spring or early summer is ideal, as rosemary grows most actively then. Avoid winter propagation—cooler temps slow root growth. If indoors, year-round success is possible with stable warmth and light.
