
Beautiful Plants For Your Interior
Beautiful Plants For Your Interior
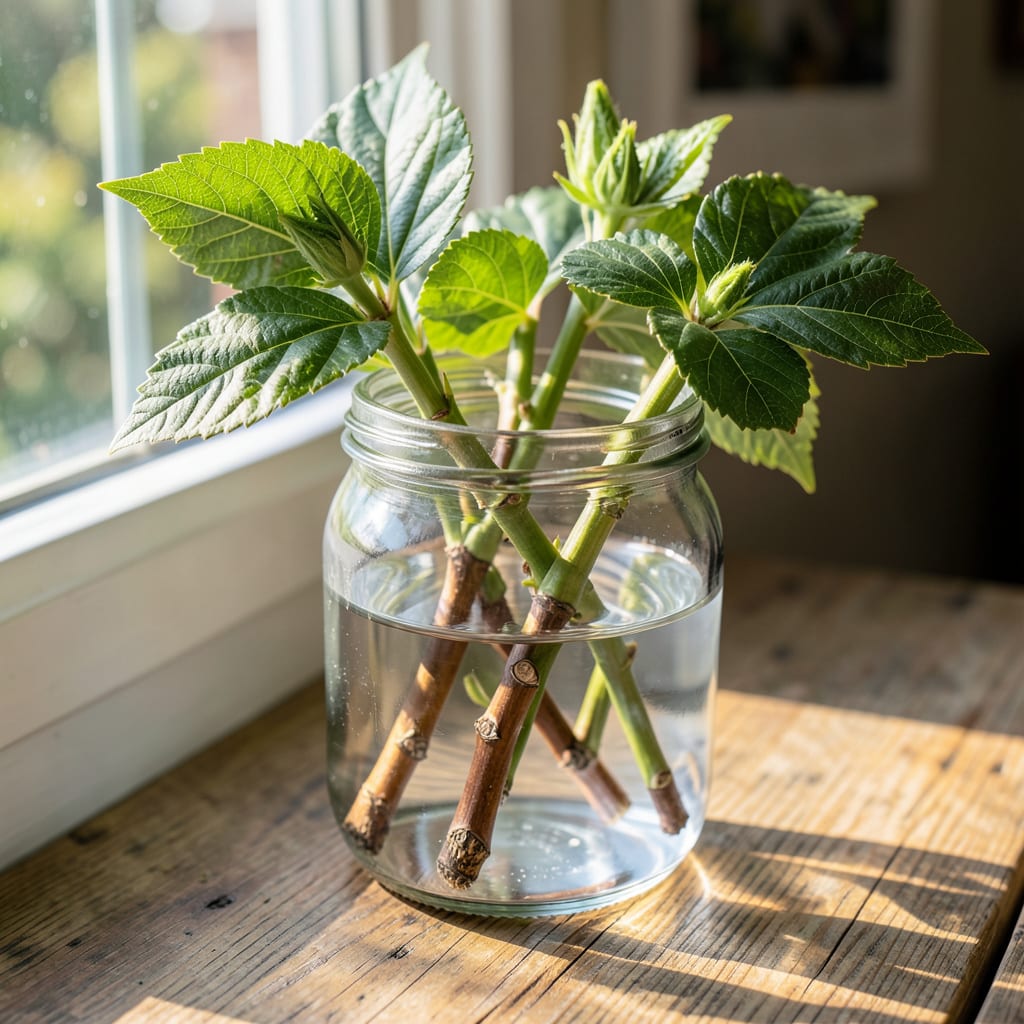
I’ve rooted dozens of hibiscus cuttings with one reliable method. This water propagation technique works for both tropical and hardy varieties, producing strong roots in 2-3 weeks with minimal effort.
The process requires only a healthy cutting, clean water, and indirect light. By following these steps, you’ll see white root tendrils emerge, ready for transplanting into soil for a thriving new plant.
📚 In This Guide
This method delivers consistent results with minimal equipment and maximum root development.
Choose 4-6 inch semi-hardwood stems from a healthy hibiscus plant, taken just below a leaf node where new growth emerges. I target stems with a diameter of about ¼ inch—thick enough to store energy but not so woody that rooting slows.
Using clean, sharp pruners, make a 45-degree cut just below a node. Remove all leaves from the lower 2-3 inches of the stem, leaving 2-3 leaves at the tip to support photosynthesis. Any remaining foliage below the waterline will rot and contaminate the propagation.
Dip the cut end in rooting hormone (optional but recommended) to accelerate development. Shake off excess powder—too much can inhibit rather than help. The hormone creates a protective barrier while stimulating cellular division at the cut site.
Fill a clean, transparent glass or jar with room-temperature water. The vessel should be deep enough to submerge 2-3 inches of the stem without touching the bottom. Transparency allows you to monitor root development without disturbing the cutting.
Place the container in a location with bright, indirect light and consistent 70-75°F temperatures. Direct sun heats the water, reducing oxygen levels and stressing the cutting. A north or east-facing windowsill works best for maintaining stable conditions.
If humidity is low, loosely cover the cutting with a clear plastic bag to retain moisture. Ensure the bag doesn’t touch the leaves, as trapped condensation can cause rot. Remove the covering daily for 10-15 minutes to allow air circulation.
Change the water every 3-4 days to prevent bacterial growth and maintain oxygen levels. I use filtered or distilled water to avoid chlorine and other chemicals that can inhibit rooting. Tap water left out for 24 hours allows chlorine to dissipate if filtered water isn’t available.
Check for root development after 2-3 weeks. Healthy roots appear white and fibrous. If the stem shows signs of rot (black or mushy tissue), remove it immediately and start over with a fresh cutting. Yellowing leaves may indicate insufficient light or nutrient deficiency, but the cutting can still root successfully.
Once roots reach 1-2 inches in length, the cutting is ready for transplanting. This typically occurs within 4-6 weeks, though some varieties may take longer. Patience is critical—disturbing the cutting too soon can set back progress.
Fill a 4-6 inch pot with well-draining potting mix. I prefer a blend with 30-40% perlite to ensure adequate aeration for developing roots. Moisten the mix thoroughly before planting to help the soil settle around the roots.
Gently remove the cutting from the water, taking care not to damage the fragile new roots. Plant it in the prepared pot at the same depth it was submerged in water. Firm the soil lightly around the base to eliminate air pockets, which can dry out roots.
Place the potted cutting in bright, indirect light for the first 7-10 days to reduce transplant shock. Keep the soil consistently moist but not waterlogged. After this acclimation period, gradually introduce more direct light to encourage strong, compact growth.
Small details make the difference between success and failure when propagating hibiscus.
Cutting Selection: In Step 1, focus on semi-hardwood stems with a ¼ inch diameter—these contain the ideal balance of stored energy and flexibility for root development. Avoid fully woody stems as they root more slowly, while green stems often rot before establishing roots.
Water Quality Matters: For Step 3, using filtered or distilled water prevents chemical interference with root formation. If using tap water, the 24-hour waiting period allows chlorine to dissipate, which is critical since chlorine can damage the delicate cut tissue and inhibit root growth.
Environmental Stability: The 70-75°F temperature range specified in Step 2 is non-negotiable. Temperatures below this range slow cellular division, while higher temperatures can cause the cutting to desiccate. A north or east-facing windowsill provides the bright, indirect light needed without the heat stress of direct sun.
Transplant Timing: Wait until roots reach 1-2 inches in length, as specified in Step 3, before transplanting. Moving too early can damage fragile new roots, while waiting too long can lead to waterlogged stems that struggle to adapt to soil conditions.
Yes, but water propagation is more reliable for beginners. Soil rooting works best with a well-draining mix and high humidity, like a greenhouse or plastic bag cover.
Typically 3–6 weeks, depending on temperature and light. Keep the water fresh and change it every few days to prevent rot.
Spring or early summer is ideal, when the plant is actively growing. Avoid winter, as cooler temps slow root development.
This is usually rot from over-saturation. Trim any blackened stems, switch to clean water, and ensure only the nodes are submerged.
Yes! A light dusting of cinnamon (natural fungicide) or diluted honey (rooting aid) can boost success. Dip cut ends before placing in water.
