
Beautiful Plants For Your Interior
Beautiful Plants For Your Interior
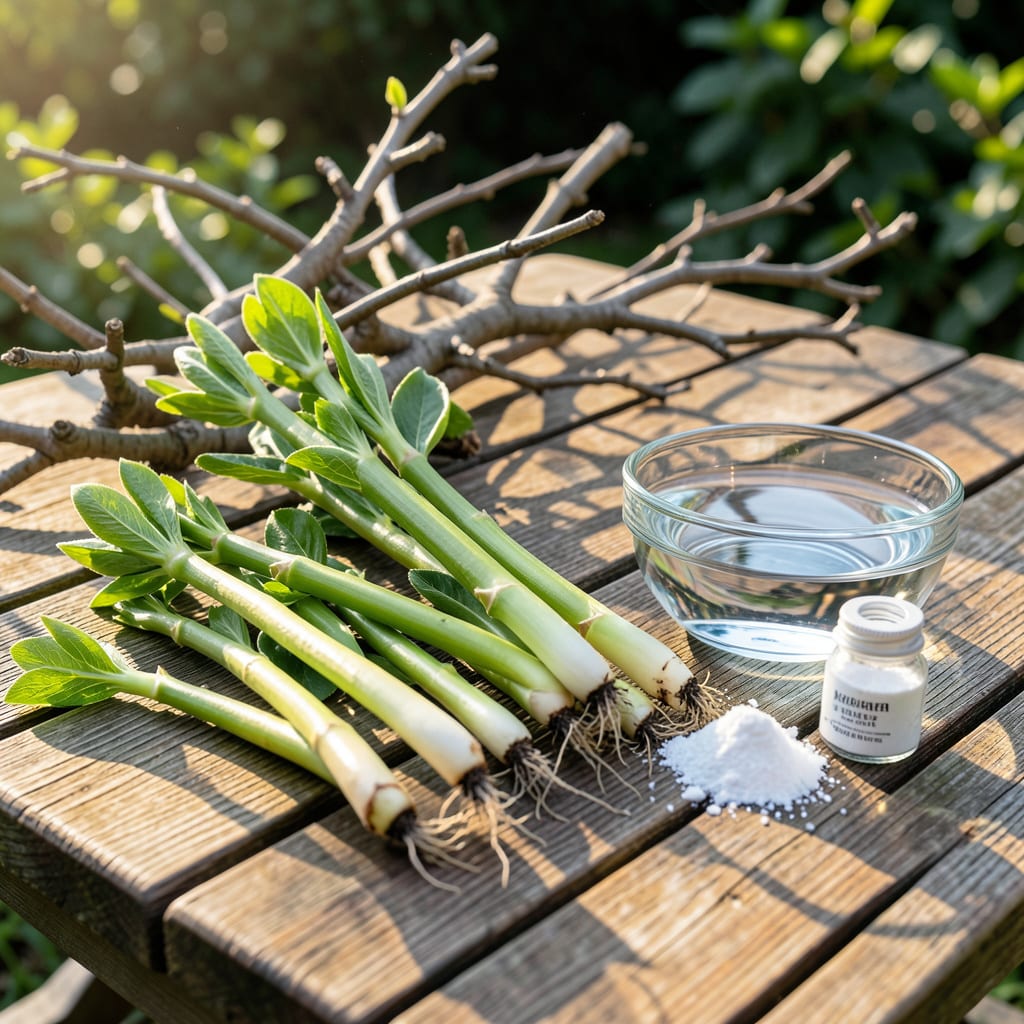
I’ve turned dozens of forsythia cuttings into new plants with just water and patience. No fancy tools, no greenhouse—just a jar and a sunny windowsill.
The secret is timing: take cuttings in late winter when the plant’s dormant. Within 4-6 weeks, you’ll see roots forming, and soon you’ll have free shrubs to fill your yard or share with neighbors.
📚 In This Guide
This is the easiest way I know to turn a single branch into a thriving new shrub.
Choose pencil-thick stems from this year’s growth—these are the green, flexible ones, not the old woody branches. The best time is right after the plant flowers, when the new growth is still soft but mature enough to root. I look for stems with a few leaf nodes visible.
Using clean, sharp pruners, cut sections that are 6-8 inches long, making the bottom cut just below a leaf node at a 45-degree angle. This increases the surface area for root development. Remove all leaves from the bottom half of each cutting, leaving only 2-3 leaves at the top.
Dip the cut end of each stem in rooting hormone powder (optional but helpful for faster results). Tap off any excess—too much can actually inhibit rooting. I’ve found that forsythia roots so readily that you can often skip this step, but it does speed things up by a few days.
Place the prepared cuttings in a clean glass or jar filled with room-temperature water. Make sure only the bottom 2-3 inches of stem are submerged—any leaves touching water will rot. Use filtered or distilled water if your tap water is heavily chlorinated.
Set the container in a bright spot with indirect light—a north or east-facing windowsill works perfectly. Avoid direct sun, which can overheat the water and damage the emerging roots. The ideal temperature is 65-75°F, which is typical indoor room temperature.
Change the water every 3-4 days to prevent bacterial growth, which appears as cloudy water or a foul smell. I like to rinse the container and refill it with fresh water at the same time. You should see white root nubs forming within 2-3 weeks.
Once roots are 1-2 inches long (usually after 4-6 weeks), it’s time to transplant. Fill small pots with well-draining potting mix and make a hole with your finger. Gently place the cutting in the hole and firm the soil around it to eliminate air pockets.
Water thoroughly after planting and keep the soil consistently moist (not soggy) for the first 2-3 weeks while the roots adapt. Place the pots in bright, indirect light for another 2-3 weeks before moving them to their permanent location in the garden or a larger container.
A few small details make the difference between struggling cuttings and lush new shrubs.
Selection Strategy: In Step 1, focus on stems that are truly pencil-thick and green—this year’s growth roots far more reliably than older wood. I’ve had the best success with stems that have at least three visible leaf nodes, as these provide multiple potential rooting points.
Water Wisdom: For Step 2, room-temperature water is non-negotiable. Cold water shocks the cuttings, while too-warm water encourages rot. If your tap water is heavily treated, filtered or distilled water prevents the chemical interference that can delay root formation.
Environment Essentials: In Step 3, that 65-75°F range isn’t just a suggestion—it’s the sweet spot where forsythia cuttings thrive. If your home runs cooler, consider placing the container near a heat source (but not in direct sunlight) to maintain that ideal temperature range.
Transplant Timing: Don’t rush Step 4. Those 1-2 inch roots need to develop fully before transplanting, and the subsequent 2-3 weeks of careful watering are when most failures happen. Keep the soil consistently moist but never soggy—this is when patience pays off.
Yes! Forsythia cuttings root easily in water. Simply place 6-8 inch softwood cuttings in a jar of water, change the water every few days, and wait 2-4 weeks for roots to form.
The ideal time is late spring or early summer when the plant is actively growing. Avoid taking cuttings during extreme heat or dormancy for the best success.
Check for old wood or poor water quality. Use fresh cuttings, ensure nodes are submerged, and provide bright, indirect light. If they rot, try again with cleaner tools and water.
Yes! You can root forsythia in moist potting mix or directly in the ground. Water propagation is just the easiest for beginners.
In water, roots typically appear in 2-4 weeks. In soil, it may take 4-6 weeks. Be patient and keep the environment humid.
