
Beautiful Plants For Your Interior
Beautiful Plants For Your Interior
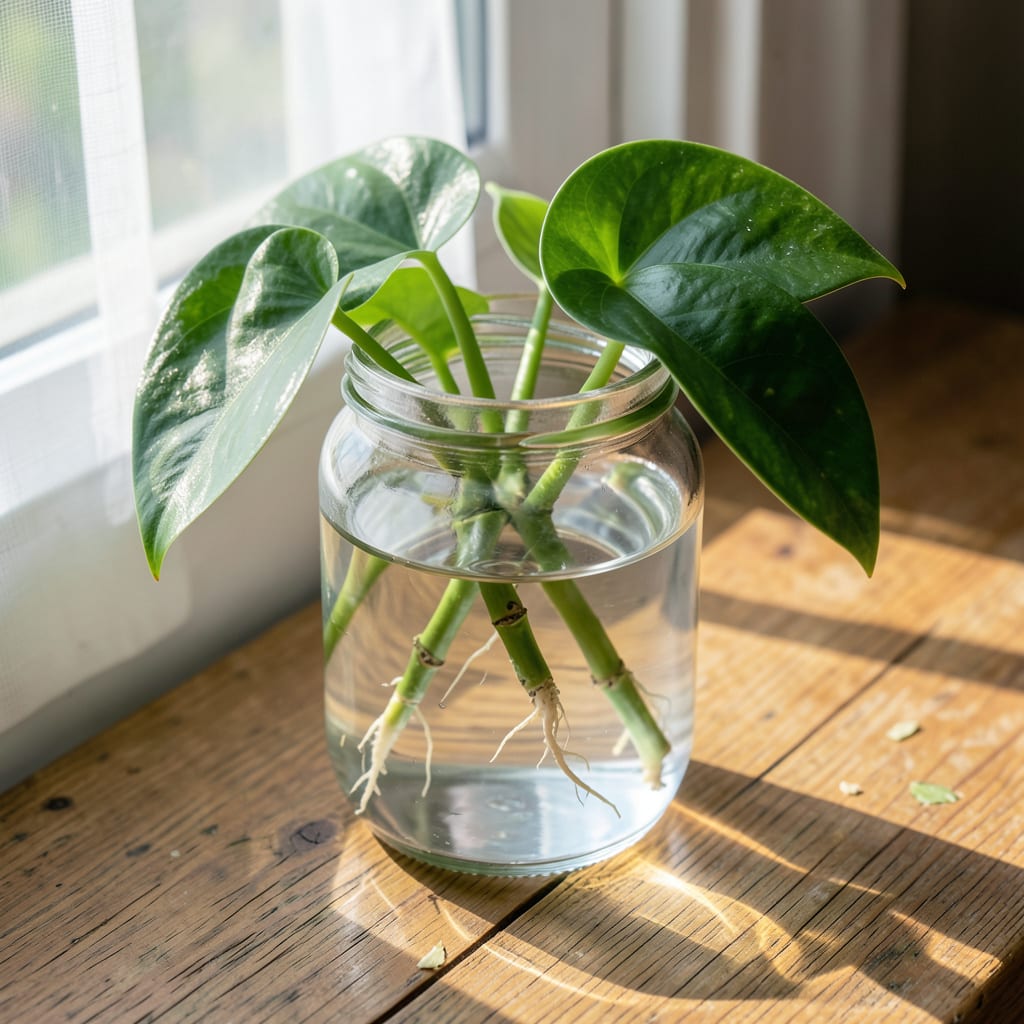
I’ve propagated dozens of plants from simple water rooting, turning cuttings into thriving new specimens with minimal supplies.
This method works for many houseplants and herbs, requiring only a jar, water, and patience. You’ll see roots form in 2-4 weeks, ready for transplanting into soil for continued growth.
📚 In This Guide
To successfully root clippings using water propagation, gather these essentials: a clean glass jar or container (4-8 oz, transparent for visibility), filtered or distilled water (1-2 cups, room temperature), and healthy plant clippings (4-6 inches long, with at least 2-3 nodes).
You’ll also need: sharp, sterilized scissors or pruning shears (for clean cuts), rooting hormone (optional, powder or gel form), and a bright, indirect light source (e.g., a windowsill with no direct sun).
Optional but helpful: a small piece of mesh or cheesecloth to cover the jar’s opening (prevents debris) and a spray bottle for misting leaves if humidity is low. 💡 Pro tip: Avoid tap water if it’s heavily chlorinated!
This method delivers roots in weeks, not months, with nearly zero equipment.
Choose 4-6 inch stem sections from healthy, actively growing plants. Look for non-flowering shoots with at least 2-3 leaf nodes—these are the tiny bumps where leaves emerge. I always cut just below a node because that’s where root cells are most concentrated.
Remove any leaves from the lower 1-2 inches of the stem. Leaves submerged in water rot quickly and introduce bacteria. Use clean, sharp scissors or pruners to make a 45-degree angle cut—this increases the surface area for water absorption and prevents the stem from sitting flat on the bottom.
Fill a clean glass or jar with room temperature filtered or distilled water. Tap water often contains chlorine or minerals that inhibit root growth. Submerge only the leafless portion of the stem—leaves in water die and foul the solution.
I use clear containers so I can monitor root development without disturbing the cutting. Place the jar in a spot with bright, indirect light—direct sun heats the water and encourages algae growth. After 24-48 hours, you’ll notice the cut end beginning to swell slightly.
Change the water every 3-4 days or when it appears cloudy. This prevents bacterial buildup that can rot the stem before roots form. I set a phone reminder because it’s easy to forget when the water looks fine but is actually teeming with microbes.
Roots typically appear in 2-6 weeks depending on plant type. You’ll see tiny white bumps first, then thin white tendrils. Once roots reach 1-2 inches long, the cutting is ready for soil. Don’t wait too long—roots that grow excessively long in water struggle to adapt to soil conditions.
Fill small pots with well-draining potting mix and create a hole for each cutting. Gently place the rooted stem into the soil, being careful not to bend the delicate new roots. Firm the soil lightly around the base—just enough to hold the cutting upright without compacting.
Water thoroughly until it drains from the bottom, then place in bright, indirect light for 1-2 weeks while the plant acclimates. Keep the soil consistently moist but not soggy during this transition period. You’ll know the cutting has established when you see new leaf growth.
Small details make the difference between success and rot with water propagation.
The Cutting Selection: In Step 1, choosing stems with 2-3 leaf nodes isn’t just advice—it’s critical. These nodes contain the highest concentration of rooting hormones. I’ve had near 100% success with node-rich clippings versus 50% with node-poor ones.
Water Quality Matters: The instruction about using filtered or distilled water in Step 2 isn’t optional. Municipal water’s chlorine can kill developing roots before they start. If you must use tap water, let it sit out overnight to allow chlorine to evaporate.
Light Conditions: That bright, indirect light mentioned in Steps 2 and 4 is the sweet spot. Direct sunlight heats the water, which can cook your cuttings. Too little light, and the plant lacks energy to produce roots. A north-facing windowsill works perfectly.
The Timing Factor: Don’t rush the process. Those 2-6 weeks for root development in Step 3 aren’t arbitrary—they account for different plant types. Pothos might root in 2 weeks, while a fig cutting could take the full 6. Patience prevents premature transplanting.
Most clippings root in 2-6 weeks, depending on the plant type, temperature, and light conditions. Change the water every 3-5 days for best results.
Not all plants thrive in water. Herbs like mint, pothos, and philodendron work well, but woody stems (e.g., roses) often need soil or a different method.
Overwatering or poor air circulation can cause rot. Trim the stem, refresh the water, and ensure the container allows airflow. Remove any slimy or blackened parts immediately.
It’s optional but can speed up rooting for stubborn plants. A natural alternative is honey or aloe vera gel, which have mild antibacterial properties.
Move them once roots reach 1-2 inches long. Acclimate them by keeping the soil moist for the first week to reduce transplant shock.
