
Beautiful Plants For Your Interior
Beautiful Plants For Your Interior
That old shrub stump mocking you from the corner of your yard? I’ve been there—staring at the same eyesore for months, wondering why it refuses to die. The truth is, shrubs don’t give up easily. Their roots run deep, and unless you remove them completely, they’ll keep sending up shoots like they’re auditioning for a […]
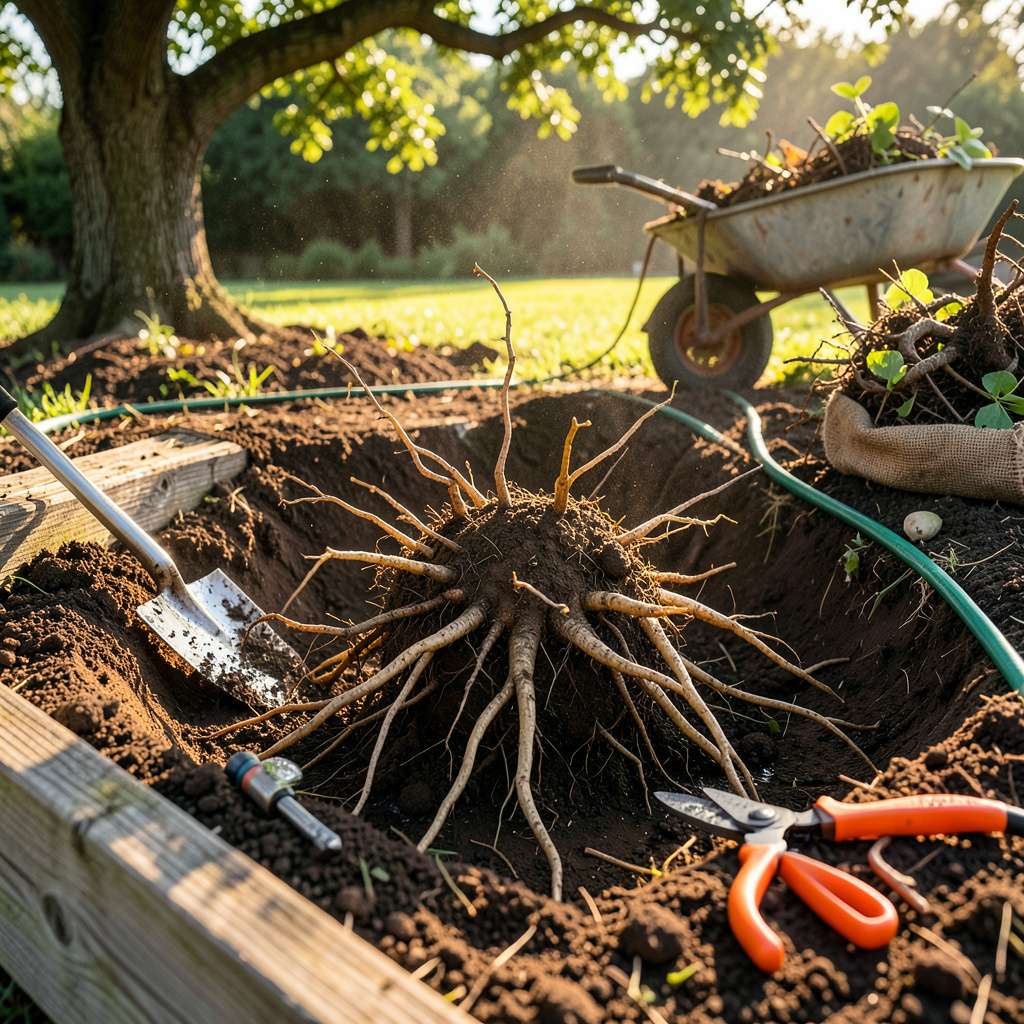
That old shrub stump mocking you from the corner of your yard? I’ve been there—staring at the same eyesore for months, wondering why it refuses to die. The truth is, shrubs don’t give up easily. Their roots run deep, and unless you remove them completely, they’ll keep sending up shoots like they’re auditioning for a zombie movie.
After digging out more stumps than I can count (and learning which tools actually work), I’ve landed on a method that gets the job done without renting heavy machinery. You’ll need some muscle, the right leverage, and a technique that targets the root system—not just what you see above ground. Most people stop too soon, leaving behind roots that regrow faster than you’d expect.
What you end up with is clean, usable space—no more tripping over hidden roots or battling surprise sprouts. The area becomes ready for new plants, a patio, or whatever your garden needs next. And yes, it’s possible to do this without turning your yard into a construction zone or spending a fortune on professional removal.
Works for overgrown foundation plants, failed landscaping experiments, or that “temporary” shrub someone planted 20 years ago. Here’s how to evict those roots for good—with minimal frustration and maximum results.
📚 In This Guide
This method works for even the most stubborn roots—no heavy machinery required, just smart technique and patience.
Start by clearing all debris and loose soil around the stump. Use a sharp spade to dig a trench about 12-18 inches deep around the base, exposing as much of the root ball as possible. The wider your trench, the easier it’ll be to access those deep feeder roots that keep the shrub anchored.
You’ll know you’ve dug deep enough when you start seeing thick, woody roots radiating outward. Don’t worry if you nick a few small roots during this process—it’s inevitable and won’t affect the removal. Just focus on creating enough space to work comfortably around the entire stump.
With your pruning saw or reciprocating saw, begin cutting through the thickest roots you’ve exposed. Work methodically around the stump, severing roots that are 1 inch in diameter or larger. These are the structural roots that hold everything in place.
You’ll feel resistance as you cut—this is normal. Apply steady pressure and let the saw do the work. For particularly tough roots, you might need to rock the saw slightly to widen the cut. The stump will start to loosen noticeably once you’ve cut through about 70% of the major roots.
Once the stump feels mobile, insert your digging bar or sturdy shovel under the base. Position it at about a 45-degree angle to create maximum leverage. Push down firmly on the handle while simultaneously pulling upward on the stump.
The stump should begin to lift, bringing smaller roots with it. You’ll hear roots snapping—that’s good! If it won’t budge, you likely missed some larger roots. Go back and cut any remaining thick roots you see still connecting the stump to the ground.
After removing the main stump, you’ll see a network of smaller roots still in the ground. Use your spade to chop these into manageable pieces, then pull them out by hand. This prevents regrowth and makes the area ready for replanting.
Fill the hole with the soil you removed earlier, tamping it down lightly as you go. The area will settle over time, so mound it slightly higher than the surrounding ground. Water thoroughly to help the soil settle and remove any air pockets around the remaining roots.
Removing stubborn shrub roots doesn’t have to be backbreaking work—these practical insights will save you time and frustration.
Depth Matters: When digging your trench in Step 1, don’t stop at the minimum 12 inches. I’ve found that going closer to 18 inches deep makes a dramatic difference in accessing those deep anchor roots. The extra effort now means less struggling later when you’re trying to leverage the stump out. You’ll know you’ve gone deep enough when you can see the main taproot beginning to emerge from the center.
Root Cutting Strategy: In Step 2, focus first on the thickest roots radiating directly downward—these are the real anchors. I make it a point to cut these at a slight angle rather than straight across, which seems to help prevent the saw from getting stuck. And here’s what nobody tells you: those 1-inch diameter roots aren’t all equal. The ones with visible wood grain patterns are the toughest, so tackle those first.
Leverage Technique: For Step 3, position your digging bar about 6-8 inches away from the stump base rather than right at the edge. This gives you better mechanical advantage. I’ve also found that rocking the stump gently side-to-side while applying upward pressure helps break those last stubborn connections. The 45-degree angle mentioned in the instructions is perfect—any steeper and you lose leverage, any shallower and you won’t get enough lift.
Cleanup Pro Tip: After removing the stump in Step 4, don’t rush the backfilling process. Take time to sift through the removed soil and pick out any root fragments larger than a pencil. These can regrow if left behind. I learned this the hard way after dealing with persistent suckers from a “removed” lilac bush that kept coming back for three seasons.
Timing depends on the method! Manual digging (1-3 hours) is fastest for small roots, while chemical treatments (like Epsom salt) may take 4-6 weeks to decay roots fully. Grinding stumps takes 30-90 minutes but leaves sawdust to rake. For large, deep roots, renting a stump grinder or hiring pros (1-2 days) is most efficient. Patience pays off—rushing can leave regrowth!
Yes, but prep the soil first! Remove all root fragments to prevent regrowth, then mix in compost or fresh topsoil to replenish nutrients. For chemical methods, wait 4-8 weeks (or as directed) to avoid harming new plants. Test soil pH if replanting acid-loving shrubs like azaleas. Pro tip: Solarizing the area (covering with plastic for 6 weeks) kills lingering roots naturally.
Try these no-dig hacks:
Note: These work best on small-to-medium roots (under 2″ thick).
Cutting stimulates dormant buds—like pruning a hedge! To stop regrowth:
Persistent suckers? Try a root barrier (landscaping fabric or metal edging) buried 18″ deep.
Not recommended—burning roots is risky! It can:
Safer alternatives: Use a stump grinder or hire a pro with a hydro-excavator for deep roots. If burning is legal in your area, only burn small, dry roots in a controlled fire pit.
Removing shrub roots doesn’t have to be a backbreaking chore! With the right tools—like a mattock, pruning saw, or stump grinder—and a little patience, you can clear even the most stubborn roots without calling in the pros. Whether you’re prepping for new landscaping or just reclaiming your yard, persistence and safety are key. 🌱
Now that you’re equipped with the know-how, grab your gear and tackle that project! Need extra help? Check out our recommended root-killing products or dive into our landscaping guides for your next green-thumb adventure.
