
Beautiful Plants For Your Interior
Beautiful Plants For Your Interior
That overgrown bush taking over your yard doesn’t stand a chance. I’ve wrestled with more stubborn shrubs than I can count—some so established they felt like part of the landscape. The key isn’t brute force (though we’ll use some), but working with the plant’s structure to remove it cleanly without leaving a root system that’ll […]
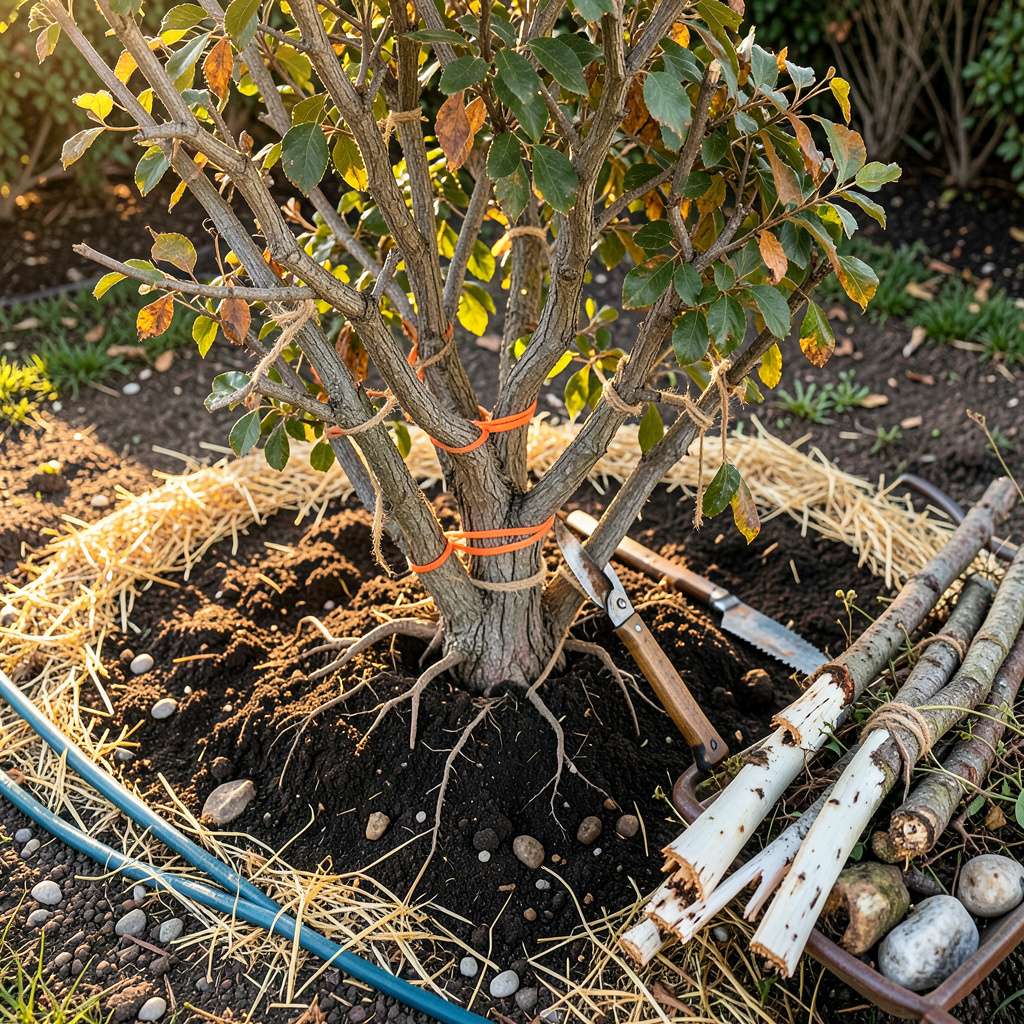
That overgrown bush taking over your yard doesn’t stand a chance. I’ve wrestled with more stubborn shrubs than I can count—some so established they felt like part of the landscape. The key isn’t brute force (though we’ll use some), but working with the plant’s structure to remove it cleanly without leaving a root system that’ll haunt you for years.
What most people miss is the prep work. You can’t just start hacking away—you need to understand how the bush grows, where its energy comes from, and how to cut it off at the source. My first attempt left me with a yard full of stumps that sprouted back angrier than before. Now I follow a 3-step system that ensures complete removal, even for bushes that have been in place for decades.
You’ll end up with a clean slate—no hidden roots, no surprise regrowth, and no damaged surrounding plants. The space will be ready for whatever comes next, whether that’s a new garden bed, fresh sod, or just reclaiming your yard. Best part? You won’t need to rent heavy equipment or call in professionals to finish the job.
Works for any shrub type, from ornamental bushes to invasive growth. The method scales whether you’re clearing space for a new project or just tired of fighting with an unruly plant. Let’s get that bush out for good.
📚 In This Guide
This method saves your back and your weekend—no heavy machinery required, just smart technique.
Start by clearing everything around the bush. Remove mulch, rocks, or debris within a 3-foot radius so you have room to work. I always tie back branches with twine or bungee cords to expose the base—this prevents scratches and lets you see the main stems clearly.
Put on thick gloves and safety glasses before cutting. Look for the largest stems (usually 1-3 inches thick at the base) and identify where they meet the ground. These are your primary targets. Water the soil around the bush thoroughly the day before—moist ground makes roots easier to dig.
Using loppers or a pruning saw, cut the main stems one at a time, starting with the outermost branches. Work your way inward, leaving about 12-18 inches of stem above ground. This gives you leverage for pulling later. Never cut flush with the ground yet—you’ll lose your grip.
As you cut, pile the branches out of your way. I like to sort them by size: thin branches for easy disposal, thick stems for potential firewood or mulch. You’ll be surprised how much lighter the bush feels after removing just the top growth. This step alone removes about 70% of the weight you’d otherwise struggle with.
Now dig a trench around the bush, about 12 inches deep and 6 inches wide. Use a sharp spade to cut through roots as you encounter them. You’ll feel resistance when you hit major roots—this is normal. Rock the spade back and forth to sever them cleanly.
Once you’ve circled the bush, use the spade to pry upward gently, exposing the root ball. For bushes over 5 years old, you’ll likely find a dense network of roots. Cut these with loppers or a reciprocating saw with a wood-cutting blade. Don’t rush this part—cutting roots systematically prevents tearing and makes removal easier.
With all major roots cut, you should now be able to wiggle the remaining stem stub. Grab it near the base and pull straight up while rocking side to side. For particularly stubborn bushes, you may need to dig deeper on one side to create a fulcrum point.
If the root ball won’t budge, cut it into quarters with your saw. Remove each section separately—this works especially well for old lilacs or forsythia with massive root systems. You’ll know you’ve got the main root when the bush suddenly lifts free. Fill the hole immediately with fresh soil to prevent settling.
Rake the area smooth and remove all debris. Any remaining root fragments can sprout new growth, so I always sift through the soil to pull out stragglers. For particularly aggressive bushes like butterfly bush or sumac, consider covering the area with cardboard and mulch for 6-12 months to smother any regrowth.
Water the area thoroughly to settle the soil. You’ll likely see some soil depression over the next few weeks as the ground compacts—just add more soil as needed. I like to plant something new right away to prevent weeds from taking over the freshly cleared space.
Here’s what we’ve learned from years of wrestling stubborn bushes—small adjustments that make a huge difference.
Preparation Insight: Don’t skip watering the soil thoroughly the day before as mentioned in Step 1. I’ve found that moist soil can reduce digging effort by up to 40% compared to dry, compacted ground. The difference is especially noticeable with older bushes that have established root systems. This simple step prevents unnecessary strain on your tools and your back.
Cutting Strategy: When following Step 2’s instruction to leave 12-18 inches of stem, I recommend erring on the longer side for bushes over 5 years old. That extra length gives you crucial leverage when it comes time to pull the root ball in Step 4. I’ve broken more stems than I’d like to admit by cutting them too short initially. The remaining stem also serves as a handy marker showing exactly where the root ball is centered.
Root Removal Technique: For Step 3’s trench digging, I’ve had the best results using a sharp, flat-edged spade rather than a rounded garden shovel. The flat edge cuts through roots more cleanly with less effort. When you hit resistance from major roots, don’t force it—rock the spade gently back and forth to sever the root cleanly. This method prevents the jagged tears that can leave root fragments behind to regrow.
Cleanup Wisdom: The 6-12 month mulching suggestion in Step 5 isn’t just for aggressive bushes—it’s wise practice for any removal. I’ve seen new growth appear from tiny root fragments left behind, even with seemingly thorough removals. A thick layer of cardboard topped with 4-6 inches of wood chips effectively smothers any remnants while improving the soil for your next planting.
Timing depends on the bush size and method. Manual digging takes 2–6 hours for deep roots, while stump grinders or chemical removals may require 1–3 days (including follow-up). For regrowth prevention, plan for extra monitoring over weeks.
Yes! Try cut-stump treatment: Cut the bush close to the ground, then apply a 30% glyphosate herbicide to the stump. Cover with plastic to block sunlight. Alternatively, smothering (mulch + cardboard) works but takes 6–12 months.
Aim for late fall or early spring when plants are dormant—roots are weaker, and soil is easier to work with. Avoid summer heat (stress for you and the plant) or freezing winter (hard ground).
Combine methods for best results:
Persistence is key!
For deep roots, rent a stump grinder or use a mattock to chop them. If roots extend under structures, sever them cleanly with a reciprocating saw and treat the cut ends with herbicide. Call a pro if near utility lines!
Removing large bushes doesn’t have to be a backbreaking chore! With the right tools, techniques, and a little patience, you can clear space for new plants or a fresh landscape design. Safety first—always wear protective gear and take breaks to avoid strain.
Now that you’ve tackled the job, why not plan what’s next? Whether it’s planting new shrubs, creating a garden bed, or simply enjoying your newly cleared space, the possibilities are endless. Happy gardening! 🌿
