
Beautiful Plants For Your Interior
Beautiful Plants For Your Interior
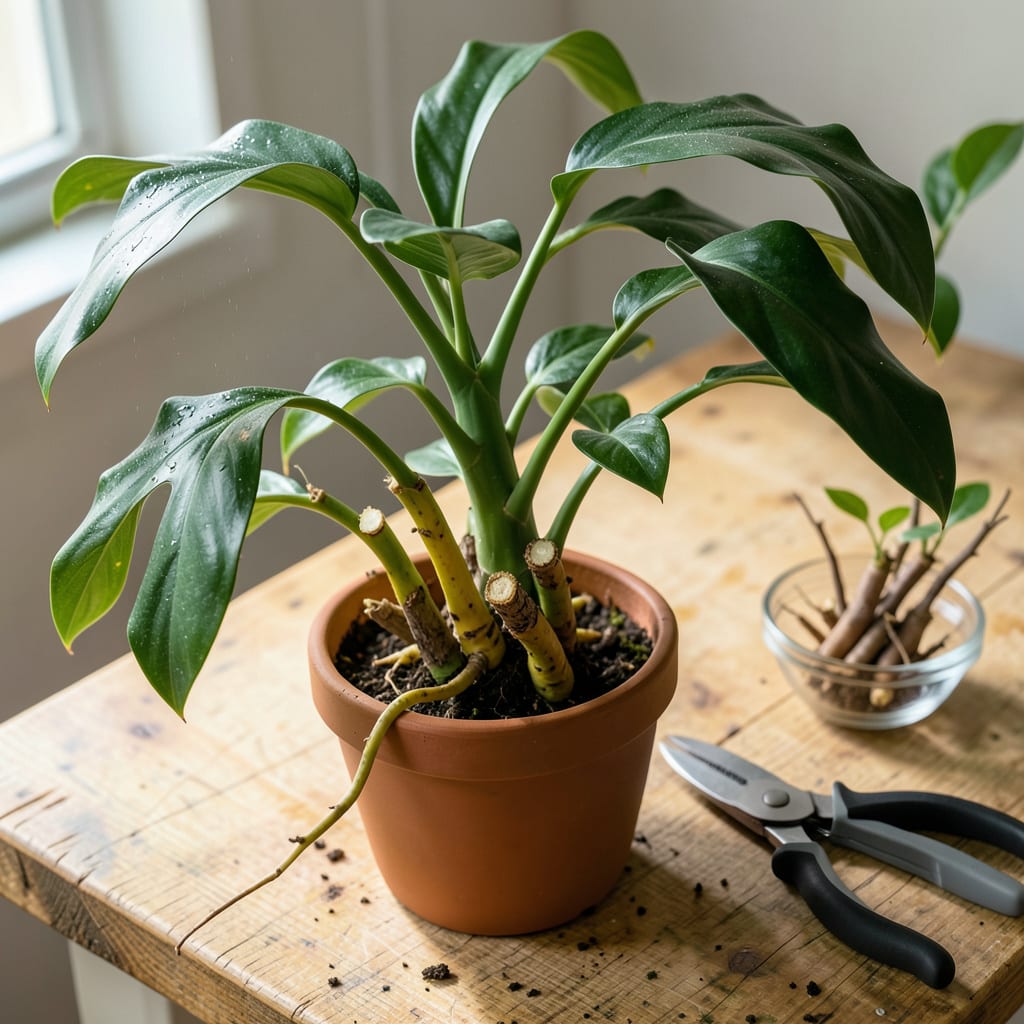
I used to think ZZ plants were the “set it and forget it” of houseplants—until I realized pruning could transform mine from leggy and sparse to thick and lush. This isn’t about keeping your plant alive; it’s about making it thrive. A few strategic cuts encourage new growth exactly where you want it, while removing yellowed or damaged stems keeps the whole plant looking sharp.
Here’s the thing—ZZ plants are forgiving, but they respond best to pruning at the right time with the right technique. You’ll need just two tools (probably already in your drawer), and the whole process takes less than 10 minutes. What you get in return is a fuller plant that grows exactly how you envision it, plus bonus cuttings to propagate if you’re feeling ambitious.
📚 In This Guide
Pruning isn’t just about looks—it’s how you unlock a bushier, more vibrant ZZ plant that thrives for years.
Start by examining your plant for yellowing stems or overly long, bare branches. These are your primary targets. I always look for stems that have grown taller than 2 feet—they tend to get leggy and weak. You’ll also want to remove any stems that cross or rub against others, as these create wounds that invite pests.
Focus on the top 1/3 of the plant first. This is where new growth will be most vigorous after pruning. Don’t worry about making mistakes here—ZZ plants are incredibly forgiving. Just avoid cutting stems shorter than 6 inches, as they may not regrow properly.
Use sharp, clean pruning shears to make cuts at a 45-degree angle, about 1/4 inch above a leaf node. This angle prevents water from pooling on the cut surface, which could lead to rot. I always wipe my shears with rubbing alcohol between plants to prevent disease spread—it’s a habit that saves headaches later.
For thicker stems (over 1/2 inch diameter), you might need to make two cuts: first a shallow notch on the underside, then the final cut from above. This prevents the stem from tearing. You’ll feel the difference—a clean cut requires almost no pressure, while a dull blade makes you work for it.
Step back frequently to assess the plant’s shape. Your goal is a rounded, symmetrical form that allows light to reach all parts evenly. I like to rotate the pot as I work to catch any uneven areas. Remove up to one-third of the total foliage in a single session—this prevents shocking the plant while still encouraging new growth.
Pay special attention to the plant’s interior. Thin out some of the older, woodier stems to improve air circulation. You’ll be amazed how much lighter and healthier the plant looks afterward. These cuts also redirect energy to the remaining stems, making them grow thicker and stronger.
Don’t discard those cuttings! Healthy stems 6 inches or longer can be propagated in water. Simply place them in a clean jar with the cut end submerged about 1 inch deep. You’ll see new roots forming in 4-6 weeks. I’ve filled entire rooms with free ZZ plants using this method.
After pruning, move your plant to bright, indirect light for a few days. Avoid direct sun, which can stress the freshly cut plant. Water lightly—just enough to moisten the top 2 inches of soil—and then wait until the soil is completely dry before watering again. This gives the plant time to focus on healing and new growth rather than maintaining soggy roots.
Check your plant weekly for the first month after pruning. You should see new shoots emerging from the cut areas within 3-4 weeks. If some stems aren’t producing new growth, they might be too old or damaged—go ahead and remove them completely at the base.
Rotate your plant quarter-turn weekly to prevent uneven growth toward the light source. You’ll notice the pruned areas filling in beautifully over the next few months. This is also the perfect time to wipe down leaves with a damp cloth—clean leaves absorb light more efficiently, and you’ll be rewarded with even faster regrowth.
Here’s what I’ve learned from years of pruning ZZ plants—small details that make a huge difference in your plant’s health and appearance.
Precision Cutting: When making those 45-degree angle cuts in Step 2, take your time positioning your shears exactly 1/4 inch above the leaf node. I’ve found that cutting too close can damage the node, while cutting too far away leaves an unsightly stub that may die back. The perfect cut should be just above where you can see a small bump or ridge on the stem—this is where new growth will emerge.
Tool Maintenance: Between each cut, especially when working with multiple plants, wipe your pruning shears with rubbing alcohol as mentioned in Step 2. This isn’t just about disease prevention—it also keeps your cuts cleaner. Dull blades crush stems rather than cutting them, which can delay healing. I sharpen my shears every few months with a simple file, and the difference in cutting ease is remarkable.
Propagation Success: For the water propagation method in Step 4, change the water every 5-7 days to prevent bacterial growth. I’ve had the best success using filtered or distilled water, as tap water chemicals can sometimes inhibit root development. Also, place your cuttings in bright, indirect light—the same conditions recommended for your newly pruned plant. You’ll start seeing roots in that 4-6 week window, but some stems may take longer, so be patient.
Post-Pruning Care: That recommendation in Step 4 to water just enough to moisten the top 2 inches of soil is crucial. Overwatering after pruning is the most common mistake I see. The plant needs time to heal its cuts, and soggy soil creates the perfect environment for rot. I use the “chopstick test”—insert a clean chopstick into the soil, and if it comes out with soil clinging to it, that’s moist enough. If it comes out clean, it’s time to water.
It’s best to avoid winter pruning since ZZ plants grow slowly in cold months. Spring or early summer (active growth season) is ideal for trimming. If you must prune in winter, do it lightly—just remove dead or damaged stems to avoid stressing the plant.
Trim back the tallest stems just above a leaf node (where leaves meet the stem) using clean shears. This prompts new growth from the cut point. Rotate the plant occasionally for even light exposure, and fertilize lightly after pruning to boost regrowth.
No pruning = no harm! ZZ plants thrive on neglect. However, unpruned plants may become leggy, top-heavy, or uneven. Pruning helps control shape, remove dead growth, and redirect energy for a fuller look. Think of it as a “haircut” for healthier growth!
Healthy ZZ stem cuttings (3–6 inches long) can root in water or soil. Let cuttings callus for 1–2 days before planting. Keep them in bright, indirect light and mist occasionally. Roots typically appear in 4–8 weeks—free new plants!
Yellowing stems post-pruning usually mean overwatering, poor drainage, or shock. Ensure your pot has drainage holes, water only when soil is dry, and avoid direct sunlight on fresh cuts. If rot sets in, trim affected areas and repot in fresh, well-draining soil.
