
Beautiful Plants For Your Interior
Beautiful Plants For Your Interior
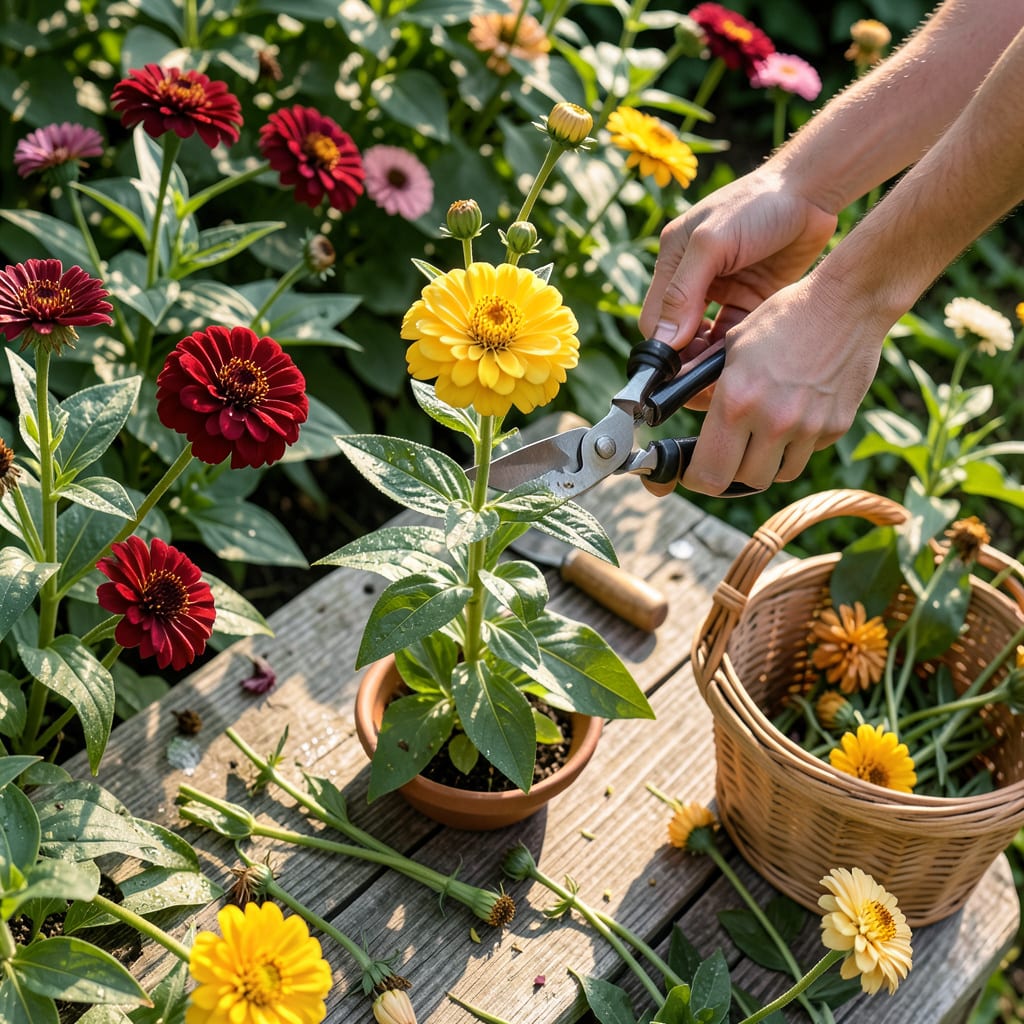
Zinnias give you summer color on demand—if you prune them right. I used to let mine grow wild until I realized that a few strategic snips could double the blooms. The secret lies in where you cut: just above a leaf node forces the plant to branch out, creating twice the flower stems instead of one lanky stalk.
Timing matters too. Start pinching back young plants when they hit 12 inches tall, then deadhead spent blooms every 5-7 days. What you get is a bushier plant that pumps out flowers nonstop until frost. No fancy tools required—just sharp scissors and 10 minutes a week.
📚 In This Guide
This straightforward method will keep your zinnias producing vibrant flowers all season long—no complicated techniques required.
Begin pruning when your zinnias reach about 12-18 inches tall and have developed several sets of leaves. This usually happens 4-6 weeks after planting, depending on your growing conditions. Look for the first signs of flower buds forming at the stem tips—that’s your signal to start.
Don’t wait until flowers fully open. The ideal moment is when buds are just beginning to show color but haven’t unfurled yet. Pruning at this stage redirects the plant’s energy from seed production to creating new growth and more flower buds.
Find the main stem and trace it down to where a leaf set emerges. You’ll want to make your cut just above this junction, leaving about 1/4 inch of stem above the leaves. This small stub protects the new growth point from disease while still encouraging branching.
The leaf junction is where new stems will form, so always cut above a healthy set of leaves. If you cut too low or between leaf sets, you’ll get fewer new branches. I like to use my thumb to feel for the slight bump where leaves attach—that’s your target spot.
Use clean, sharp pruners to make a single, decisive cut at a 45-degree angle. This angled cut prevents water from pooling on the stem surface, which could lead to rot. Make sure your pruners are sanitized with rubbing alcohol to avoid spreading disease between plants.
Remove only the top 3-4 inches of the main stem—this is enough to stimulate new growth without shocking the plant. You should see the hollow center of the zinnia stem when you’ve cut correctly. Immediately after cutting, check that the remaining stem feels firm, not mushy.
After your initial pruning, you’ll notice new side shoots emerging within 7-10 days. These will develop into additional flowering stems. Once these new stems reach 12 inches tall and show bud formation, repeat the pruning process.
Throughout the season, continue this cycle of pruning whenever stems become too tall or flowers begin to fade. I make it a habit to check my zinnias every 5-7 days during peak growing season. Regular pruning keeps plants bushy and prevents them from becoming leggy or top-heavy.
After each pruning session, remove all cut stems from the garden area. These can harbor pests or diseases if left on the ground. I like to collect them in a small bucket as I work to keep everything tidy.
Water your zinnias deeply after pruning to help them recover. You’ll know they’re responding well when you see new growth at the pruning points within a week. Keep an eye out for any stems that don’t produce new growth—these may need to be removed entirely if they show signs of disease or damage.
These simple adjustments will help you get the most blooms from your zinnias with minimal effort.
The Timing Factor: That 4-6 week window after planting mentioned in Step 1 is crucial—don’t prune too early when plants are still establishing roots. I’ve found that waiting until stems reach at least 12 inches tall gives the plant enough strength to handle pruning without stress. If you’re in a cooler climate, you might need the full 6 weeks before your zinnias are ready.
Cutting Technique: When making that 45-degree angle cut in Step 3, here’s what nobody tells you—the angle should face away from the center of the plant. This prevents water from running down the stem toward the main plant. Also, make sure your pruners are sharp enough to cut cleanly through the hollow stem without crushing it.
Monitoring Growth: After your initial pruning, those 7-10 days mentioned in Step 4 can feel long when you’re waiting for new growth. I check my plants daily during this period, looking for tiny green bumps at the pruning points—these are your new stems starting! Once you see them, you’ll know the pruning was successful.
Maintenance Routine: The 5-7 day check-in schedule in Step 5 becomes easier if you make it part of your gardening routine. I combine my zinnia checks with watering days—this way I never forget. During these checks, I also remove any yellowing leaves at the base of the plant to improve air circulation.
Prune zinnias every 2-3 weeks during the growing season (late spring to fall). Pinch back stems when plants reach 12-18 inches tall to encourage bushier growth. Deadhead faded blooms weekly to redirect energy to new flowers. Pro tip: Light, frequent pruning works better than heavy, infrequent cuts!
Yes! Deadheading (removing spent blooms) is safe—and essential—even on flowering plants. Use clean shears to snip just above a leaf node or side bud. Avoid cutting more than ⅓ of the plant at once to prevent stress. Bonus: This triggers a fresh flush of blooms in 7-10 days!
Pinching (using fingers to remove stem tips) is done on young plants (4-6 leaves tall) to promote branching. Pruning (using shears) involves cutting back older stems to shape the plant or remove deadheads. Think of pinching as “training” and pruning as “maintenance.”
Leggy growth usually means not enough sunlight (zinnias need 6+ hours daily) or over-fertilizing (too much nitrogen = leafy, weak stems). After pruning, ensure plants get full sun and use a low-nitrogen fertilizer (like 5-10-10). Fix it: Prune again, but leave 6-8 inches of stem to regrow.
No! Zinnias are annuals and die after frost. Instead, collect seeds from dried flower heads if you want to replant next year. In mild climates, cut back dead foliage to soil level to tidy the garden. Winter task: Compost old plants—they won’t regrow!
