
Beautiful Plants For Your Interior
Beautiful Plants For Your Interior
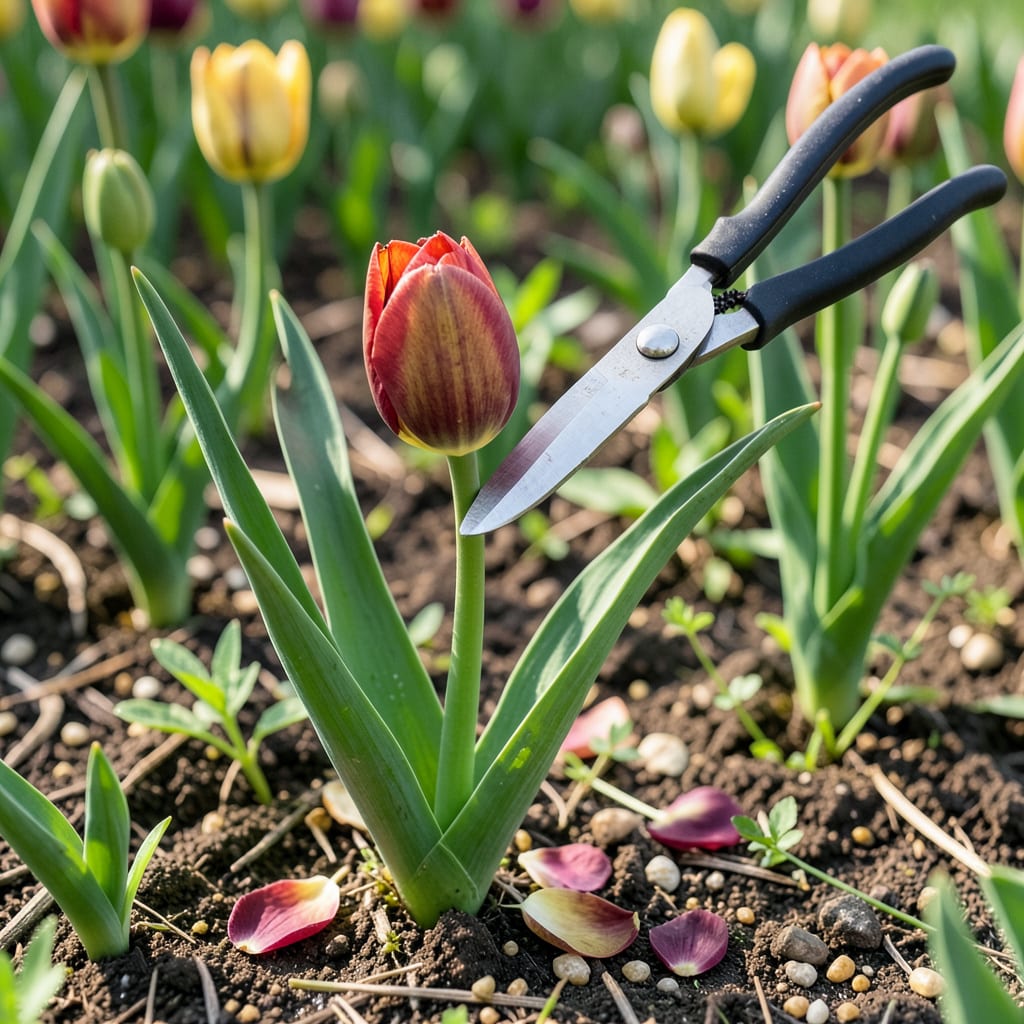
That moment when tulip petals start dropping is your cue. Pruning tulips the right way isn’t about making things look tidy—it’s about setting up next spring’s show. I used to cut everything back as soon as flowers faded, until I learned why those ugly leaves matter so much for the bulbs underground.
Here’s the simple trick: snip spent blooms immediately, but leave the foliage until it turns yellow. That’s how bulbs store energy for bigger, brighter blooms next season. You’ll need just clean shears and 5 minutes per plant—no fancy tools, no complicated timing. The difference in next year’s display will shock you.
📚 In This Guide
This simple process takes less than 15 minutes and makes all the difference for next year’s display.
Wait until your tulip blooms have completely faded and the petals have dropped naturally—this usually happens 3-4 weeks after flowering. You’ll know it’s time when the flower head turns brown and papery, but the stem and leaves remain green. Pruning too early cuts off the plant’s energy supply before it can feed the bulb for next season.
Here’s the thing—those ugly brown flower heads actually serve a purpose while they’re still attached. The plant is busy redirecting nutrients from the spent bloom back into the bulb underground. I always mark my calendar when the last tulip fades so I don’t forget this critical window.
Using clean, sharp pruners or scissors, snip off just the flower head where it meets the stem. Leave the entire stem and all leaves intact. Make your cut at a slight angle to prevent water from pooling on the flat surface, which could encourage rot.
Real talk: I’ve ruined bulbs by getting overzealous and cutting too much. The stem and leaves must remain to photosynthesize and strengthen the bulb. You should still see at least 12-18 inches of green growth remaining after your cut. If you accidentally remove leaves, don’t panic—just leave as much green material as possible.
Let the remaining leaves and stem continue growing until they turn yellow then brown—this typically takes 6-8 weeks after blooming. The plant is still actively storing energy during this time. I like to gently tie the leaves with twine if they flop over, which keeps the garden looking tidy while allowing full photosynthesis.
Resist the urge to braid or bunch the leaves tightly—this reduces their surface area and limits their ability to gather sunlight. When the foliage finally pulls away with just a gentle tug (usually by early summer), you’ll know it’s completely spent. That’s your signal the bulb has stored maximum energy for next year.
Once all foliage has turned brown and crispy, you can remove it completely by gently pulling or cutting at ground level. Clear away any plant debris from around the bulb to prevent pests and diseases from overwintering in the garden.
This is also the perfect time to add a thin layer of compost or bulb fertilizer if your soil needs replenishing. I sprinkle about 1 tablespoon of low-nitrogen fertilizer around each plant and water it in lightly. Avoid high-nitrogen products—they encourage leaf growth at the expense of flowers.
Mark your calendar to check for sprouts in early spring. The payoff comes when you see those first green shoots emerging stronger than ever—proof your pruning worked. Next year’s blooms will be noticeably larger and more vibrant if you followed these steps precisely.
These simple insights will help you avoid mistakes and get the most from your tulips next season.
Timing is Everything: That 3-4 week window after flowering mentioned in Step 1 is critical. I learned the hard way that pruning too early—when flowers are still colorful—cuts off the bulb’s food supply. Wait until petals have completely dropped and the flower head turns brown and papery, even if it looks unsightly. This patience ensures your bulbs store maximum energy for next year’s blooms.
The Right Cut: In Step 2, when removing the flower head, make sure to leave at least 12-18 inches of green stem and leaves as specified. I ruined several bulbs my first year by cutting too low. The remaining foliage acts like solar panels, converting sunlight into energy that gets stored in the bulb. If you accidentally remove some leaves, don’t worry—just leave whatever green material remains.
Patience During Die-Back: Those 6-8 weeks of yellowing foliage in Step 3 might test your patience, but resist the urge to cut early. The leaves are still working hard to feed the bulb. I tie floppy leaves loosely with twine to keep my garden looking neat while allowing full photosynthesis. When leaves finally pull away with a gentle tug, you’ll know the bulb has stored all the energy it needs.
Fertilizer Focus: When applying that 1 tablespoon of low-nitrogen fertilizer in Step 4, choose a bulb-specific formula or bone meal. I learned that high-nitrogen fertilizers (like lawn food) promote leafy growth at the expense of flowers. Water the fertilizer in lightly to help it reach the bulb’s roots where it’s needed most.
Yes! Deadheading (removing spent blooms) prevents seed formation, directing energy back to the bulb for next year’s growth. However, leave the foliage intact until it turns yellow—this feeds the bulb. Snip just the flower stem 1–2 inches below the bloom with clean shears.
Wait until leaves turn completely yellow or brown (usually 6–8 weeks post-bloom). Pruning too early starves the bulb of nutrients. If the foliage is unsightly, you can fold or braid leaves (don’t cut!) to tidy them up while they die back naturally.
Once leaves are fully brown and crispy, trim stems at ground level with sterilized pruners. This keeps your garden neat and reduces pest hiding spots. Avoid pulling leaves—it can uproot bulbs.
Skip deadheading (no blooms = no seeds to remove), but still let foliage die back. Poor blooms often signal bulbs need dividing or better sunlight. Dig up crowded bulbs in fall, separate offsets, and replant in well-draining soil with compost.
If you dislike pruning, try “lazy gardener” tulips like Tulipa fosteriana or species tulips—they naturalize well and need minimal care. For hybrids, mulching heavily in fall can reduce weed competition, so you’ll only need to deadhead blooms.
