
Beautiful Plants For Your Interior
Beautiful Plants For Your Interior
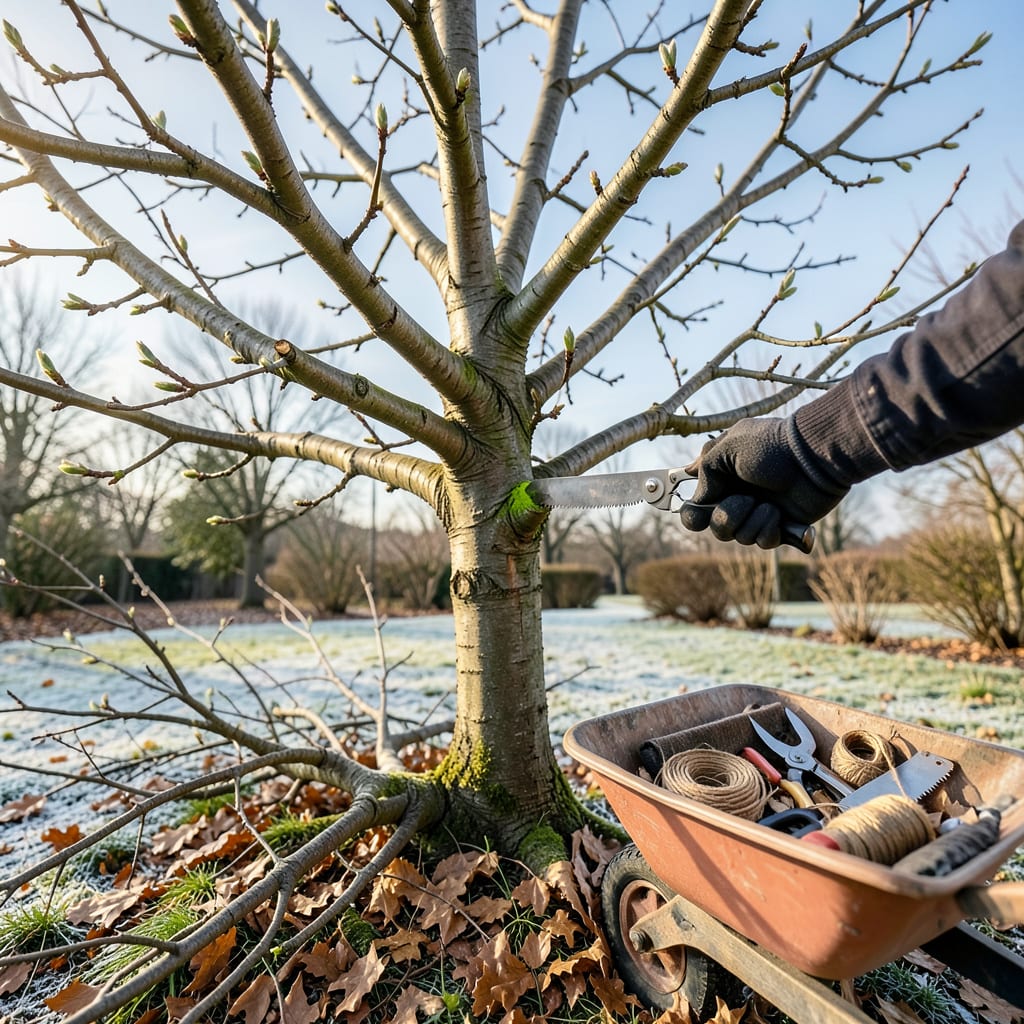
A sharp pair of pruners changed how I see trees forever. What looks like simple cutting is actually surgery—removing the right branches at the right time transforms a struggling tree into one that thrives with stronger structure, better fruit, and fewer disease problems. I’ve watched pruned trees bounce back with explosive new growth while neglected ones fight just to survive.
Timing matters as much as technique. Prune fruit trees in late winter for maximum yield, but wait until summer for maples to avoid sap bleeding. Evergreens need gentle shaping in early spring. The goal isn’t just to cut—it’s to guide the tree’s energy where it belongs. Done right, you’ll see the difference in weeks, not years.
📚 In This Guide
This method ensures your trees stay strong, shaped beautifully, and grow healthier each season.
Timing matters more than you might think. For most deciduous trees, late winter or early spring—just before new growth starts—is ideal. You’ll see swollen buds but no leaves yet, which means the tree is still dormant but about to wake up. This timing minimizes stress and reduces the risk of disease or pest infestation.
Evergreens are different. Prune those in late winter while they’re still dormant, but avoid freezing temperatures. If you’re dealing with flowering trees, wait until right after they bloom to avoid cutting off next year’s buds. A quick rule: when the worst of winter has passed but spring hasn’t fully arrived, you’re in the sweet spot.
Start by scanning the tree for the “three Ds”: dead, diseased, or damaged branches. Dead branches are brittle, snap easily, and often lack bark. Diseased branches might show discoloration, cankers, or unusual growths like mushrooms. Damaged branches could be split, cracked, or hanging loosely.
Next, look for branches that cross or rub against each other—these create wounds that invite pests and disease. Remove the weaker of the two branches entirely. Also, take out any suckers (fast-growing vertical shoots from the base or trunk) and water sprouts (vigorous upright branches in the canopy). These steal energy from the tree without contributing to its structure.
Always use sharp, clean pruning tools—dull blades tear bark and slow healing. For small branches (under 1 inch in diameter), use hand pruners. For branches 1-3 inches, switch to loppers. Anything thicker requires a pruning saw. Position your cut just outside the branch collar (the swollen area where the branch meets the trunk). This protects the tree’s natural healing process.
Avoid leaving stubs, as they invite decay, but don’t cut flush to the trunk either—that removes the branch collar and delays healing. For larger branches, use the three-cut method: first, make an undercut 6-12 inches from the trunk to prevent bark tearing. Second, cut from the top 1 inch further out to remove the branch. Finally, make the precise collar cut to clean it up.
Now, step back and assess the tree’s overall shape. Your goal is to create an open, balanced structure that allows light and air to circulate. Start by removing inward-growing branches that clutter the center. Then, thin out dense areas by cutting back no more than 25% of the canopy in a single season—over-pruning stresses the tree.
Focus on maintaining a strong central leader (the main upward trunk) for most trees, except for species with a naturally multi-trunked form. Keep lateral branches evenly spaced along the trunk, like rungs on a ladder. Aim for branches that angle upward at 45-60 degrees—these are stronger than steep or horizontal growth. When in doubt, make smaller cuts; you can always prune more next year.
Once you’ve finished pruning, remove all debris from around the tree. Piles of branches can harbor pests or fungi that might reinfect the tree. If you pruned diseased wood, bag it and dispose of it in the trash—don’t compost it. Give the tree a good drink of water to help it recover, especially if the weather has been dry.
Over the next few weeks, keep an eye on the pruning sites. Healthy trees will start to form a callus (a ring of new growth) around the cuts within 4-6 weeks. If you notice oozing sap, discoloration, or slow healing, the tree might be stressed or infected. In that case, hold off on any further pruning and consult a local arborist if needed.
Pruning trees properly takes practice, but these key insights will help you avoid common pitfalls and achieve healthier results.
Timing Precision: The late winter to early spring window mentioned in Step 1 is critical because trees heal fastest when they’re still dormant but about to grow. For flowering trees, I’ve learned the hard way that pruning right after blooming (not before) preserves next year’s flowers. If you’re unsure about your tree type, check for swollen buds – that’s nature’s signal that the timing is perfect.
Tool Selection Matters: In Step 3, the size guidelines for tools aren’t arbitrary. Using hand pruners on branches over 1 inch in diameter will strain both your hands and the tool, often resulting in jagged cuts that heal poorly. I keep all three tools (pruners, loppers, saw) handy when I start – you’ll be surprised how often you need to switch between them as you work through different branch sizes.
The Three-Cut Method Explained: This technique in Step 3 might seem excessive for larger branches, but it’s worth mastering. The first undercut (6-12 inches from the trunk) prevents bark from tearing down the trunk when the branch falls. The second cut (1 inch further out) removes the weight safely. Only then do you make the final precise cut at the branch collar. I practice this on smaller branches first to build confidence before tackling larger ones.
Canopy Management: The 25% canopy rule in Step 4 exists for good reason. Trees need enough foliage to produce energy through photosynthesis. When I first started, I over-pruned a maple tree, removing nearly 40% of its canopy in one season. The tree survived but grew very slowly that year. Now I spread major pruning over two seasons if needed, always erring on the side of less rather than more.
The ideal time depends on the tree type! For most deciduous trees (like oak or maple), prune in late winter/early spring (before buds form). Flowering trees (like dogwood) should be pruned right after they bloom. Evergreens? Aim for late winter while they’re dormant. Avoid pruning in fall—it invites disease!
Small trees (under 15 ft) with thin branches are DIY-friendly with the right tools! For large trees, near power lines, or diseased wood, always call a certified arborist. Safety first—falls and improper cuts can harm you or the tree. When in doubt, get a pro’s eye!
Pruning = selective cuts to improve health (removing dead/diseased branches, shaping growth). Trimming = lighter maintenance (hedging, shaping for aesthetics). Think of pruning as a tree’s “health checkup” and trimming as its “haircut.”
Oops! Over-pruning stresses trees. First, avoid further cuts. Next, water deeply (1–2 inches/week) and mulch the base (2–4 inches) to reduce shock. If the tree has few leaves left, consult an arborist—it may need extra care (like fertilizer) to recover.
Yes! For young trees, try training instead: use stakes or ties to guide growth direction without cutting. For small trees, pinching back new growth (with your fingers!) can encourage bushier shapes. Always prioritize minimal cuts for youngsters—they’re still growing!
