
Beautiful Plants For Your Interior
Beautiful Plants For Your Interior
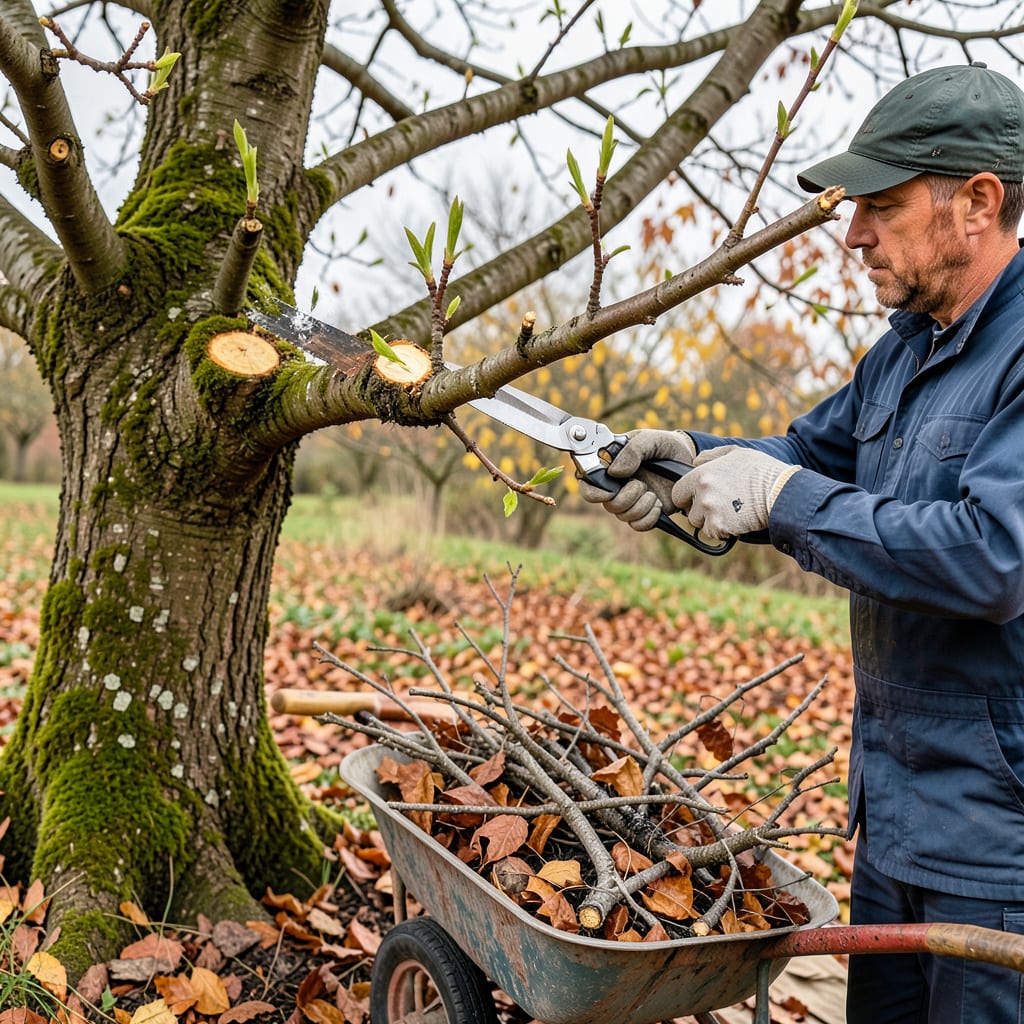
Every cut you make is a decision about your tree’s future. I’ve seen neglected trees struggle with weak growth and disease, while properly pruned ones thrive for decades. This isn’t just about aesthetics—it’s about creating a strong structure that resists storms, produces better fruit, and stays healthy for years.
The right technique transforms a scraggly tree into a balanced, productive centerpiece. You’ll learn exactly where to cut (hint: it’s not random), when to do it (timing matters more than you think), and how to avoid the common mistakes that leave trees vulnerable. No fancy degrees needed—just sharp tools and a little know-how.
📚 In This Guide
This method ensures your trees stay healthy while achieving the perfect shape—no guesswork required.
Start by examining the tree’s overall structure. Look for the “three Ds”: dead, damaged, or diseased branches. These are your first targets, as they drain energy and invite pests. Dead branches often appear brittle, with peeling bark or no leaves, while diseased ones may show discoloration or fungal growth.
Next, scan for branches that cross or rub against each other. These create wounds that leave the tree vulnerable to infection. I always prioritize removing the weaker of the two crossing branches—it’s usually the thinner or less vigorously growing one. Also, watch for suckers (fast-growing vertical shoots) at the base or water sprouts (upright branches) in the canopy; both divert energy from healthy growth.
For branches less than 2 inches in diameter, use sharp bypass pruners. Position the blade just outside the branch collar—that’s the slightly swollen area where the branch meets the trunk. This collar contains specialized cells that help the tree heal. Never cut flush to the trunk, as this removes the collar and slows recovery.
For larger branches, use the three-cut method to prevent tearing. First, make an undercut about 6-12 inches from the trunk, cutting halfway through the branch. Second, cut from the top, 1 inch further out, until the branch falls. Finally, make the precise collar cut to remove the remaining stub. This technique keeps the bark intact and avoids jagged wounds that take longer to heal.
Focus on creating an open canopy that allows light and air to circulate. Remove inward-growing branches to reduce crowding, and thin out dense areas by cutting back to a lateral branch or bud. Aim to keep one-third of the tree’s foliage intact—over-pruning stresses the tree and can trigger excessive regrowth.
Step back frequently to assess your progress. The goal is a balanced shape where branches are evenly spaced along the trunk. I like to imagine the tree’s natural form and prune just enough to enhance it, not impose an unnatural silhouette. Avoid topping (cutting the main leader), as this weakens the tree’s structure and leads to poorly attached new growth.
Remove all cut branches from the area to prevent pests and disease. If the tree is prone to pests like borers or bark beetles, dispose of the debris far from the tree or burn it. For diseased branches, bag and trash them—never compost, as this can spread pathogens.
Over the next few weeks, watch for signs of stress, such as wilting leaves or oozing sap. Healthy trees typically seal pruning wounds within 4-6 weeks, forming a callus around the cut. If you notice dieback or slow healing, the tree may need additional care, like mulching or watering during dry spells. I always check my pruned trees after a storm, as fresh cuts can make them more vulnerable to wind damage.
Pruning trees properly makes all the difference between a thriving landscape and one that struggles to recover. Here’s what I’ve learned from years of trial and error.
Identification Tip: When scanning for the “three Ds” in Step 1, don’t overlook subtle signs of disease. Discoloration isn’t always obvious—sometimes it appears as slightly off-season leaf colors or unusual leaf curling. I always check branches during different times of day, as sunlight can reveal hidden issues. The crossing branches are often harder to spot on dense trees, so walk completely around the tree before making any cuts.
Cutting Technique: For the three-cut method in Step 2, the distance between your first undercut and second top cut matters more than you think. That 1-inch difference prevents the bark from tearing downward when the branch falls. I learned this the hard way after ruining the bark on a mature oak—now I measure twice before cutting. Also, keep your pruners razor-sharp; dull blades crush rather than cut, creating ragged wounds that take longer to heal.
Canopy Management: The one-third foliage rule in Step 3 isn’t just a suggestion—it’s critical for the tree’s energy balance. I use this trick: after each major cut, I step back and squint at the tree. If I can see sunlight filtering through at least half the canopy, I’m in the right range. Over-thinning is just as harmful as not thinning enough, as it can trigger a stress response that produces weak, fast-growing shoots.
Recovery Monitoring: During the 4-6 week healing period mentioned in Step 4, pay special attention to the branch collar area. A healthy tree will form a slight swelling or “donut” of callus tissue around the cut. If you see sap oozing beyond the first week or the wound edges turning black, it’s a sign of infection. In these cases, I’ve found that applying a thin layer of horticultural wound dressing can help—though modern arboriculture often advises against dressings for healthy cuts, they can be beneficial for problematic wounds.
The ideal time depends on the tree type! For most deciduous trees, prune in late winter or early spring (before buds break). Flowering trees should be pruned right after they bloom. Evergreens thrive with late winter pruning. Avoid heavy pruning in fall—it can invite disease or pest issues.
Never remove more than 25% of a tree’s canopy in a single year—over-pruning stresses the tree and can stunt growth. Focus on dead, diseased, or crossing branches first. For large jobs, spread pruning over 2-3 seasons to keep the tree healthy and balanced.
DIY pruning works for small branches (under 2 inches thick) if you have the right tools. For large branches, high limbs, or trees near power lines, hire a certified arborist—safety first! Pros also handle tricky cuts (like collar cuts) to prevent long-term damage.
Pruning = selective cutting to improve tree health, structure, or safety (e.g., removing deadwood). Trimming = light shaping for aesthetics (e.g., hedges or ornamental trees). Both matter, but pruning focuses on tree longevity, while trimming is often for looks.
Temporary “shock” is normal—especially if you pruned heavily or at the wrong time. Check for:
