
Beautiful Plants For Your Interior
Beautiful Plants For Your Interior
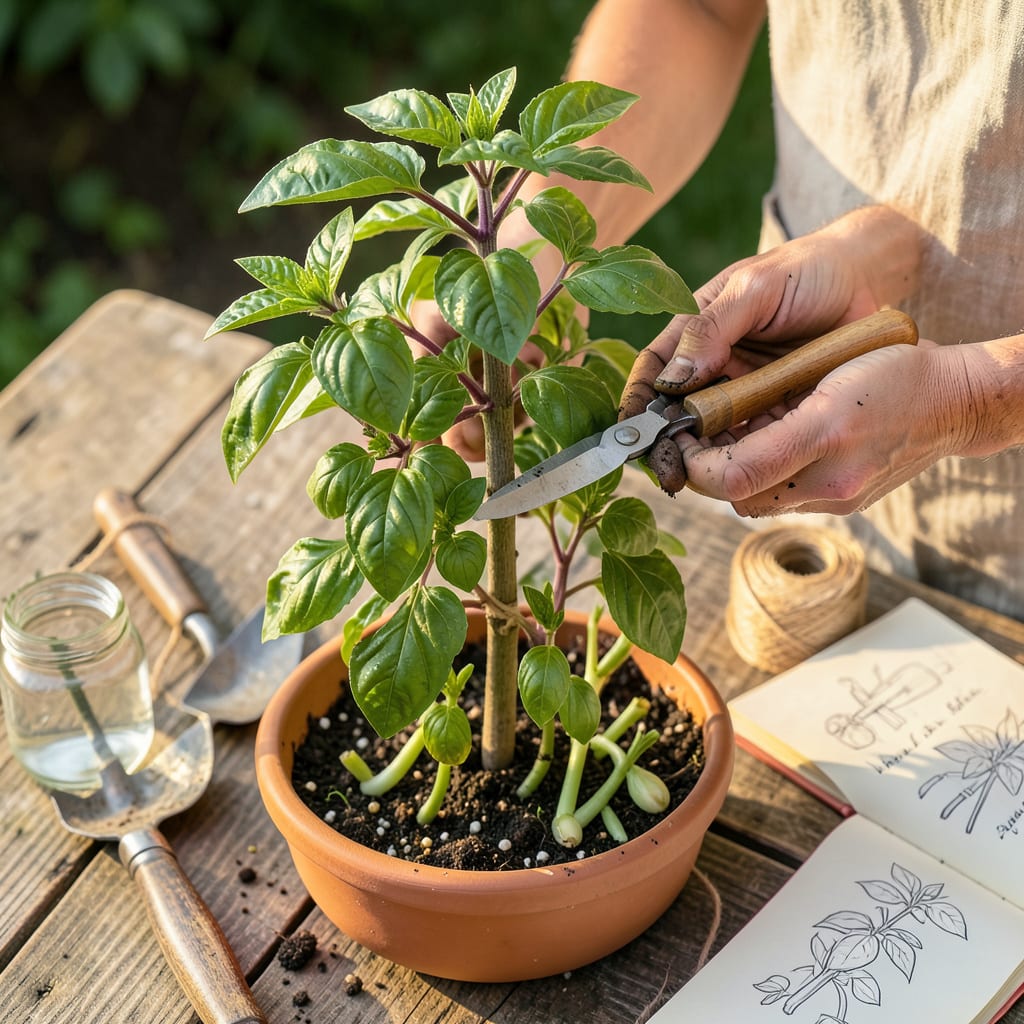
That first Thai basil plant changed everything for me. Left unpruned, it grew tall and spindly, producing a few sad leaves before bolting to flower. Then I learned the simple trick: strategic snips transform a leggy plant into a bushy, leafy powerhouse that keeps giving harvest after harvest.
Timing matters more than you’d think. Prune too late, and you’re stuck with bitter flowers. Do it right—when the plant hits 6-8 inches tall—and you’ll double your yield. The best part? It takes less than 5 minutes with just your fingers or clean scissors. Here’s exactly where to cut and why.
📚 In This Guide
This technique transforms leggy plants into compact, productive bushes—ready for your next harvest.
Begin by examining your Thai basil plant for the node sets—those are the points where leaves emerge from the main stem. Look for a healthy stem that’s at least 6-8 inches tall with multiple sets of leaves. The ideal pruning location is just above a node, where new growth will split into two branches.
Never prune below the bottom two sets of leaves, as this can stunt the plant’s recovery. I always choose nodes that have small side shoots already forming—this indicates the plant is actively growing and will respond well to pruning. Use your fingers to gently trace the stem upward until you find the perfect spot.
With clean, sharp pruning shears, make a 45-degree angle cut just 1/4 inch above your chosen node. This angle prevents water from pooling on the cut surface, which could lead to rot. The cut should be smooth and decisive—no tearing or crushing of the stem tissue.
I recommend pruning in the morning when the plant is most hydrated, which helps it recover faster. After cutting, you’ll immediately see the plant’s vascular system at the cut point—this is normal. Within 24-48 hours, you should notice the cut beginning to callus over, which is the first sign of successful healing.
After pruning, your Thai basil will redirect its energy to the remaining nodes. Within 7-10 days, you’ll see new side shoots emerging from the nodes below your cut. This is where the magic happens—the plant will develop a bushier structure with more potential for leaf production.
Monitor the plant closely during this period. You may notice the remaining leaves appear slightly droopy for the first 12-24 hours—this is just the plant adjusting its water distribution. Keep the soil consistently moist but not waterlogged, as the roots will be working harder to support new growth.
For continuous production, repeat this pruning process every 3-4 weeks throughout the growing season. Each time you prune, choose a different stem to maintain the plant’s balance. I’ve found that alternating between stems encourages more uniform growth rather than creating one dominant branch.
As the season progresses, you can begin harvesting the new growth that emerges after pruning. These young leaves are particularly tender and flavorful. Remember that Thai basil responds best to frequent, light pruning rather than infrequent, heavy cuts—which can shock the plant and reduce overall yield.
Pruning Thai basil properly can feel intimidating at first, but these key insights will help you avoid common pitfalls and maximize your harvest.
The Timing Factor: The 24-48 hour window mentioned in Step 2 is critical for initial healing. I’ve found that plants pruned in the morning show callus formation faster than those pruned in the afternoon, likely due to higher hydration levels. During this period, avoid fertilizing—let the plant focus its energy on healing rather than new growth. The first signs of recovery (slightly swollen tissue at the cut) usually appear within those initial 24 hours if conditions are ideal.
Precision Matters: When making that 45-degree cut in Step 2, I can’t overstate how important the 1/4 inch distance above the node truly is. Cutting too close risks damaging the node itself, while cutting too far leaves unnecessary stem that may die back. Use the width of your fingernail as a visual guide—it’s remarkably close to 1/4 inch. This precision ensures the plant can heal quickly while maximizing the potential for new side shoots to emerge.
Post-Pruning Care: During the 7-10 day period after pruning (as mentioned in Step 3), your plant is particularly vulnerable to stress. I maintain soil moisture at about 60% capacity—enough to keep the roots hydrated but not so much that it encourages fungal growth. A simple finger test works well: insert your finger 1 inch into the soil; if it feels dry, it’s time to water. This careful balance supports the new growth emerging from the nodes without overwhelming the recovering plant.
Seasonal Strategy: The 3-4 week interval suggested in Step 4 isn’t arbitrary—it aligns perfectly with Thai basil’s growth cycle. In my experience, pruning every 3 weeks during peak summer growth yields the best results, while extending to 4 weeks in cooler months prevents over-stressing the plant. I mark my calendar immediately after each pruning session to maintain consistency. This regular schedule trains the plant to produce more lateral growth, resulting in that coveted bushy shape we’re aiming for.
Yes! Clean, sharp kitchen scissors work fine for small pruning jobs. Just sanitize them with rubbing alcohol first to prevent disease. For thicker stems or frequent pruning, pruning shears give cleaner cuts and reduce plant stress.
Prune in the early morning when temperatures are cool and plants are hydrated. Avoid midday heat (stresses the plant) or late evening (cuts may not heal before night). Cloudy days are ideal—less direct sun = less shock!
Legginess usually means not enough light, not bad pruning. Move your basil to a sunnier spot (6+ hours of light daily) and prune just above a leaf node to encourage bushier regrowth. New shoots should appear in 1–2 weeks.
Place 4–6-inch cuttings in water (remove lower leaves first). Change water every 2–3 days. Roots form in 2–3 weeks—then transplant to soil. Free plants from your pruning scraps!
Prune every 3–4 weeks during growing season (spring–fall). Pinch off flower buds ASAP—they make leaves bitter. Regular pruning delays flowering and keeps leaves tender and flavorful.
