
Beautiful Plants For Your Interior
Beautiful Plants For Your Interior
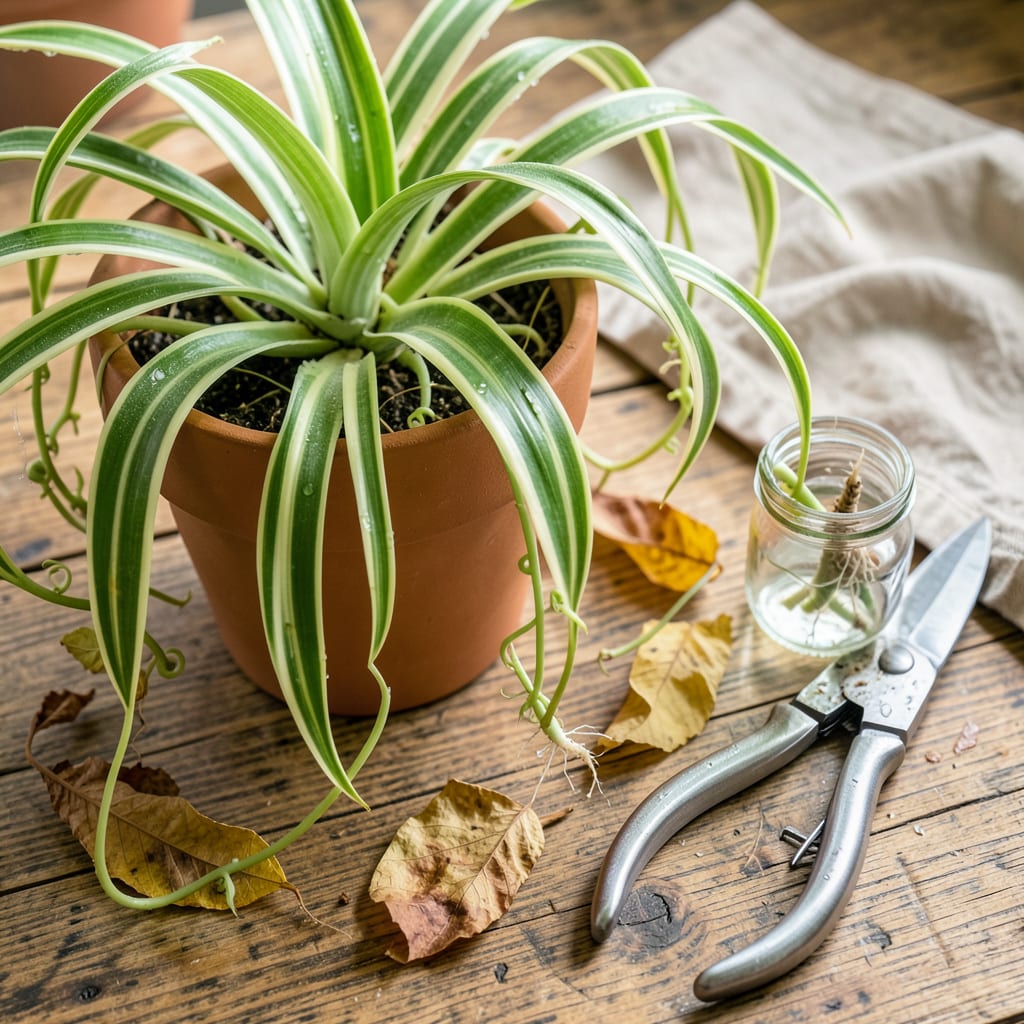
That spider plant in the corner? It’s begging for a haircut. Pruning isn’t just about looks—it’s how you turn a scraggly, long-legged plant into something full, vibrant, and downright lush. I used to let mine grow wild until I realized that a few strategic snips could double its bushiness in weeks.
You’ll be shocked how much difference 10 minutes with scissors can make. Removing brown tips and leggy runners redirects energy to fresh growth, while separating those baby “pups” gives you free plants to share (or hoard—I won’t judge). No green thumb required—just sharp tools and the right timing.
📚 In This Guide
This simple process will transform your spider plant into a bushier, more vibrant specimen in minutes.
Start by examining your spider plant for brown tips, yellowing leaves, or overly long runners. I focus first on the outer leaves, which tend to show damage first. Look for leaves that are more than 50% brown or yellow—these won’t recover and should be removed completely.
Check the plant’s center for crowded growth. When you see multiple stems growing tightly together, that’s your signal to thin them out. I also look for “pups” (baby spider plants) on long stems—these can be pruned to propagate new plants or redirect energy to the mother plant.
Using sharp scissors or pruning shears, cut damaged leaves right at the soil line. Don’t leave stubs—they’ll just turn brown and invite disease. For healthy but overgrown leaves, I trim them back to about 2 inches from the soil to encourage new growth from the base.
When removing pups, cut the entire runner (the long stem connecting the pup to the mother plant) at its base. You’ll feel slight resistance—that’s normal. If you’re keeping the pups to propagate, cut the runner 1-2 inches from the pup to give it room to develop roots.
To create that lush, fountain-like shape spider plants are known for, I prune the longest leaves first. Cut them back by one-third to one-half their length, making the cut at a slight angle. This prevents water from pooling on the cut surface, which can lead to rot.
Rotate the pot as you work to maintain balanced growth. I aim for a roughly symmetrical shape, but don’t stress about perfection—spider plants grow quickly and will fill in any gaps. After pruning, you should see the plant’s center more clearly, which improves air circulation.
Remove all cut material from the pot immediately—decaying plant matter attracts pests. I like to wipe the leaves gently with a damp cloth after pruning to remove dust and help the plant photosynthesize more efficiently. This is also a good time to check for spider mites, which love to hide in the nooks of spider plants.
Water your plant lightly after pruning—just enough to moisten the soil. Avoid heavy watering for 2-3 days to let the cuts callous over. Place the plant in bright, indirect light for the next week to reduce stress. You’ll see new growth emerging from the center within 7-10 days.
Pruning spider plants is simpler than you might think, but these key insights will help you avoid common pitfalls and get the best results.
Precision Cutting: In Step 2, when making cuts at the soil line, use sharp scissors or pruning shears that have been wiped with rubbing alcohol. This prevents spreading any potential plant diseases. I learned this the hard way after noticing brown spots spreading between plants. The 2-inch height mentioned for trimming healthy leaves is perfect—it gives the plant enough structure to regrow while removing the most damaged portions.
Pup Propagation Tip: When removing pups in Step 2, don’t discard them! These baby plants can be propagated easily. After cutting the runner 1-2 inches from the pup as instructed, place the pup in a glass of water. You’ll see roots forming within 7-10 days—exactly when the mother plant will be showing new growth too. This way, you can double your spider plant collection without buying new ones.
Shaping for Symmetry: The advice in Step 3 about rotating the pot while pruning is crucial for balanced growth. I like to step back every few cuts to check my progress from different angles. Remember that spider plants grow toward light, so if your plant was previously in a corner, one side might be fuller. Prune more aggressively from the fuller side to encourage even growth.
Aftercare Attention: The 2-3 day waiting period for watering in Step 4 might seem counterintuitive, but it’s vital. I’ve found that misting the leaves lightly during this time helps maintain humidity without overwatering the fresh cuts. Also, that bright indirect light recommendation isn’t just for show—direct sun during recovery can stress the plant when it’s most vulnerable after pruning.
Prune your spider plant every 6–12 months for maintenance, or as needed if it looks leggy or overgrown. Spring or early summer is ideal—this aligns with its active growth phase! For heavy pruning (like removing half the foliage), space sessions 3–4 months apart to avoid stressing the plant.
Yes! If roots are circled, mushy, or overcrowded, trim up to ⅓ of the root ball with clean shears during repotting. Focus on removing dead or tangled roots—this encourages healthier growth. Avoid pruning roots and foliage simultaneously to reduce shock.
Pruning removes damaged or excess leaves to improve health, while propagating involves cutting healthy spiderettes (baby plants) to grow new ones. You can do both at once! Just ensure propagations have 2–3 inches of stem and a few roots before potting.
Temporary wilting or browning is normal—it’s stress recovery. Check for: Over-pruning (never remove >50% of foliage), dull tools (crushes stems), or poor aftercare (keep soil moist and avoid direct sun for 1–2 weeks). New growth should appear in 2–4 weeks.
Try these low-effort tricks:
