
Beautiful Plants For Your Interior
Beautiful Plants For Your Interior
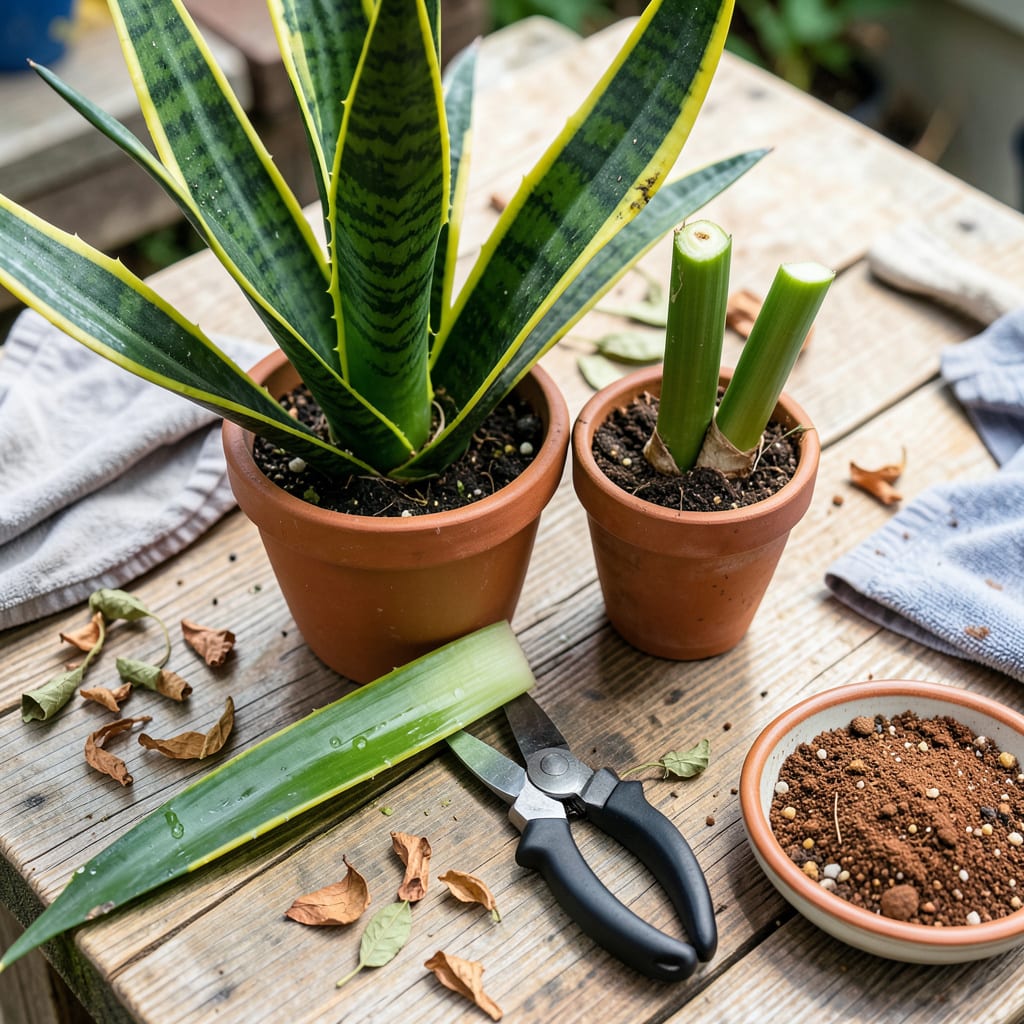
Snake plants thrive on neglect—but the right pruning turns “surviving” into thriving. I learned this after watching my overgrown plant flop like a bad haircut. Pruning isn’t just about size control; it removes damaged leaves, prevents pests, and even gives you free plants through propagation.
Timing matters: spring or summer cuts heal fastest when growth is active. You’ll need just sharp shears (sterilized with rubbing alcohol) and 10 minutes. The real secret? Cutting at the base for damaged leaves, mid-leaf for propagation—never more than 1/3 of the plant at once. Your snake plant will reward you with tighter growth and cleaner lines.
📚 In This Guide
This simple process will keep your plant looking sharp while encouraging new, vibrant growth—no green thumb required.
Start by examining your snake plant for damaged or discolored leaves. Look for brown tips, yellowing sections, or any leaves that feel mushy to the touch—these are clear signs they need to go. I always check the base too, where older leaves may have dried out completely.
Don’t remove healthy leaves just because they’re long—snake plants grow slowly, and each leaf contributes to the plant’s energy. Focus only on what’s clearly damaged or dead. If a leaf is half healthy, you can trim just the damaged portion later.
Use sharp, clean scissors or pruning shears—dull blades crush the leaves instead of cutting cleanly, which invites infection. Wipe your blades with rubbing alcohol first to prevent spreading any potential bacteria between plants.
For thick leaves, I make the first cut at a slight angle to create a point, then finish with a straight cut. This prevents the leaf from tearing as you work through its fibrous structure. Always cut as close to the soil line as possible without disturbing the roots.
Grasp the leaf you’re removing near its base and pull it slightly away from the plant to expose where it meets the soil. Cut straight across in one confident motion—don’t saw back and forth. The cleaner the cut, the faster the plant will heal.
If you’re removing multiple leaves, work your way around the plant rather than taking them all from one side. This maintains the plant’s balanced appearance. I usually limit myself to removing no more than 20% of the leaves at one time to avoid shocking the plant.
For leaves with only damaged tips or sections, you can make a clean cut just above the healthy portion. Follow the leaf’s natural shape—cut at a slight angle that matches the leaf’s curve. This helps the trimmed edge blend in as it heals.
The cut will eventually callous over, but you can help prevent moisture loss by dabbing the fresh cut with a tiny amount of cinnamon (a natural antifungal). I’ve found this simple step reduces the chance of the cut area turning brown or mushy.
After pruning, hold off on watering for about 5-7 days to let the cuts callous. This prevents rot from setting in through the fresh wounds. Keep the plant in its usual bright, indirect light location—no need to move it unless you notice signs of stress.
You’ll see new growth emerging from the center within 4-6 weeks, though it may take longer in winter. The pruned areas will eventually be hidden by fresh leaves. I always save the healthy cuttings to propagate new plants—just let them callous for a day or two before placing in water or soil.
Pruning your snake plant doesn’t have to be intimidating—these practical insights will help you avoid common pitfalls while keeping your plant thriving.
Tool Preparation: In Step 2, I can’t stress enough how important it is to sterilize your cutting tools. I use rubbing alcohol on a paper towel to wipe down both scissors and pruning shears between each cut, especially if I’m working with multiple plants. This simple step prevents the spread of bacteria that could infect your freshly cut leaves.
The 20% Rule: As mentioned in Step 3, never remove more than 20% of the leaves at once. I learned this the hard way after over-pruning a mature plant that then took months to recover. When in doubt, prune less—you can always remove more later. The plant needs enough foliage to continue photosynthesizing effectively.
Cinnamon Secret: The cinnamon trick in Step 4 is a game-changer for preventing rot. I use plain ground cinnamon from my kitchen—just a tiny pinch dabbed on each fresh cut. The natural antifungal properties help the wound callous over faster while preventing bacterial growth. It’s especially helpful in humid environments where plants are more prone to fungal issues.
Post-Pruning Patience: Those 5-7 days without watering in Step 5 are crucial. I’ve found that waiting the full 7 days in summer (when humidity is higher) gives the cuts ample time to properly callous. Resist the urge to water—even if the soil feels dry. The plant won’t suffer from this short dry period, and it significantly reduces the risk of stem rot.
Yes! Snake plants are forgiving, but spring or early summer is ideal—this aligns with their active growth phase. Avoid pruning in winter when growth slows. If you spot damaged leaves, remove them ASAP regardless of season. Over-pruning in dormancy may stress the plant.
Pruning focuses on removing unhealthy or overgrown leaves to improve health. Propagating involves cutting healthy leaves/roots to grow new plants. You can do both at once! Just ensure propagated cuttings are 3–4 inches long and calloused before planting.
Yellowing post-pruning usually means overwatering, poor cuts, or shock. Use sterile shears, cut at a 45° angle, and avoid soaking the soil afterward. Let the plant dry out slightly between waterings. If rot appears, trim affected areas immediately and repot if needed.
Can I prune a snake plant without cutting the leaves? (Alternatives?)
Try these no-cut methods:
Aim to leave at least 2–3 inches of the leaf base intact—cutting too close to the soil can damage the rhizome. For tall varieties, trim to your desired height, but avoid removing more than 1/3 of the foliage at once to prevent stress.
