
Beautiful Plants For Your Interior
Beautiful Plants For Your Interior
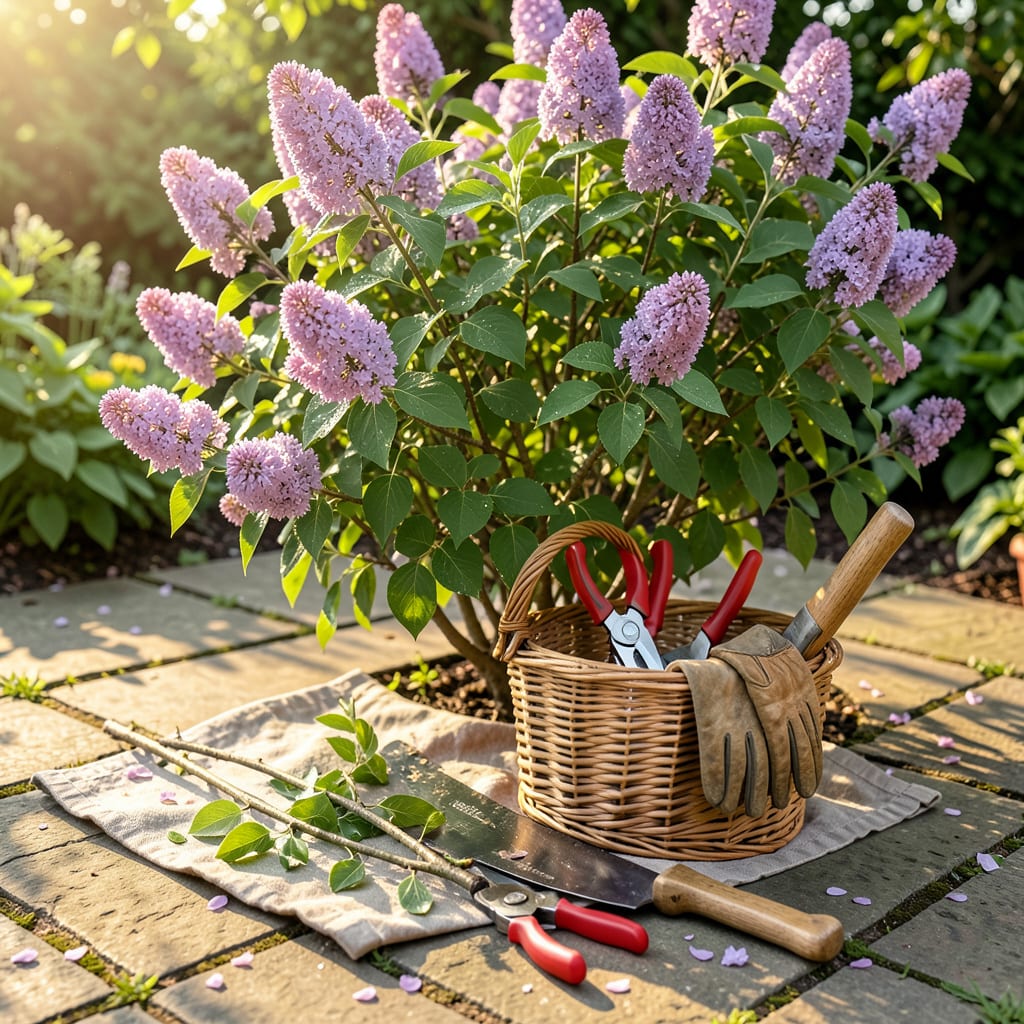
That overgrown shrub in your yard isn’t just an eyesore—it’s a missed opportunity. I’ve seen neglected bushes transform into stunning focal points with just a few strategic cuts. Pruning isn’t about hacking away at branches; it’s about guiding growth, improving health, and unlocking the shape your shrubs were meant to have. The right technique at the right time makes all the difference between a scraggly mess and a landscape showpiece.
Timing matters more than you think. Deciduous shrubs thrive when pruned in late winter, while evergreens prefer early spring. I’ll show you exactly when to make those cuts and how to avoid the common mistakes that leave shrubs looking worse than when you started. You’ll end up with plants that bloom more vibrantly, grow more vigorously, and fit perfectly in your space—without the guesswork.
📚 In This Guide
This method transforms overgrown shrubs into healthy, well-shaped plants—no guesswork required.
Timing determines whether you stimulate growth or damage the plant. For spring-blooming shrubs (like lilacs or azaleas), prune immediately after flowers fade—usually late May to early June. These plants set next year’s buds in summer, so late pruning removes potential blooms.
For summer-blooming shrubs (butterfly bush, crape myrtle), prune in late winter or early spring before new growth starts. You’ll see swollen buds forming along branches—this is your signal the plant is exiting dormancy. Evergreens tolerate pruning almost anytime, but avoid extreme heat or cold.
Start with your sanitized pruners (wipe blades with rubbing alcohol between cuts to prevent disease spread). Cut dead branches back to living tissue—you’ll recognize it by the green layer just beneath the bark. Make each cut at a 45-degree angle, ¼ inch above an outward-facing bud to direct new growth away from the center.
Next, remove any branches showing signs of disease (discolored leaves, cankers, or fungal growth). Thin out crossing branches that rub against each other—these create wounds that invite pests and pathogens. I work systematically from the base upward to ensure I don’t miss anything in the interior.
Stand back frequently to assess the plant’s natural shape. Your goal is to maintain its inherent form while improving airflow and light penetration. Remove one-third of the oldest stems at ground level for multi-stemmed shrubs—this rejuvenates the plant without shocking it.
For formal hedges, use the “one-bud” method: prune just above a bud that points in the direction you want new growth to follow. Never shear flat across the top—this creates a dense outer shell with dead zones inside. Instead, make individual cuts at varying depths to encourage even foliage distribution.
For branches thicker than your finger, use the three-cut method to prevent bark tearing. Make the first cut 6-12 inches from the trunk, cutting halfway through from underneath. The second cut comes 1 inch further out, severing the branch completely. The final cut removes the remaining stub just outside the branch collar (the swollen area where branch meets trunk).
Avoid leaving stubs—they invite decay—and never cut flush with the trunk, which damages the branch collar’s natural healing ability. You’ll know you’ve done it right when the cut surface appears smooth and the remaining bark edge remains intact. For large shrubs, I use a pruning saw for branches over 1.5 inches in diameter.
Rake up all debris immediately—fallen leaves and cut branches can harbor pests and diseases. I like to spread a thin layer of the collected material as mulch around the base (shredded first), but only if the plant was healthy. Water deeply after pruning to help the plant recover from stress.
Check the shrub weekly for the first month. You should see new growth emerging from the buds you left intact. If any cuts show signs of dieback (blackened edges) or excessive sap bleeding, you may need to make a clean-up cut. Most shrubs will produce noticeable new growth within 4-6 weeks when pruned at the right time.
These practical insights will help you avoid the most common pruning errors while achieving professional results.
The Timing Factor: The late May to early June window for spring-blooming shrubs isn’t arbitrary—it’s when plants have just finished flowering but haven’t yet set next year’s buds. I’ve found that pruning even two weeks later can reduce next season’s blooms by up to 30%. For summer bloomers, watch for those telltale swollen buds in late winter; they’re your green light to start pruning before new growth begins.
Tool Sanitation Secret: Between every cut on diseased branches, I don’t just wipe my pruners with alcohol—I actually keep a small spray bottle of 70% isopropyl alcohol in my pocket for quick, thorough sanitization. This prevents spreading fungal spores or bacterial infections from one branch to another. The 45-degree angle cut mentioned in Step 2 isn’t just for aesthetics—it creates the optimal surface area for callus formation while directing water away from the bud.
Thinning Technique That Works: When removing one-third of the oldest stems in Step 3, I use this trick: trace each stem from tip to base to identify its age. Older stems are typically thicker, darker, and have more lateral branching. Removing these first opens up the center for better airflow. For formal hedges, I’ve found that alternating the direction of my one-bud cuts creates a more natural, less “haircut” appearance while maintaining the desired shape.
Cutting Method Mastery: The three-cut method in Step 4 becomes second nature with practice, but here’s what changed my game: on that first undercut, I now make it at the 6-inch mark for branches under 2 inches thick, reserving the 12-inch starting point for truly massive limbs. This adjustment prevents the branch from breaking prematurely during the second cut. For branches exactly at that 1.5-inch threshold, I’ll often start with pruners to create a clean notch before switching to the saw—it gives me more control over the final cut placement.
The ideal time depends on the shrub type! For spring-blooming shrubs (like lilacs or azaleas), prune right after flowers fade. Summer/fall bloomers (like hydrangeas or roses) do best with late-winter or early-spring pruning. Avoid pruning in late fall—new growth may not harden off before winter!
Never remove more than ⅓ of the total foliage in one session. Over-pruning stresses the plant and can stunt growth. Focus on dead, diseased, or crossing branches first. For rejuvenation (old, overgrown shrubs), spread pruning over 2-3 years to avoid shock.
Pruning targets health and structure—removing dead/diseased branches, improving airflow, or shaping growth. Trimming is mostly aesthetic, like shearing hedges for a neat look. Pruning encourages stronger growth; trimming maintains appearance. Both matter, but don’t skip pruning for long-term plant health!
For light shaping, yes—but avoid trimmers for selective pruning. Trimmers can’t make precise cuts, leading to jagged wounds or over-thinning. Use hand pruners (for branches under ½” thick) or lopping shears (½”–1½”). Save trimmers for formal hedges, not structural pruning.
Don’t panic! Some shrubs (like hydrangeas) may look sparse post-prune but bounce back in weeks. If cuts were ragged or too aggressive, the plant may struggle. Always prune at a 45° angle just above a bud, and avoid leaving stubs. Mulch and water well to reduce stress.
