
Beautiful Plants For Your Interior
Beautiful Plants For Your Interior
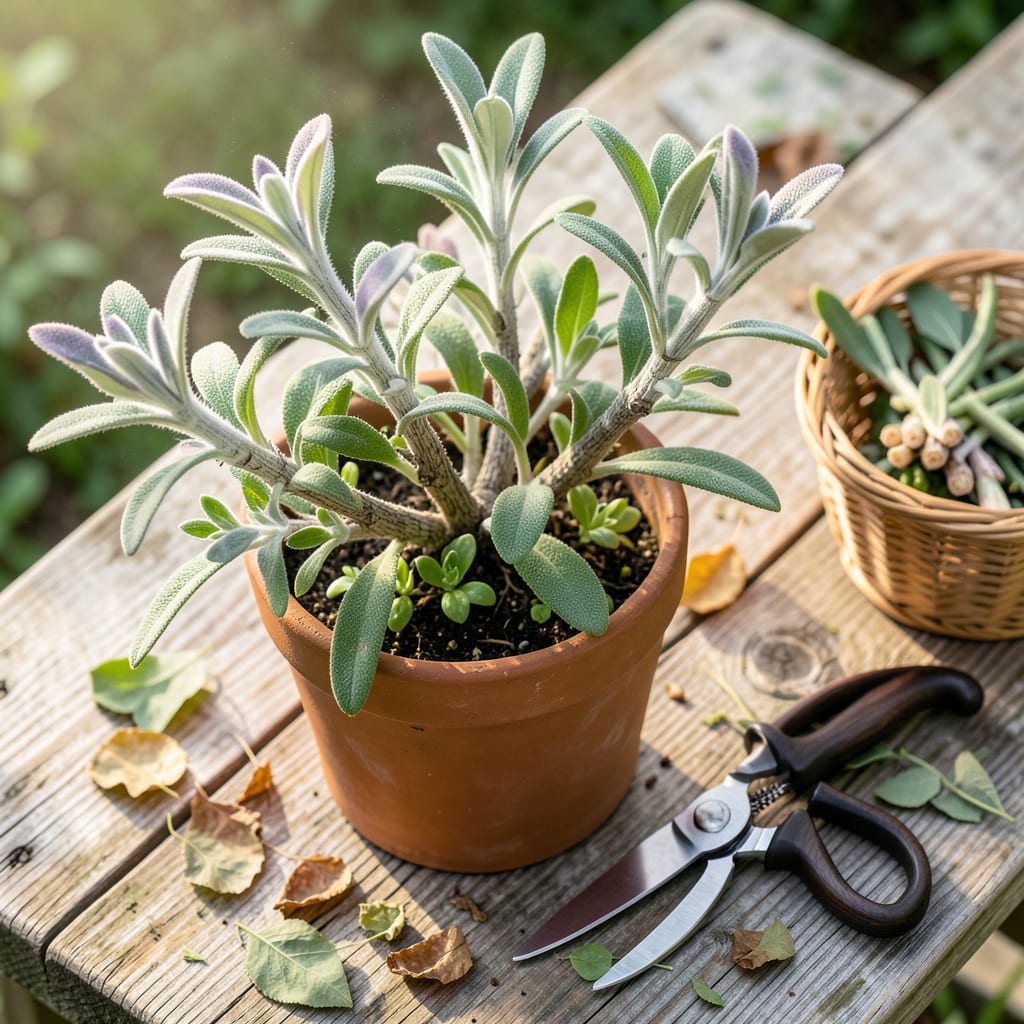
That woody, leggy sage plant in your garden? It doesn’t have to stay that way. Pruning sage isn’t just about keeping it tidy—it’s the secret to getting bushier plants with leaves so flavorful they’ll make store-bought herbs seem sad. I’ve turned scrawny, overgrown sage into compact, aromatic powerhouses with just a few strategic cuts each season.
The right pruning at the right time—early spring or right after flowering—wakes up dormant growth points and forces the plant to branch out. You’ll end up with twice the harvestable leaves by midsummer, and the flavor concentration improves dramatically. No fancy tools required, just sharp shears and 10 minutes of your time. Here’s exactly how to do it without stressing the plant.
📚 In This Guide
Pruning sage isn’t just about shaping—it’s about unlocking the plant’s full potential for flavor and vigor. Here’s how I do it.
Timing is everything with sage. I always prune in early spring, just as new growth begins to emerge at the base of the plant. You’ll see tiny green buds forming along the woody stems—that’s your signal to start. Avoid pruning in fall, as tender new growth won’t harden off before winter.
For established plants, a second light pruning can happen in midsummer after the first flush of flowers. Never prune in late fall or winter when the plant is dormant. The ideal temperature range for pruning is 50-70°F, when the plant is actively growing but not stressed by heat.
Start by examining the plant’s structure. I look for three types of growth to remove: any dead or damaged stems (they’ll be brown and brittle), woody stems thicker than a pencil (these produce fewer leaves), and crossing branches that create dense centers.
Trace each stem down to its origin point. You’ll notice sage grows in a semi-woody pattern with distinct nodes where leaves emerge. Never cut into the bare wood below the leafy portion—sage won’t regrow from completely bare stems. Focus on areas where the plant looks leggy or has sparse foliage.
Using sharp bypass pruners (never anvil pruners that crush stems), make cuts at a 45-degree angle just above a leaf node or pair of leaves. I position my pruners about 1/4 inch above the node to avoid damaging the growth point while leaving enough stem to die back naturally.
For woody stems, I remove no more than one-third of the plant’s total height in a single pruning session. You should still see plenty of green growth remaining after pruning. The cuts will stimulate dormant buds at the base to produce new, bushier growth. Always sterilize pruners with rubbing alcohol between cuts if you notice any diseased stems.
As you prune, visualize the plant’s ideal shape—a rounded, open form that allows air circulation to all parts. I aim to create a vase-like structure by removing some of the oldest stems at the base while leaving younger, more productive growth. This prevents the center from becoming too dense and prone to fungal issues.
Step back frequently to assess your progress. The finished plant should look full but not overcrowded, with the center slightly more open than the outer edges. I often leave the top slightly wider than the base to ensure all parts receive adequate sunlight. This shaping encourages the plant to produce more of the tender new growth that’s most flavorful.
After pruning, I water the plant deeply at the base, avoiding wetting the foliage. This helps reduce stress and encourages new growth. Apply a light layer of compost around the base (keeping it away from the stem) to provide nutrients for the regrowth phase. You’ll see new shoots emerging within 2-3 weeks.
Hold off on fertilizing for about 4 weeks—you want the plant to focus on producing new stems rather than leaves initially. The pruned material makes excellent cuttings for propagation if you place 4-inch sections in water. Within 3-4 weeks, these will develop roots and can be potted up for new plants.
Pruning sage properly transforms a woody, leggy plant into a productive powerhouse. Here’s what I’ve learned through years of trial and error.
Timing Precision: The early spring window mentioned in Step 1 is absolutely critical. I’ve found that pruning when daytime temperatures consistently stay within that 50-70°F range produces the most vigorous regrowth. If you prune too early when nights are still cold, the new growth may suffer frost damage. Conversely, waiting until summer heat arrives stresses the plant. Watch for those tiny green buds at the stem bases – they’re your perfect timing indicator.
Cutting Technique: When making those 45-degree cuts in Step 3, I’ve discovered that the 1/4 inch spacing above the node makes all the difference. Cutting too close risks damaging the growth point, while cutting too far leaves unsightly stubs that can rot. Always make your cut on the side of the stem that faces outward from the plant’s center – this encourages new growth to expand the plant’s shape rather than crowding the interior.
Structural Assessment: Before making any cuts in Step 2, I recommend doing what I call the “pencil test” – hold a pencil next to your stems. Any stem thicker than that pencil should be targeted for removal, as these older woody stems produce significantly fewer flavorful leaves. Also look for stems with more than 6 inches of bare wood at the base – these are prime candidates for complete removal to stimulate fresh growth from the base.
Post-Pruning Vigilance: After completing Step 5’s care routine, I’ve found that monitoring the plant closely for the first 2-3 weeks reveals whether you’ve pruned effectively. Healthy regrowth should appear as bright green shoots emerging from just below your cut points. If you see yellowing leaves or no new growth after 3 weeks, the plant may have been stressed – this usually indicates either too aggressive pruning or pruning at the wrong time of year.
Prune sage in early spring (just as new growth appears) or after flowering in late summer. Avoid pruning in fall or winter—cold weather can damage fresh cuts. Light trimming for harvest is fine year-round, but major pruning should align with its active growth phases for best recovery.
Never cut sage all the way to the ground—it may not regrow! Leave at least 2–3 inches of woody stems with a few leaf nodes. Severe pruning risks killing the plant, especially if it’s older or woody. Stick to removing 1/3 of the plant at a time for safety.
Leggy sage can be revived! Prune back 1/3 of the oldest, woodiest stems in spring to encourage new growth. If the center is bare, cut just above a leaf node to stimulate branching. For severely woody plants, consider propagating cuttings to start fresh.
Yes! Always sterilize tools with rubbing alcohol (70%+) or a 10% bleach solution before pruning to prevent disease spread. Wipe blades between cuts if trimming multiple plants. Clean tools = healthier sage!
Healthy, pest-free leaves and tender stems can be used fresh or dried. Avoid woody stems—they’re bitter. Rinse leaves gently, then pat dry. Pro tip: Freeze extras in ice cube trays with olive oil for later! (Bonus: Pruning for harvest keeps plants bushy!)
