
Beautiful Plants For Your Interior
Beautiful Plants For Your Interior
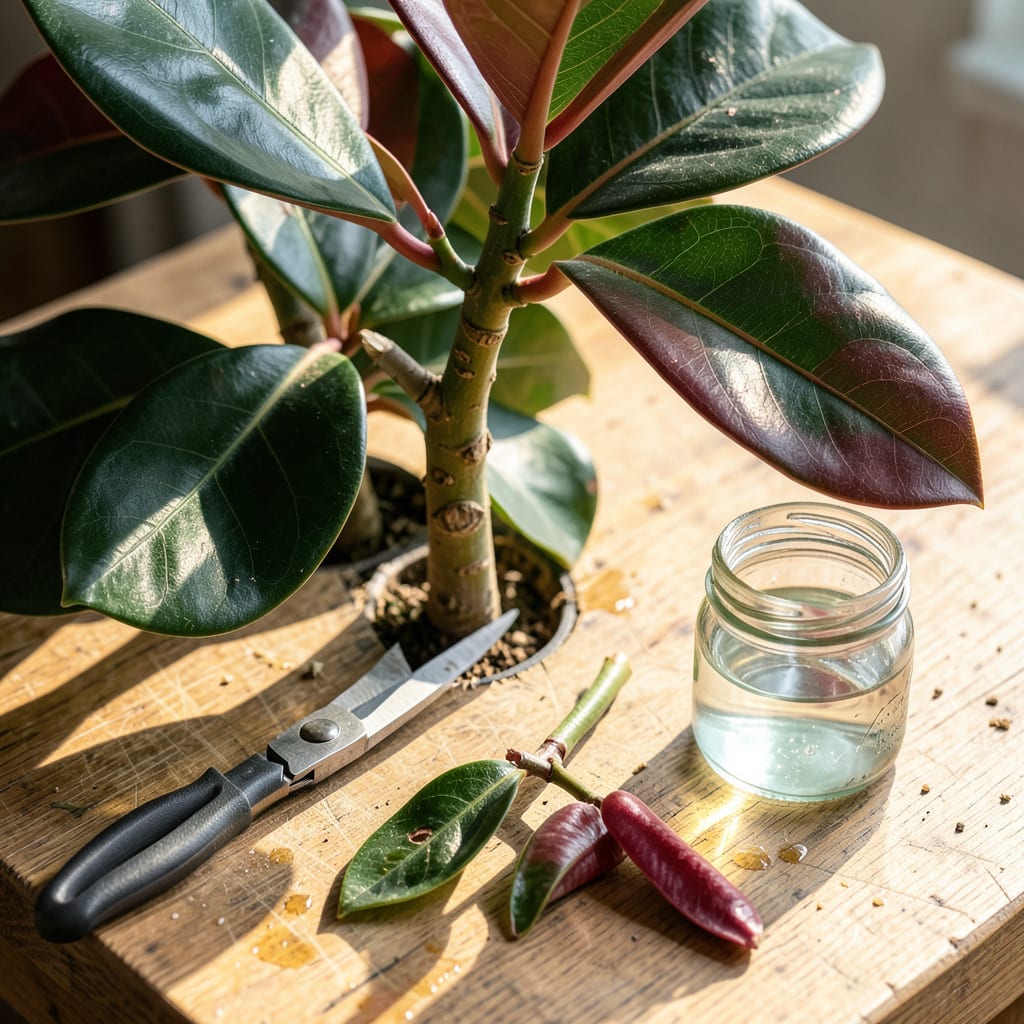
That leggy rubber plant in your living room? It’s begging for a haircut. Pruning isn’t just about controlling size—it’s the secret to transforming a sparse, top-heavy plant into a full, bushy showstopper. I’ve turned countless sad, stretched-out rubber plants into thick, vibrant specimens with just a few strategic cuts.
The best part? You only need 3 simple steps and basic tools to do it right. No green thumb required—just clean shears, a little confidence, and the right timing. Within weeks, you’ll see new growth sprouting exactly where you want it, filling out gaps and giving your plant that lush, magazine-worthy look. Let’s get that rubber plant thriving.
📚 In This Guide
Pruning your rubber plant is simpler than you think—just follow these three key steps for fuller, healthier growth.
Start by examining your rubber plant for healthy stems that are at least 12-18 inches tall. Look for the small horizontal lines (nodes) where leaves emerge—these are your pruning targets. I always choose stems that have 4-6 mature leaves because they respond best to pruning.
Trace your finger along the stem until you find a node just below where you want new growth to emerge. This is where you’ll make your cut. Avoid pruning stems that are still green and flexible at the top—those are actively growing and shouldn’t be disturbed yet.
Real talk: If your plant is leggy with long bare stems, don’t hesitate to cut it back hard. Rubber plants bounce back aggressively from even dramatic pruning when done at the right node.
Using sharp, clean pruning shears (I prefer bypass pruners for clean cuts), position your blades at a 45-degree angle just ¼ inch above your chosen node. The angle prevents water from pooling on the cut surface, which could invite rot or fungal issues.
Make one decisive cut—don’t saw back and forth. A clean cut heals faster and reduces stress on the plant. You should feel slight resistance as the blades move through the stem, but it shouldn’t require force. If it does, your shears need sharpening.
Here’s the thing—you’ll see white, milky sap ooze from the cut. This is normal (it’s the plant’s latex), but it can irritate skin. I keep a damp paper towel handy to wipe the sap immediately after each cut.
Don’t discard those cuttings! Healthy stems 6-8 inches long with at least two leaves can be propagated. I strip the lower leaves, dip the cut end in rooting hormone, and place it in water or moist potting mix. You’ll see roots form in 3-4 weeks.
After pruning, your rubber plant will focus energy on producing new shoots. Within 2-3 weeks, you’ll notice small bumps forming at the nodes below your cuts—these are the new growth points. Keep the plant in bright, indirect light and maintain consistent moisture (let the top 1-2 inches of soil dry between waterings).
Don’t skip this (I learned the hard way): Avoid fertilizing immediately after pruning. Wait until you see 1-2 inches of new growth before resuming your normal feeding schedule. The fresh cuts need time to callous over first.
Pruning your rubber plant doesn’t have to be intimidating—these practical insights will help you avoid common pitfalls and get the best results.
Node Selection Strategy: When identifying stems in Step 1, prioritize nodes that already have small leaf buds forming. These growth points will respond fastest to pruning, producing new shoots within those 2-3 weeks mentioned in Step 3. I’ve found that stems with 5-6 mature leaves (the upper end of the 4-6 range) tend to produce the most vigorous regrowth, especially on leggy plants that need rejuvenation.
Cutting Technique Refinement: The 45-degree angle specified in Step 2 isn’t just about aesthetics—it’s crucial for plant health. I recommend practicing your angle on a less visible stem first. The ¼ inch distance above the node is equally important; too close risks damaging the growth point, while too far leaves an unsightly stub that may die back. Sharp bypass pruners make this precision cut effortless compared to anvil-style shears that can crush stems.
Sap Management Protocol: That milky sap you’ll encounter isn’t just messy—it can actually inhibit root formation on your cuttings if not handled properly. Beyond wiping it immediately as mentioned in Step 2, I run my cuttings under lukewarm water for 10 seconds to remove residual sap before propagating. This simple extra step has doubled my propagation success rate with those 6-8 inch cuttings that should root in 3-4 weeks.
Post-Pruning Care Optimization: The 2-3 week timeline for new growth in Step 3 assumes ideal conditions. To accelerate this, maintain humidity around 50-60% using a pebble tray or humidifier. I’ve noticed that plants kept in the 65-75°F range consistently produce those new growth bumps faster than those in cooler environments. Remember that “bright, indirect light” means east-facing windows or 3-4 feet from south/west windows—direct sun can stress freshly pruned plants.
It’s best to avoid winter pruning, as rubber plants grow slower in cold months. Prune in early spring or late summer when the plant is actively growing. This helps it recover faster and reduces stress. If you must prune in winter, keep cuts minimal and avoid major shaping.
Leggy growth happens due to lack of light or irregular pruning. To fix it, prune just above a leaf node to encourage bushier growth. Rotate your plant every few weeks for even light exposure, and trim back long stems by one-third to promote new shoots.
Don’t worry—this milky sap (latex) is normal! It’s the plant’s natural defense. To stop the flow, dab the cut with a damp cloth or sprinkle cinnamon (a natural antiseptic). Avoid touching the sap, as it can irritate skin. The bleeding should stop within a few minutes.
Healthy stem cuttings (4–6 inches long) can root in water or moist soil. Remove lower leaves, dip the cut end in rooting hormone (optional), and place in water or potting mix. Keep it warm and humid (use a plastic bag if needed). Roots should appear in 4–8 weeks.
Prune once or twice a year to maintain shape and encourage fullness. Young plants may need lighter, more frequent trims, while mature plants can handle heavier pruning. Always check for yellow or damaged leaves and remove them as needed between major pruning sessions.
