
Beautiful Plants For Your Interior
Beautiful Plants For Your Interior
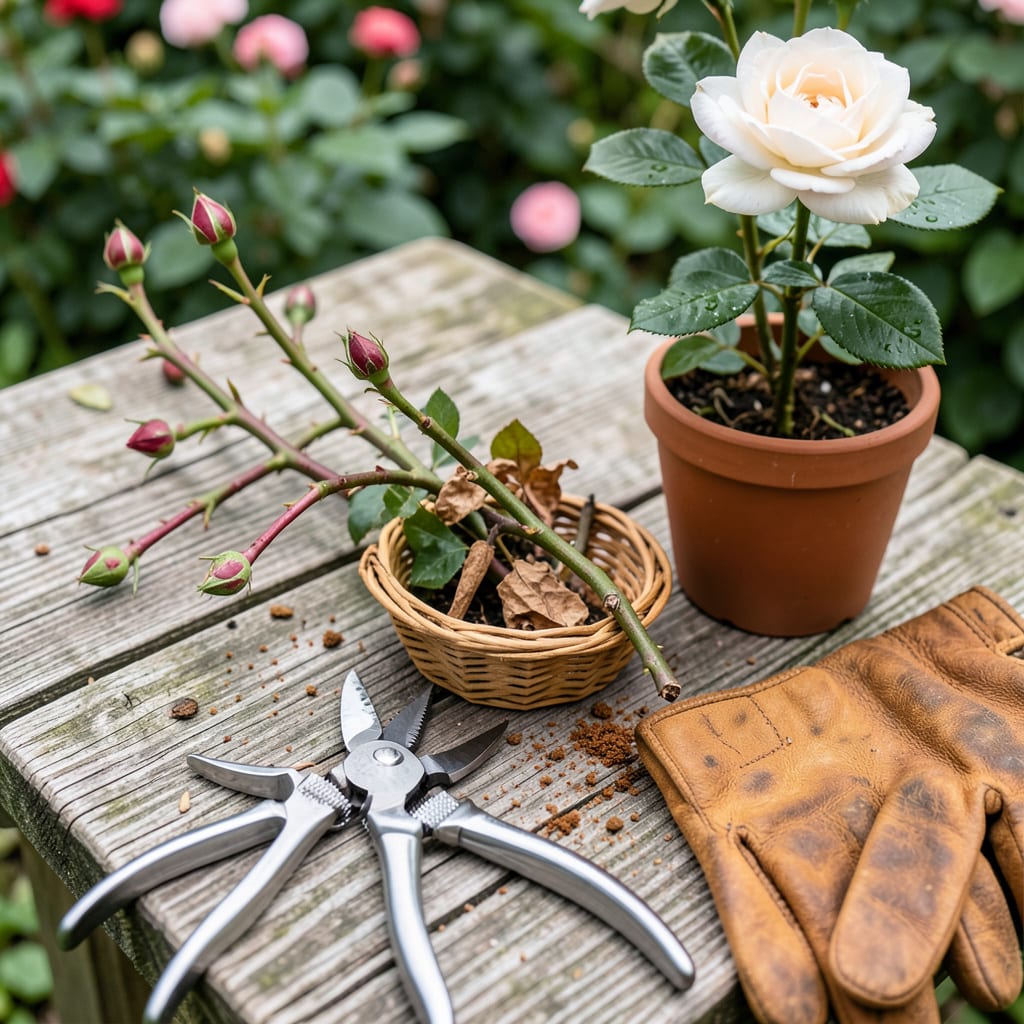
Three simple cuts can transform your rose bushes from leggy and tired to compact and bloom-covered. I used to avoid pruning because it felt like surgery—until I realized it’s more like giving roses a roadmap for growth. The right technique encourages stronger stems, bigger flowers, and a shape that looks intentional rather than wild.
Timing matters most: hybrid teas need late-winter pruning, climbers prefer summer trimming, and shrub roses are forgiving year-round. You’ll only need bypass pruners, thick gloves, and 20 minutes per bush. The payoff? Double the blooms by midsummer and plants that resist disease better than unpruned neighbors. Let’s make those cuts count.
📚 In This Guide
This method transforms overgrown bushes into healthy, bloom-filled plants—no guesswork required.
Prune roses in late winter or early spring, just as new growth begins (you’ll see tiny red buds swelling on canes). This timing prevents winter dieback while allowing cuts to heal quickly. I avoid fall pruning—it stimulates tender new growth that winter kills.
Start by removing all leaves and debris from the base. Examine each cane for blackened, shriveled, or hollow stems—these are dead and must go. Healthy canes appear green when scratched lightly with a fingernail, while dead ones remain brown.
Using sharp bypass pruners (never anvil-style), cut dead canes at their base where they meet the bud union. Make clean 45-degree angles ¼ inch above an outward-facing bud—this directs new growth away from the center for better air circulation.
Look for canes with dark spots, powdery mildew, or cankers. Remove these entirely, even if they appear partially healthy. I sterilize pruners between cuts with rubbing alcohol to prevent spreading disease—this small step saves plants.
Open the plant’s center by removing one-third of the oldest canes (thick, woody stems) at ground level. These produce fewer blooms and block airflow. Aim for a vase-like shape where sunlight reaches all remaining canes.
Cut any crossing branches that rub against each other—the friction creates wounds for pests. I also remove spindly growth thinner than a pencil; these won’t support quality blooms and drain the plant’s energy.
Reduce each healthy cane by one-third to one-half, cutting just above an outward-facing bud. Hybrid teas need more aggressive pruning (leave 3-5 buds per cane), while shrub roses tolerate lighter cuts (leave 6-8 buds).
Step back frequently to check balance. The finished plant should have 5-9 strong canes spaced evenly. I make my final cuts at varying heights—this creates a natural shape and staggered bloom times throughout the season.
Rake up all clippings and debris—these harbor pests and diseases. I bag and dispose of them (never compost diseased material). Apply a 1-inch layer of mulch around the base, keeping it 2 inches away from stems to prevent rot.
Finish with a balanced rose fertilizer (10-10-10) as new leaves emerge. Water deeply after feeding to carry nutrients to roots. You’ll see the first flush of blooms in 6-8 weeks, and they’ll be larger and healthier than unpruned plants.
Pruning roses doesn’t have to be intimidating—these insights will help you avoid common pitfalls and achieve healthier plants with more abundant blooms.
The Timing Factor: The late winter or early spring window mentioned in Step 1 is absolutely critical. I’ve learned the hard way that pruning too early leaves cuts vulnerable to frost damage, while waiting too long means you’ll cut off potential blooms. Look for those tiny red buds swelling on canes—they’re your perfect timing indicator. This period allows the plant to heal quickly while preventing the tender new growth that fall pruning would produce.
Tool Precision: The instruction in Step 2 about using bypass pruners isn’t just preference—it’s essential. Anvil pruners crush stems rather than making clean cuts, creating entry points for disease. I keep a small bottle of rubbing alcohol with my tools to sterilize between cuts, especially when dealing with diseased wood. This one habit has dramatically reduced fungal issues in my garden. Remember to make those 45-degree angle cuts ¼ inch above outward-facing buds to direct growth properly.
Structural Strategy: When thinning in Step 3, many gardeners make the mistake of removing too little or too much. The one-third rule for oldest canes creates that ideal vase shape for airflow and sunlight penetration. I use this trick: after removing the oldest canes, I step back and visualize sunlight reaching every remaining cane. If I see shadows, I know I need to thin more. And don’t overlook those pencil-thin stems—they’ll never produce quality blooms but will drain energy from stronger canes.
Height Variation Technique: The advice in Step 4 about making final cuts at varying heights transformed my rose bushes. This creates a more natural shape and, more importantly, staggers bloom times. I typically make about 20% of my cuts slightly higher than the others. This means when the lower blooms start fading, the higher ones are just opening, extending my bloom season by weeks. For hybrid teas, I’m more aggressive (3-5 buds per cane), while shrub roses get lighter treatment (6-8 buds).
The ideal time depends on your rose type! For most varieties, prune in late winter or early spring (just before new growth starts). Repeat-blooming roses benefit from a light trim after each flush. Avoid pruning in fall—it can stimulate tender growth vulnerable to frost.
You can, but we don’t recommend it! Rose thorns are sharp and can cause painful scratches or infections. Wear thick, elbow-length gloves for protection. If you must go gloveless, use long-handled loppers to keep distance. Safety first!
Over-pruning won’t kill a healthy rose, but it may delay blooming. If you’ve cut back too hard, focus on watering deeply and fertilizing to encourage regrowth. Most roses bounce back within a season—just avoid removing more than ⅓ of the plant at once.
Yes! For canes thicker than ½ inch, use lopping shears or a pruning saw for clean cuts. Avoid dull tools—they crush stems, inviting disease. Sterilize blades with rubbing alcohol between cuts to prevent spreading fungi or pests.
Dead wood (dry, brown, or hollow stems) is normal—it’s the plant’s way of shedding unproductive growth. Remove it at the base with a 45-degree angle cut to encourage new shoots. If dead wood persists, check for disease (like canker) or poor drainage.
