
Beautiful Plants For Your Interior
Beautiful Plants For Your Interior
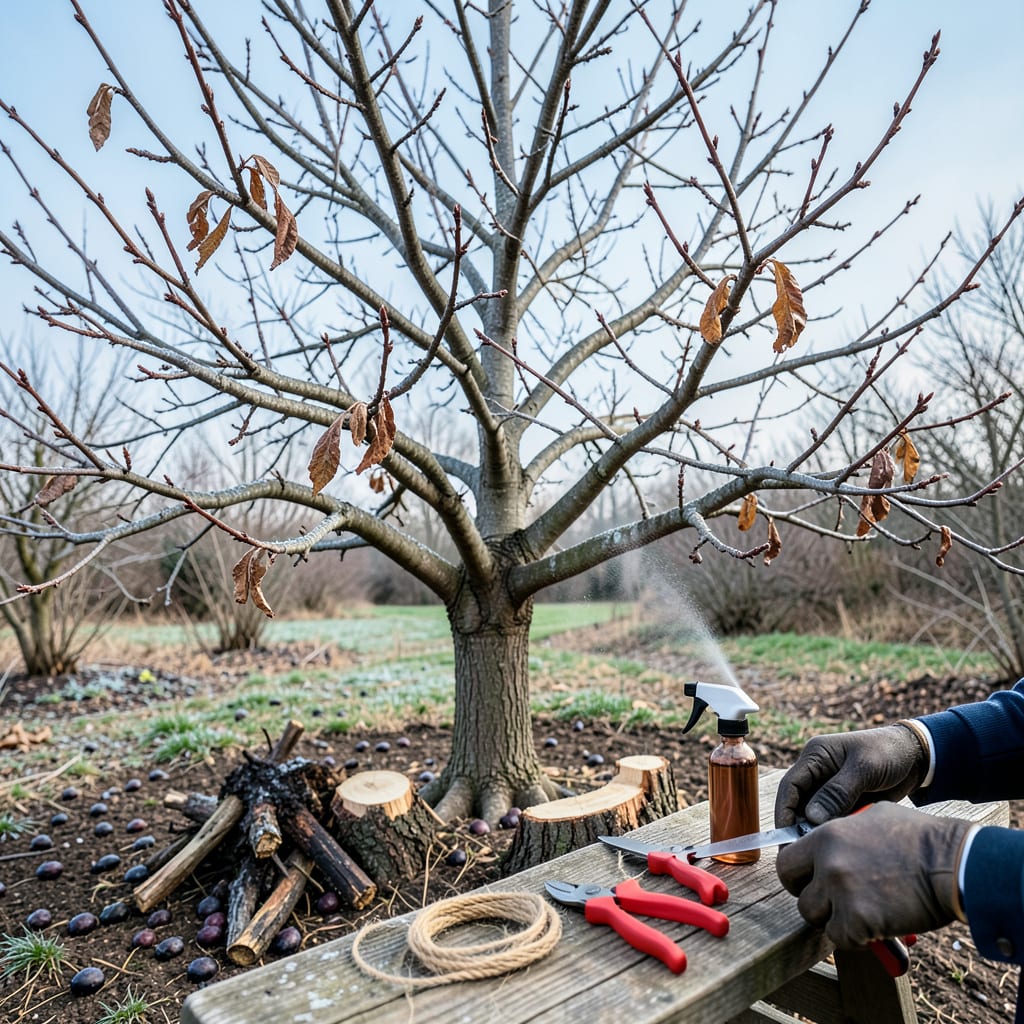
I used to think pruning plum trees was just about keeping them neat—until I saw what proper cuts did for my harvest. That first summer after learning the right technique, my tree produced twice as much fruit, and the plums were bigger, sweeter, and free of the brown rot that used to plague them. The difference came down to three things: timing, angle, and knowing which branches to remove.
Here’s the thing—plum trees don’t need fancy equipment or hours of work. What they do need is strategic cuts that improve airflow, redirect energy to fruit production, and prevent disease. I’ll show you exactly where to make each cut and why, so you avoid the mistakes that leave trees vulnerable to pests or stunted growth. The right approach now means fewer problems later and a tree that keeps giving for decades.
📚 In This Guide
Pruning at the right time with the right technique makes all the difference. Here’s how to do it safely and effectively.
Plum trees need pruning when they’re dormant but before new growth starts. I always aim for late winter (about 4-6 weeks before your last frost date). This timing prevents silver leaf disease, which spreads easily when pruning during active growth.
You’ll know it’s the right time when the buds begin to swell but haven’t opened yet. Avoid pruning in fall—it stimulates new growth that won’t harden off before winter. Check your local frost dates if you’re unsure about timing.
Start by cutting out any wood that’s clearly dead (gray, brittle, or peeling bark) or showing signs of disease (oozing sap, fungal growth). Make these cuts first to prevent spreading pathogens with your tools. I use a 10% bleach solution to sanitize pruners between cuts when dealing with diseased wood.
Next, look for branches that cross or rub against each other. These create wounds that invite pests and disease. Remove the weaker of the two branches completely at its base. You’ll see immediate improvement in air circulation through the canopy.
Selectively remove about 20-30% of the remaining branches to open up the tree’s center. Focus on cutting back branches that grow inward, downward, or at odd angles. I like to step back frequently to check my progress—you should be able to see daylight through the branches when you’re done.
Make thinning cuts just outside the branch collar (that swollen area where the branch meets the trunk). Never leave stubs, but don’t cut into the collar either. Proper cuts heal faster and prevent rot. You’ll notice the tree’s shape becomes more balanced as you work.
Now focus on maintaining a strong framework. Plum trees fruit best on 1-2 year old wood, so leave plenty of these branches while removing older, less productive wood. I aim to keep the center open like a vase—this shape allows sunlight to reach all the fruit.
If your tree has grown too tall, reduce height by cutting back the top one-third of the tallest branches to an outward-facing bud. This encourages bushier growth lower down where fruit is easier to harvest. Watch for water sprouts (fast-growing vertical shoots) and remove these completely.
Rake up and dispose of all pruned material immediately—don’t compost diseased wood. I like to make a final inspection from all angles to catch any missed crossing branches or awkward growth. Your tree should look balanced but not over-pruned.
Watch for new growth in spring. If you see excessive suckers at the base or water sprouts, remove these early before they draw energy from fruit production. The first flowers will appear on your remaining branches, showing exactly where this season’s fruit will form.
Pruning plum trees doesn’t have to be intimidating—these practical insights will help you avoid common pitfalls and get better results.
The Timing Factor: That 4-6 week window before your last frost date in late winter is absolutely critical. I learned this the hard way after pruning too early one year and dealing with silver leaf disease. Check your local agricultural extension’s frost date calendar if you’re unsure—it’s worth the extra research to get this right. The swollen-but-not-open buds are your perfect visual cue to start.
Tool Sanitation Secret: That 10% bleach solution mentioned in Step 2 isn’t just good advice—it’s essential. I keep a small spray bottle of the solution (1 part bleach to 9 parts water) and spray my pruners between every cut when dealing with diseased wood. This simple habit prevents spreading pathogens throughout the tree. Don’t skip this step, especially if you notice any oozing sap or fungal growth.
Thinning Technique: When removing that 20-30% of branches in Step 3, here’s what nobody tells you—step back every 5-10 cuts to assess your progress. It’s easy to get carried away and over-thin. I like to hold up my hand between the branches and the sky—if I can see my fingers clearly through the canopy, I’m on the right track. This visual check prevents removing too much foliage at once.
Height Management: That one-third reduction of tallest branches in Step 4 makes a bigger difference than you’d expect. I’ve found that making these cuts just above an outward-facing bud (rather than just anywhere) encourages the new growth to spread outward rather than upward. This creates that ideal vase shape we’re aiming for and makes future harvesting much easier.
Prune plum trees in late spring or early summer (after flowering) to avoid silver leaf disease, a common fungal issue. Avoid winter pruning—open wounds are more vulnerable to infections. Light summer trimming can also help shape the tree while minimizing disease risk.
Not ideal! Winter pruning increases the risk of silver leaf fungus, which thrives in cold, damp conditions. If you must prune then, choose a dry day and seal cuts with pruning paste. Stick to summer pruning for healthier trees and better fruit production.
Never remove more than 20-25% of the canopy in a single year. Over-pruning stresses the tree, reducing fruit yield. Focus on dead/diseased branches first, then thin for airflow. Spread major pruning over 2-3 years if the tree is overgrown.
What’s the difference between pruning a plum tree vs. other fruit trees (like apple or peach)?strong>
Plum trees are more disease-prone, so timing and hygiene matter most! Unlike apples (pruned in winter), plums need summer pruning to avoid fungal infections. Peaches require aggressive thinning for fruit size, but plums focus on airflow and moderate shaping.
Common culprits: Over-pruning (removed fruit-bearing spurs), wrong timing (cutting off flower buds), or poor sunlight (too much inner shading). Check for leftover stubs or jagged cuts—these hinder regrowth. Give it a year; if no fruit, reassess your technique next season!
