
Beautiful Plants For Your Interior
Beautiful Plants For Your Interior
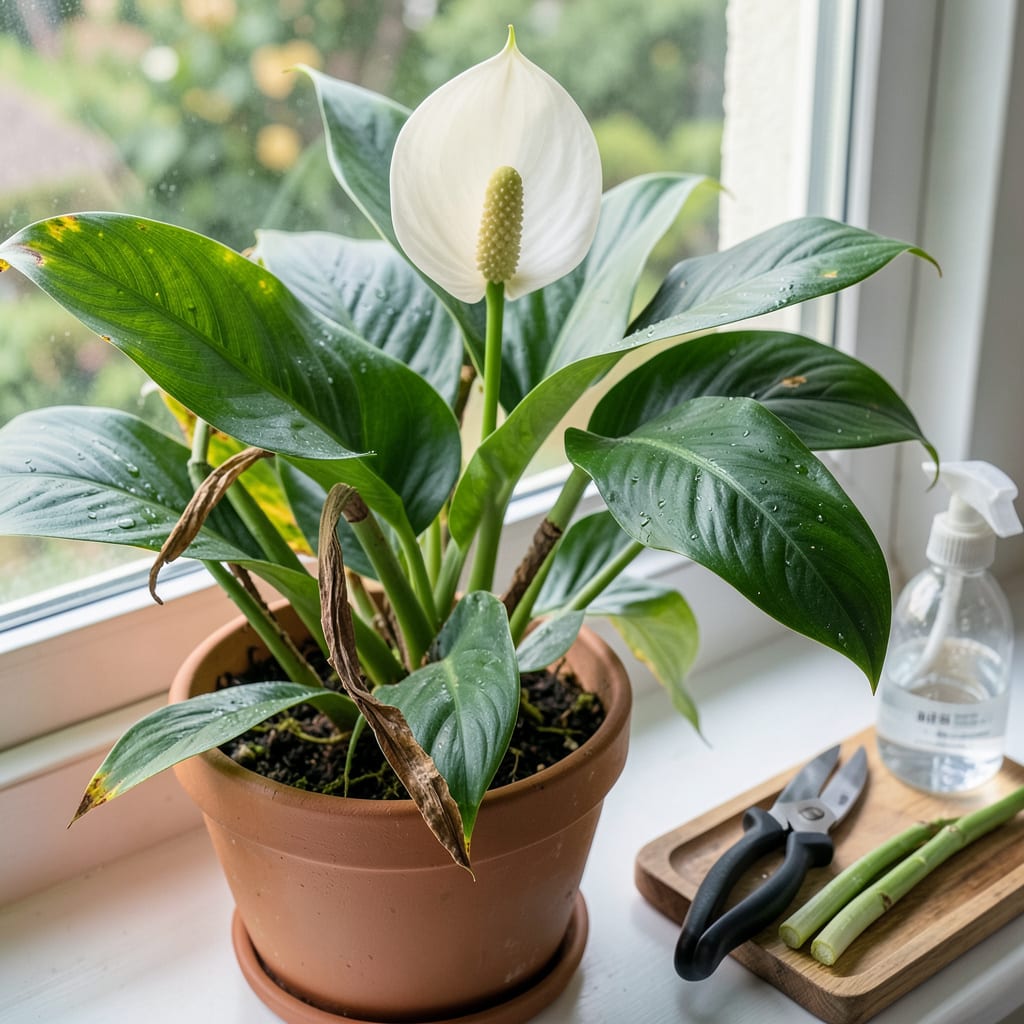
That peace lily in your living room could look twice as good with just a few strategic cuts. I used to let mine get scraggly—yellow leaves piling up, spent blooms hanging on—until I realized pruning isn’t just maintenance, it’s how you unlock bigger leaves and more flowers. Five minutes with sharp scissors transforms a tired plant into one that grows faster and blooms longer.
Timing matters: do this in spring or summer when the plant’s actively growing, and you’ll see new shoots within weeks. No fancy tools required—just clean shears and the courage to cut back what’s holding your plant back. The best part? You can’t really mess this up. Even my most aggressive pruning jobs bounced back with thicker foliage and fresh white blooms.
📚 In This Guide
With just a few careful cuts, you’ll transform a tired peace lily into a bushy, bloom-filled showpiece.
Start by examining the entire plant for yellow or brown leaves—these are dead or dying and should be removed first. I always check the base of the plant too, where older leaves often hide. Look for spent flower stalks (they turn green then brown after blooming) and any leaves with crispy edges from underwatering or sunburn.
Don’t cut healthy green leaves just because they’re large—peace lilies naturally have broad foliage. The goal is removing only what’s damaged or no longer productive. You’ll notice new growth emerging from the center; protect these emerging leaves as they’ll become your next blooms.
For each leaf or flower stalk you’re removing, follow it down to where it meets the main stem. Using sharp scissors or pruning shears, cut as close to the base as possible without damaging the central crown. Angling your cut slightly away from the plant prevents water from pooling on the wound.
I always wipe my blades with rubbing alcohol between cuts to prevent spreading disease. You’ll feel a slight resistance when cutting through the thick stems—don’t force it. If a leaf tears instead of cutting cleanly, make a second cut slightly higher up the stem to create a smooth edge.
After removing damaged material, step back and assess the plant’s shape. Peace lilies grow outward, so I trim back the outermost leaves by about one-third if they’re making the plant look unbalanced. This encourages the plant to send energy inward, creating a fuller center.
Focus on cutting leaves that are touching the pot’s edge or overlapping significantly with others. You want air to circulate between leaves to prevent fungal issues. The plant might look sparse immediately after, but you’ll see new growth filling in within 2-3 weeks.
Gather all the cut material and dispose of it (don’t compost diseased leaves). Wipe down any remaining leaves with a damp cloth to remove dust—this helps the plant photosynthesize more efficiently. Water the plant lightly after pruning, as the reduced foliage means it will need less moisture temporarily.
Place your peace lily in bright, indirect light for the next week. You’ll notice the remaining leaves perking up within a few days as the plant redirects energy. Avoid fertilizing for 2 weeks after pruning to let the plant recover from the stress of cutting.
Check your plant weekly for new shoots emerging from the center. These will be lighter green and more tender than mature leaves. Within 4-6 weeks, you should see new flower buds forming—this is your reward for proper pruning.
If you notice any cut stems turning black, that’s normal as they dry out. However, if the blackness spreads to healthy tissue, you’ve cut too aggressively. In that case, reduce watering slightly and move the plant to slightly brighter light to help it recover.
Pruning your peace lily properly makes all the difference between a struggling plant and one that thrives with abundant blooms.
Precision Cutting: When following Step 2’s instruction to cut “as close to the base as possible,” use sharp bypass pruners rather than household scissors. The clean, angled cuts they make heal faster than the crushing action of dull scissors. I’ve found that wiping blades with rubbing alcohol between each cut (as mentioned in Step 2) prevents bacterial spread that can cause stem rot in these moisture-loving plants.
Growth Pattern Awareness: Peace lilies grow from the center outward, which is why Step 3’s shaping technique works so well. When trimming outer leaves by one-third, focus on the oldest, largest leaves first—they’re the least productive. This mimics the plant’s natural shedding process while redirecting energy to the younger, more productive center growth. The temporary sparse appearance always fills in beautifully within those 2-3 weeks mentioned in Step 3.
Recovery Period Insight: The 2-week fertilizing pause in Step 4 isn’t arbitrary—it allows the plant to heal cuts and establish new growth points. During this time, I’ve noticed peace lilies respond best to slightly brighter indirect light than their usual spot. This extra light compensates for the reduced leaf surface area while new growth develops. The weekly progress checks in Step 5 will show you exactly when the plant is ready for its normal care routine again.
Signs of Over-Pruning: If you accidentally remove more than 30% of the foliage in one session, watch for these recovery signs mentioned in Step 5: wilting of remaining leaves within 24 hours, or blackening that spreads beyond just the cut stems. In these cases, move the plant to a humidity tray (pebble tray with water) and mist lightly daily until new growth appears. This mimics the tropical environment peace lilies thrive in.
Prune your peace lily every 6–12 months or when you notice yellow/brown leaves or overgrowth. Light trimming (deadheading spent blooms) can be done year-round, while major pruning is best in early spring before new growth starts. Over-pruning? Hold off—these plants bounce back slowly!
Yes! Clean, sharp scissors (or pruning shears) work fine for small jobs. For thicker stems, use sterilized shears to avoid crushing tissue. Always wipe blades with rubbing alcohol before/after to prevent disease. Avoid dull tools—they can tear stems and stress the plant.
Brown tips post-pruning usually mean stress from overwatering, low humidity, or fluoride in tap water. After trimming, keep soil lightly moist (not soggy) and mist leaves. Use filtered or distilled water to avoid chemical burn. If tips spread, check roots for rot.
Always cut at the base (where the stem meets the soil) for dead or damaged leaves. Halfway cuts leave ugly stubs that can rot. For healthy leaves, trim just above a leaf node if shortening. Pro tip: Angle cuts outward to direct new growth away from the center.
No blooms? Check these fixes:
