
Beautiful Plants For Your Interior
Beautiful Plants For Your Interior
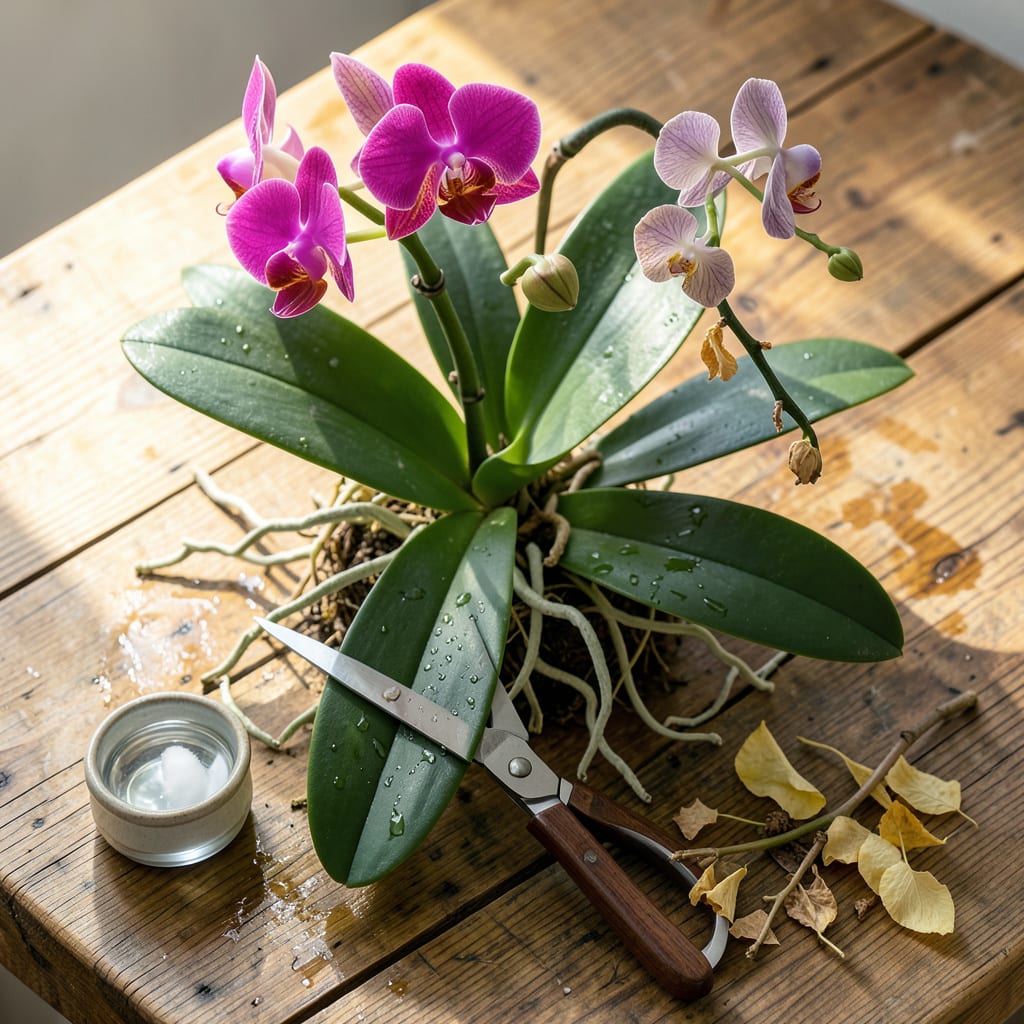
That moment when your orchid’s last bloom drops—don’t reach for the trash can. ✨ I’ve rescued dozens of “dead” orchids with nothing more than a clean pair of scissors and 10 minutes of strategic pruning. What looks like the end is actually your plant’s fresh start for next season’s flowers.
The right cut in the right place wakes up dormant buds and redirects energy where it matters. Most people either hack randomly or leave spent stems hoping for magic—both lead to weak regrowth. My method gives you bigger blooms in half the time, and the plant thanks you with years of reliable reblooming. Here’s exactly where (and where not) to make those cuts.
📚 In This Guide
Pruning orchids is simpler than you think—just follow these clear steps to encourage vibrant blooms and strong growth.
Wait until your orchid’s blooms have completely faded and the flower spike turns brown or yellow. This signals the plant has finished its blooming cycle and is ready for pruning. If the spike remains green, it may still produce new flowers, so hold off on cutting it back.
For Phalaenopsis orchids (the most common type), look for a brown, dried spike—that’s your cue. Other varieties, like Cattleyas or Oncidiums, may need pruning after blooming but before new growth starts. Always check your specific orchid type for timing.
Use sharp, clean scissors or pruning shears to avoid crushing the stem. Wipe the blades with rubbing alcohol or a 10% bleach solution to sterilize them—this prevents infections that can harm your orchid. A quick swipe with a cotton ball soaked in alcohol works perfectly.
Hold the spike gently with one hand while cutting to avoid tugging or tearing the plant. A clean, precise cut heals faster and reduces stress on the orchid. I always keep a small spray bottle of alcohol nearby to re-sterilize between cuts if I’m working with multiple plants.
For Phalaenopsis orchids, cut the spike about 1 inch above the base where it emerges from the plant. If the spike has nodes (small bumps), you can trim just above the second or third node from the bottom—this might encourage a new flower spike to grow.
Other orchid types, like Dendrobiums, may need the entire cane (pseudobulb) pruned after blooming. When in doubt, research your specific orchid’s needs. Avoid cutting into healthy green tissue—only remove what’s brown, yellow, or completely spent.
While you’re pruning, check for any yellow, wilted, or damaged leaves. Gently pull them away from the base of the plant or use your sterilized shears to trim them off. This helps the orchid focus its energy on healthy growth instead of maintaining dying foliage.
Inspect the roots too—healthy roots are firm and green or silvery. Trim any mushy, black, or hollow roots with sterilized tools. This prevents rot from spreading and keeps your orchid thriving. After pruning, your plant should look tidy and free of dead weight.
After pruning, give your orchid a little extra care. Water it lightly, avoiding the freshly cut areas to prevent rot. Place it in bright, indirect light—direct sun can stress a newly pruned plant. Hold off on fertilizing for about 2 weeks to let the plant recover.
Watch for new growth over the next few weeks. A healthy orchid will start producing new leaves or even a fresh flower spike. If the cut area looks discolored or mushy, it may need better air circulation or less water. Pruning is like a reset button—your orchid will thank you with stronger blooms next season!
Pruning orchids doesn’t have to be intimidating—these simple insights will help your plants thrive after every trim.
Timing is Everything: In Step 1, waiting for the flower spike to turn completely brown or yellow is crucial. I learned this the hard way after cutting a still-green spike that later produced beautiful blooms! For Phalaenopsis orchids, that brown, dried spike is your clear signal. Other varieties may need different timing, so always check what’s right for your specific orchid type.
Sterilization Secret: The 10% bleach solution mentioned in Step 2 might seem strong, but it’s the gold standard for preventing infections. I keep a small spray bottle of rubbing alcohol handy—it’s gentler and just as effective. Between us, I re-sterilize my tools between every single cut when working with multiple plants. This extra step prevents cross-contamination that could spread disease.
The Node Know-How: When cutting Phalaenopsis spikes in Step 3, here’s what nobody tells you—those little bumps (nodes) can be potential growth points. Cutting just above the second or third node from the bottom might encourage a new flower spike. I’ve had great success with this method, getting beautiful reblooms from what would otherwise be discarded spikes.
Post-Pruning Care: The 2-week fertilizer pause in Step 5 is non-negotiable. I know it’s tempting to “help” your orchid recover faster, but this resting period lets the plant focus on healing. During this time, I watch for new growth like a hawk—it’s the most rewarding sign that my pruning was successful and the orchid is ready to bloom again.
Prune after blooming when flowers fade but before new growth starts—typically late fall or early spring. For Phalaenopsis (moth orchids), trim spent spikes when they turn brown or yellow. Avoid pruning during active blooming or dormancy, as this can stress the plant.
Yes, you can prune both! Trim dead or rotting roots (mushy, black/brown) with sterilized scissors during repotting. Healthy roots are firm and green/silver. For stems/spikes, only cut back dead or yellowed sections—never healthy green tissue unless shaping.
Pruning removes entire stems, spikes, or roots to improve health, while deadheading only snips faded flowers to encourage reblooming. For example, cut a Phalaenopsis spike 1 inch above a dormant node to prompt new blooms, but prune the whole spike if it’s dead.
Common causes: over-pruning (removed too many nodes), poor light (orchids need bright, indirect light), or insufficient nutrients. Check for stress signs like yellow leaves. Try a balanced orchid fertilizer (20-20-20) and ensure temps stay between 60–80°F. Patience is key—some orchids take months to rebloom!
Some varieties, like Vanda or Dendrobium, rarely need pruning unless stems/roots are damaged. Oncidiums (dancing lady orchids) may rebloom on old spikes—avoid cutting them. Always research your orchid type first! When in doubt, less is more.
