
Beautiful Plants For Your Interior
Beautiful Plants For Your Interior
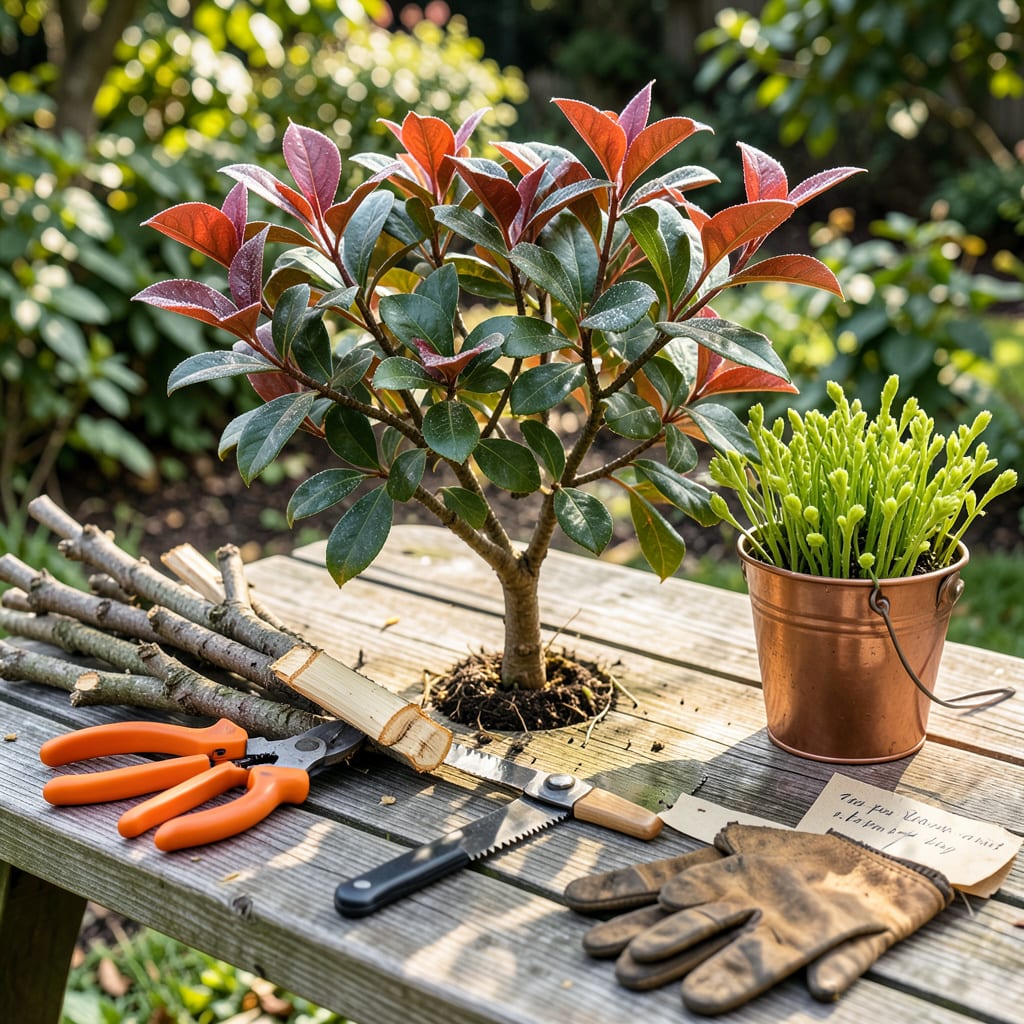
That overgrown nandina in your yard isn’t hopeless—it’s just waiting for the right cuts. I’ve transformed dozens of leggy, woody shrubs into dense, vibrant focal points with a few strategic snips. The secret lies in timing and technique: prune too late, and you sacrifice next season’s growth; prune wrong, and you get a lopsided mess.
You’ll need just three things: sharp bypass pruners, gloves (those canes are prickly), and 20 minutes of focused work. What you get in return is a shrub that flushes out with fresh red growth, maintains its natural shape, and stops taking over your walkway. Best part? Nandinas bounce back fast—you’ll see new shoots within 2-3 weeks of pruning.
📚 In This Guide
Here’s my straightforward method to keep your nandina healthy, full, and beautifully shaped year after year.
Prune nandina in late winter or early spring before new growth begins. This timing lets you shape the plant while it’s still dormant but ready to push out fresh growth. I’ve found this window (typically February to March in most zones) gives the cleanest results with minimal stress to the plant.
Avoid pruning in fall—new growth triggered then won’t harden off before winter and may suffer damage. You’ll know it’s the right time when you see the first tiny red buds forming at the branch tips, but before they’ve opened into leaves.
Start by cutting out any brown, brittle stems or branches with dieback. These won’t recover and only drain energy from healthy growth. Trace dead stems all the way to their base and make clean cuts just above where they emerge from the main plant.
Next, look for crossing branches that rub against each other—these create wounds that invite disease. Remove the weaker of the two branches completely. I always step back after this step to reassess the plant’s natural shape before making additional cuts.
For a natural look, follow the plant’s existing form and make cuts just above a leaf node or branching point. Never leave stubs—these become entry points for pests. I use the “one-third rule”: never remove more than one-third of the plant’s total volume in a single pruning session.
To encourage bushier growth, cut back the longest stems by 6-12 inches, making each cut at a slight angle so water runs off. Focus on opening up the center of the plant to improve air circulation—you should be able to see through the middle when you’re done.
Every 3-4 years, remove about one-quarter of the oldest stems at ground level to rejuvenate the plant. Choose the thickest, woodiest stems—these produce fewer leaves and berries over time. New shoots will emerge from the base to replace them.
You’ll recognize older stems by their darker bark and reduced leaf production. After thinning, the remaining stems will produce more vigorous growth and better berry production. I always mark which stems to remove with landscape flags the day before pruning to avoid second-guessing mid-cut.
Rake up all clippings immediately—nandina leaves contain compounds that can inhibit other plants’ growth if left as mulch. Water the plant deeply after pruning to help it recover, applying about 1 inch of water at the base rather than overhead.
Apply a 2-3 inch layer of mulch around the base (keeping it 3 inches away from the stems) to conserve moisture. You’ll see new growth emerging within 2-3 weeks—this is your sign the pruning was successful and the plant is responding well.
Pruning nandina doesn’t have to be complicated—these practical insights will help you avoid common pitfalls and get the best results from your efforts.
Timing Precision: The late winter to early spring window mentioned in Step 1 is absolutely critical. I’ve seen gardeners lose entire seasons of growth by pruning too early in winter or waiting until summer. Watch for those tiny red buds forming at branch tips—this is nature’s perfect signal that it’s time to prune. In warmer climates (Zones 8-10), you might start seeing these buds as early as January, while cooler zones (5-7) may not be ready until March. Don’t rush it—waiting for this natural cue prevents shock to the plant.
The One-Third Rule in Practice: Step 3 mentions removing no more than one-third of the plant’s volume, and this isn’t just arbitrary advice. I learned this the hard way after over-pruning a mature nandina that then took two full seasons to recover. Here’s how to judge it: stand back and visually divide the plant into three equal sections. Only remove what clearly fits into one of those imaginary sections. If you’re thinning older stems as described in Step 4, count those toward your one-third total—don’t do both thinning and shaping in the same year if it would exceed this limit.
Cutting Technique That Matters: The instruction in Step 3 about making cuts at a slight angle isn’t just for aesthetics—it’s a disease prevention strategy. I use bypass pruners (not anvil style) and make each cut at about a 45-degree angle, with the higher side away from the bud. This allows water to run off instead of pooling at the cut site, which can lead to fungal issues. Always cut just above a leaf node or branching point—never leave more than 1/4 inch of stem above the node, as this creates perfect conditions for pests to move in.
Old Stem Identification: Step 4 talks about removing older stems every 3-4 years, but how do you actually identify them? Look for stems with bark that’s turned grayish-brown (younger stems are greenish), and check the leaf production—older stems will have leaves only at the very tips, with long bare sections below. I like to use landscape flags to mark candidates a day before pruning—this gives me time to observe which stems truly aren’t contributing to the plant’s health. Remember that these older stems are often the thickest, so you’ll need loppers rather than hand pruners for clean cuts at ground level.
The ideal time is late winter or early spring (February–March) before new growth starts. Light shaping can also be done in summer after flowering. Avoid pruning in fall—new growth may not harden off before winter.
Yes! If your nandina is overgrown or leggy, cut one-third of the oldest canes to the ground each year for three years. This gradual approach prevents shock while encouraging fresh, bushy growth.
Never remove more than one-third of the plant at once. Use clean, sharp shears to make angled cuts just above a leaf node or bud. Avoid “topping” (cutting straight across)—this leads to weak, sparse regrowth.
Shaping: Trim outer branches lightly to maintain size or form (e.g., hedges). Rejuvenation: Cut older canes to the base to renew the plant. Use shaping for aesthetics, rejuvenation for health!
Common causes: pruning too late in the season (fall/winter), over-pruning (>30% of the plant), or using dull tools that damage stems. Ensure proper watering post-prune and check for pests/disease if growth stalls.
