
Beautiful Plants For Your Interior
Beautiful Plants For Your Interior
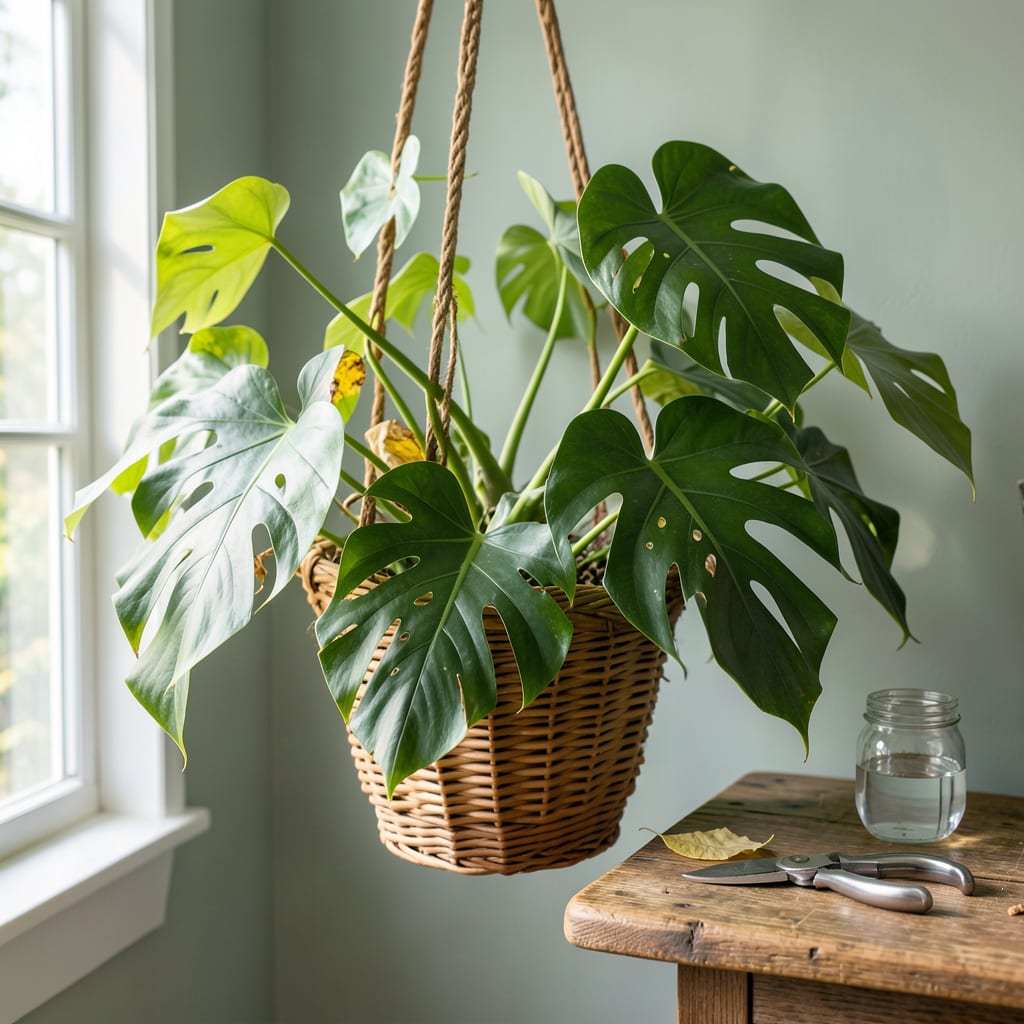
That first time I hesitated with the pruning shears, staring at my Monstera’s sprawling vines, I nearly talked myself out of it. What if I cut the wrong spot? What if I killed it? Turns out, pruning is what finally made my plant explode with bigger, happier leaves—and I’m sharing exactly how to do it without the stress.
This isn’t about hacking away blindly. It’s about strategic cuts that redirect energy to where you want it: fuller growth, stronger stems, and that coveted jungle look. The right technique even gives you free cuttings to propagate. I’ll walk you through when to prune, where to cut, and how to avoid the mistakes that leave Monsteras looking sad instead of stunning.
📚 In This Guide
Here’s the method I use to keep my Monstera thriving—you’ll see fuller growth within weeks.
Start by examining your plant for yellowing leaves, damaged foliage, or overgrown vines. These are your primary targets. I always begin with dead or dying leaves first—they drain energy from the plant without contributing to growth. Look for leaves that are more than 50% brown or crispy.
Next, identify leggy stems (long vines with sparse leaves). These often appear when the plant isn’t getting enough light. Don’t remove more than one-third of the plant’s total foliage in a single session—this prevents shock. Mark your cuts with a piece of tape if it helps you visualize before making permanent decisions.
Use sharp, sterilized pruning shears to make cuts at a 45-degree angle, about 1/4 inch above a leaf node (the small bump where leaves and aerial roots grow). This angle helps water run off and prevents rot. For vines, cut just above where you want new growth to emerge.
When removing large leaves, support the stem with one hand while cutting to prevent tearing the plant. I always wipe my shears with rubbing alcohol between cuts—this prevents spreading any potential bacteria. You’ll feel the difference when the shears glide through cleanly versus crushing the stem.
Don’t remove aerial roots unless they’re black or mushy—these are signs of rot. Healthy aerial roots (firm and cream-colored) help the plant absorb moisture and nutrients. If they’re growing wildly, you can gently guide them back toward the soil or a moss pole.
For roots that are too long but healthy, I sometimes wrap them in damp sphagnum moss and secure them to the main stem. This encourages them to grow into the moss, creating a stronger support system. You’ll notice new growth emerging from these wrapped areas within 4-6 weeks.
Don’t waste those healthy cuttings! Place stem sections with at least one node and one leaf in water. Use a clear glass so you can monitor root growth. Change the water every 3-5 days to prevent bacterial growth. You’ll see white roots emerging from the nodes within 2-3 weeks.
Once roots reach 2-3 inches long, you can pot them in well-draining soil. I like to keep the humidity high for the first week by covering the cutting with a clear plastic bag. This mimics the tropical environment Monsteras love and reduces transplant shock.
After pruning, give your Monstera bright, indirect light for at least 6 hours daily. Avoid direct sun, which can stress the freshly cut areas. Water when the top 1-2 inches of soil feel dry, but don’t overdo it—pruned plants need slightly less water as they recover.
You’ll likely see new growth within 3-4 weeks. This is when the plant starts putting energy into fresh leaves rather than maintaining old ones. I always rotate my Monstera quarter-turn weekly to ensure even growth—you’ll prevent the plant from developing a “bald spot” where light doesn’t reach.
Pruning your Monstera doesn’t have to be intimidating—these practical insights will help you avoid common pitfalls and encourage healthier growth.
Precision Cutting: In Step 2, when making your 45-degree angle cuts, remember that the 1/4 inch above the node measurement is crucial. Cutting too close can damage the node, while cutting too far away leaves an unsightly stub that may die back. I’ve found that using small, sharp scissors gives me more control than larger pruning shears for delicate stem work.
Root Management: When dealing with aerial roots in Step 3, resist the urge to trim healthy ones just for aesthetics. Those cream-colored roots are your plant’s lifeline—they’ll eventually help support larger leaves. If they’re particularly long, try the sphagnum moss wrapping technique mentioned in the instructions. You’ll be amazed at how quickly new growth appears within that 4-6 week window when you provide this extra moisture source.
Propagating Success: For Step 4’s propagation process, the clear glass recommendation isn’t just for show—it lets you monitor root development without disturbing the cutting. When you see those first white roots emerging after 2-3 weeks, that’s your signal to start preparing your potting soil. Don’t rush this stage; I’ve learned that cuttings with at least 3 inches of roots establish much more successfully in soil.
Post-Pruning Care: The 6 hours of bright, indirect light mentioned in Step 5 is your minimum—don’t be afraid to give your Monstera up to 8 hours if your space allows. After pruning, plants are in recovery mode and benefit from extra light energy. Just remember to keep rotating that quarter-turn weekly to prevent lopsided growth. I mark my calendar to remind myself which way to turn the pot each week.
It’s best to avoid heavy pruning in winter, as growth slows during dormancy. Light trimming for damaged leaves is fine, but save major cuts for spring or early summer when your plant is actively growing. This helps it recover faster and encourages new, lush foliage!
Don’t panic! Aerial roots often regrow after pruning. If your plant is healthy, new roots should emerge in a few weeks. To speed things up, provide bright, indirect light and mist the nodes lightly. You can also propagate the cuttings in water to grow fresh roots.
Focus on cutting just above a leaf node (the bump where leaves grow) to encourage bushier growth. Avoid removing more than 30% of the plant at once. If it’s very leggy, prune in stages over a few months to reduce stress and promote fuller regrowth.
Regular scissors can work for small cuts, but they may crush stems, increasing infection risk. For cleaner cuts, use sharp pruning shears or micro-tip snips (sterilized with rubbing alcohol). If scissors are your only option, disinfect them first and cut at a 45° angle.
Slow regrowth can happen due to low light, overwatering, or poor nutrition. Check if your plant gets 6+ hours of indirect light daily, and adjust watering (let the top 2 inches of soil dry out). A balanced fertilizer (like 20-20-20) every 4-6 weeks can also give it a boost!
