
Beautiful Plants For Your Interior
Beautiful Plants For Your Interior
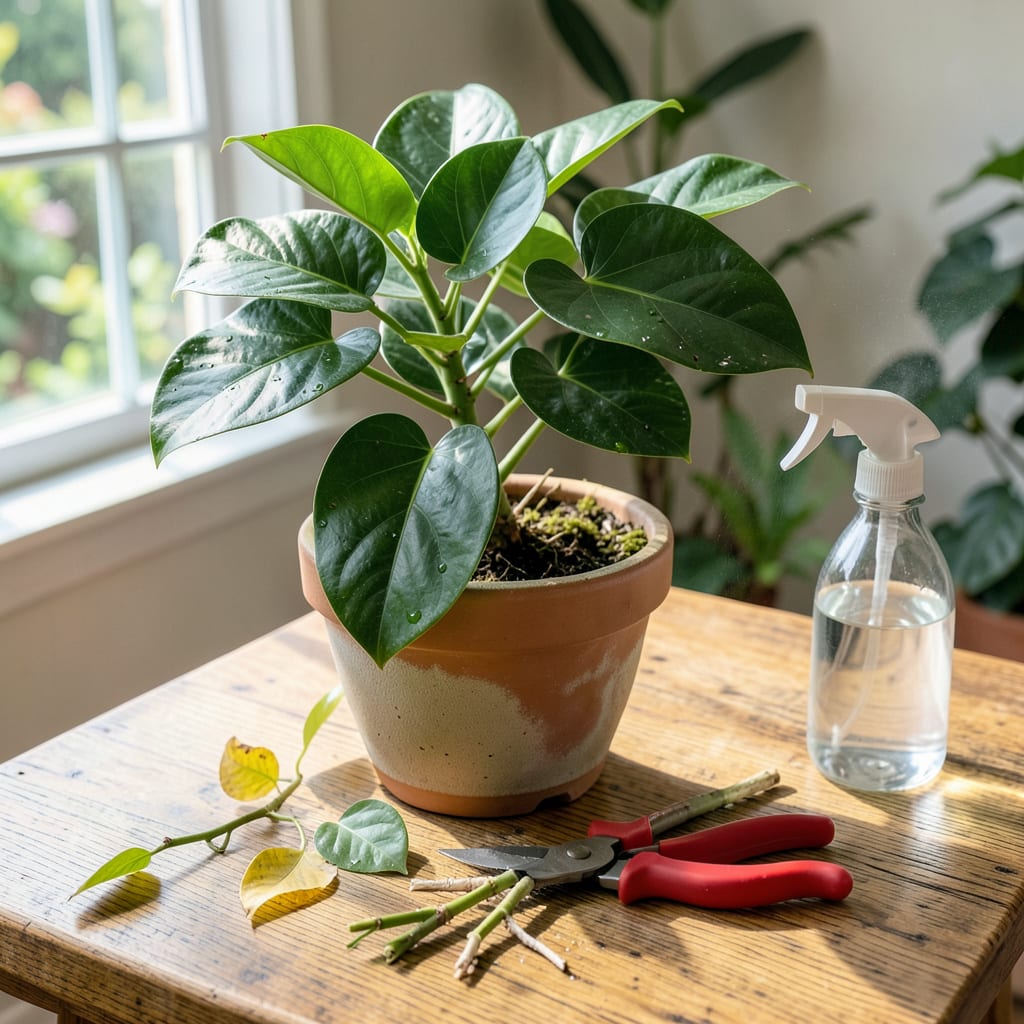
That money tree in your living room could be twice as lush with one simple session. Pruning isn’t about cutting back—it’s about directing growth, removing tired leaves, and shaping your plant into something even more impressive. I’ve turned leggy, sad-looking money trees into full, vibrant centerpieces just by making a few strategic snips at the right time.
The best part? This takes 10 minutes and basic tools—just clean pruning shears and a little confidence. Do it in early spring before the growing season kicks in, and you’ll see new branches sprouting within weeks. No green thumb required, just a willingness to help your plant reach its full potential.
📚 In This Guide
Pruning doesn’t have to be intimidating—this method keeps your plant healthy while encouraging that full, bushy shape you love.
Prune in early spring just as new growth begins, or anytime you notice overgrowth. I always start by examining the plant from all angles—look for leggy stems, yellowing leaves, or branches growing inward toward the trunk. These are your first targets for removal.
Check that your money tree is healthy before cutting. Pruning stressed plants (drooping leaves, soft stems) can do more harm than good. If you spot pests like spider mites, address that first with neem oil before making any cuts.
Start with your sharp pruning shears (clean them with rubbing alcohol first) and cut any dead or yellowing leaves at their base where they meet the stem. Don’t pull them—they’ll tear and leave wounds. Next, remove stems growing straight up or crossing through the center—they create congestion.
For branches that have grown too long, cut just above a leaf node (that’s the bump where leaves emerge) at a 45-degree angle. This prevents water from pooling on the cut surface and encourages branching. I make these cuts about 1/4 inch above the node—close enough to be clean but not so close it damages the bud.
Now step back and assess the overall shape. Money trees look best with a rounded canopy, so trim longer branches to match the height of shorter ones. If one side looks heavier, prune the opposite side slightly more to balance it. You’ll see new growth fill in within 4-6 weeks.
Never remove more than 25% of the foliage in one session—this stresses the plant. If your money tree is severely overgrown, spread the pruning over two sessions 6-8 weeks apart. I like to rotate the pot as I work to ensure I’m not missing any hidden problem areas.
After pruning, wipe the blades with alcohol again and remove all cuttings from around the plant. These can harbor pests or fungi. Give your money tree a thorough watering (until it drains from the bottom) and place it in bright, indirect light—no direct sun for a few days as it recovers.
Hold off on fertilizing for 2-3 weeks to let the plant focus on healing. You’ll know it’s recovering well when you see new leaf buds forming at the cut sites. This is when I start rotating the pot weekly to ensure even growth on all sides.
Pruning your money tree becomes much easier when you know these key details that most guides overlook.
The Right Angle Matters: In Step 2, when cutting branches above a leaf node, that 45-degree angle isn’t just for looks—it serves two critical purposes. The sloped cut prevents water from pooling (which can cause rot), and it exposes more of the node’s surface area to light, encouraging faster new growth. I’ve found that cutting exactly 1/4 inch above the node gives the best results without damaging the bud underneath.
Timing Your Pruning Sessions: The 6-8 week interval mentioned in Step 3 for severely overgrown plants isn’t arbitrary. This timing aligns with the money tree’s natural growth cycles, giving it enough time to recover and produce new growth before the next pruning. If you prune too soon, you risk stressing the plant. I mark my calendar after each session to stay on track.
Post-Pruning Light Conditions: The instruction in Step 4 about placing your plant in bright, indirect light after pruning is crucial for recovery. Direct sunlight can scorch freshly cut areas, while low light slows healing. I’ve had best results placing my money tree near an east-facing window where it gets gentle morning sun. This position provides enough light to stimulate growth without causing stress to the newly pruned areas.
Tool Maintenance Tip: Cleaning your pruning shears with rubbing alcohol before and after use (as mentioned in Step 2) does more than just prevent disease spread—it also keeps your blades sharp longer. I’ve ruined good pruners by neglecting this step, as sap buildup can corrode the metal over time. A quick wipe with alcohol followed by a dry cloth keeps them in top condition for years.
Prune in early spring or summer when your money tree is actively growing. Avoid winter pruning—it can stress the plant. Light trimming for shape is fine year-round, but major cuts should align with its natural growth cycle for faster recovery.
Never remove more than 20-30% of the foliage at once. Focus on dead, yellowing, or overgrown branches first. If your plant is leggy, trim just above a leaf node to encourage bushier growth. Over-pruning can shock the plant, so go slow!
Pruning involves cutting back branches with shears for shape or health, while pinching is gently removing new growth tips (with fingers) to promote fullness. Use pruning for major adjustments and pinching for minor, frequent shaping—no tools needed!
Drooping is often due to overwatering post-prune or excessive cutting. Check soil moisture (let it dry slightly between waterings) and ensure the plant gets bright, indirect light. If wilting persists, trim any mushy stems—root rot may be the culprit.
Healthy stem cuttings (4-6 inches long) can root in water or moist soil. Remove lower leaves, dip the end in rooting hormone (optional), and place in a warm, humid spot. New roots typically appear in 2-4 weeks—free plants!
