
Beautiful Plants For Your Interior
Beautiful Plants For Your Interior
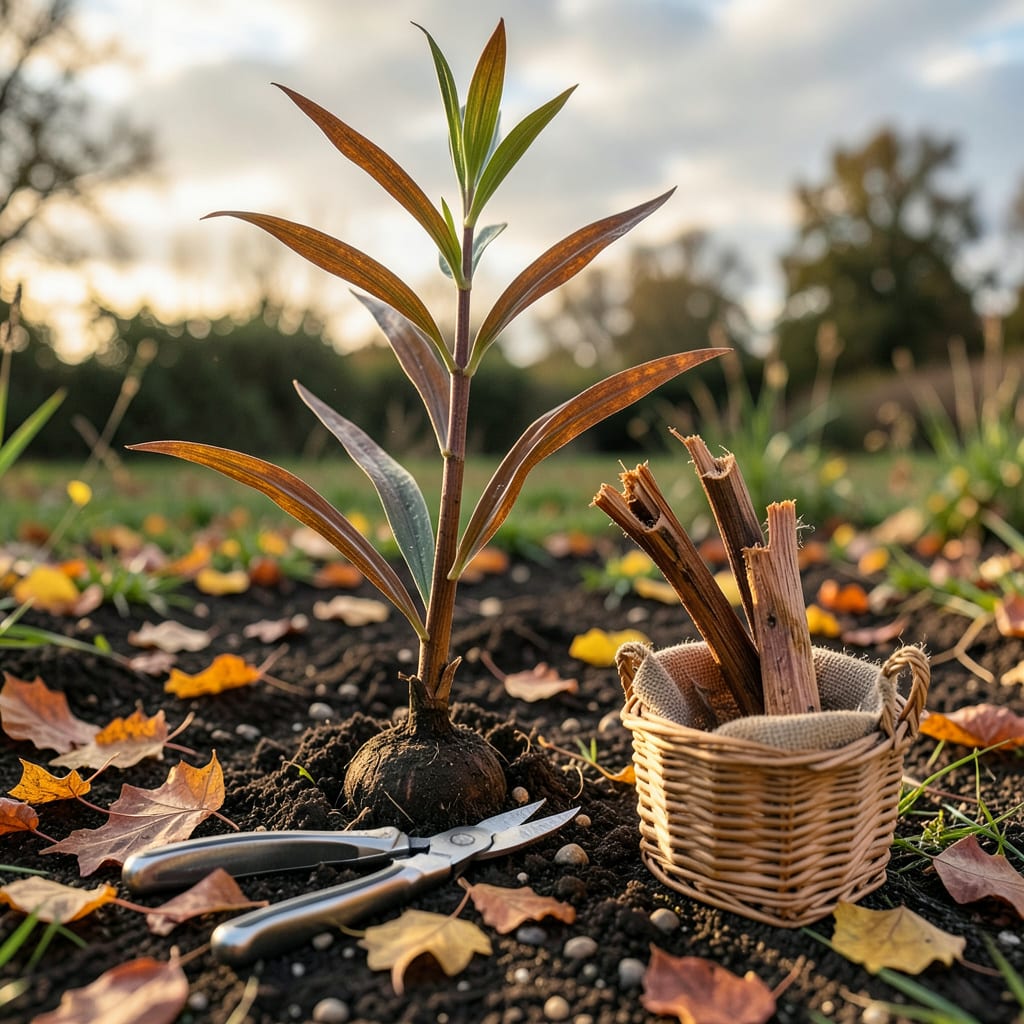
I used to think pruning lilies was just about tidying up—until I saw what happened when I did it right. The difference was shocking: twice as many blooms the next season, stronger stems, and zero disease issues. Turns out, a few strategic cuts at the right time work like magic for these plants.
Timing is everything. Cut back too early and you starve the bulbs; wait too long and you invite rot. After years of trial and error (and killing a few plants along the way), I’ve landed on a foolproof method that takes less than 10 minutes per plant. No fancy tools—just sharp shears and a little know-how.
📚 In This Guide
Pruning lilies the right way ensures stronger plants and more spectacular blooms next year—here’s exactly how I do it.
Never prune lilies immediately after they bloom. Instead, wait until the entire stem turns brown and dry in late fall or early winter. This usually happens about 6-8 weeks after flowering, when the plant has fully absorbed nutrients back into its bulb.
You’ll know it’s time when the stem snaps easily when bent and the foliage has completely withered. Pruning too early cuts off the plant’s food supply, weakening next year’s growth. I always mark my calendar after the last bloom fades to remind myself to wait.
Using clean, sharp pruners, cut the stem at ground level—never leave a stub. A stub can collect water and rot, potentially damaging the bulb below. Make your cut at a 45-degree angle to prevent water pooling on the cut surface.
Don’t pull the stem out by hand, even if it seems loose. This can accidentally lift or damage the bulb. If you’re working with multiple stems, remove them one at a time to avoid disturbing the bulb cluster. I like to wear gloves for this step since dried stems can be surprisingly sharp.
Gently pull away any remaining dead leaves from around the base of the plant. These can harbor pests or diseases over winter. Clear away all plant debris from the immediate area—this includes fallen petals, seed pods, and any remaining leaf material.
I use a small hand rake to lightly scratch the soil surface afterward, which helps expose any hiding pests. This is also a good time to check for signs of bulb rot or pest damage. Healthy lilies should have firm, plump bulbs just beneath the soil surface.
After pruning, apply a 2-3 inch layer of mulch around the base of the plant to protect the bulb from winter temperature fluctuations. Use organic material like shredded bark or straw—this will also feed the soil as it breaks down.
If your lilies are in containers, move them to a sheltered location where they won’t freeze solid. For in-ground plants, consider marking their location with small stakes since the bare spot might be hard to remember next spring. I’ve lost track of bulbs more times than I’d like to admit!
As temperatures warm in early spring, watch for new green shoots emerging from the soil. This is your signal that the bulbs survived winter and are ready to grow. Remove any remaining mulch gradually as the shoots appear to prevent smothering the new growth.
Resist the urge to fertilize immediately—wait until shoots are 4-6 inches tall before applying any bulb food. Early fertilization can burn tender new growth. I like to keep a garden journal to note when each variety shows its first signs of life each year.
Pruning lilies properly makes all the difference for next year’s blooms—here are the details that matter most.
Timing is Everything: The 6-8 week waiting period after flowering in Step 1 is crucial. I’ve seen gardeners rush this and end up with weak stems the following year. The plant needs this time to photosynthesize and store energy in the bulb. If you’re unsure whether it’s time, try the “bend test”—when the stem snaps cleanly like a dry twig, you’re good to go.
Cutting Technique: In Step 2, that 45-degree angle cut isn’t just for looks—it prevents water from pooling on the cut surface, which could lead to rot. I use bypass pruners rather than anvil pruners for cleaner cuts. Always sterilize your pruners with rubbing alcohol between plants to prevent disease spread, especially if you notice any black spots on stems.
Winter Protection: The 2-3 inch mulch layer mentioned in Step 4 serves double duty. It insulates bulbs from freeze-thaw cycles that can heave them out of the ground, and as it breaks down, it feeds the soil. In colder climates (USDA zones 3-5), I add an extra inch of mulch. For containers, move them to an unheated garage or against a protected wall—they need cold to trigger spring growth, but not extreme freezing.
Spring Monitoring: When you see those first green shoots in Step 5, resist the urge to uncover them completely. Gradually remove mulch as the shoots grow to avoid temperature shock. I’ve found that lilies planted in partial shade may emerge a week or two later than those in full sun—keep notes so you don’t mistake late emergers for lost bulbs.
The ideal time is late fall or early winter after the foliage turns brown, or early spring before new growth starts. Avoid pruning in summer—lilies need their leaves to store energy for next year’s blooms! For deadheading (removing spent flowers), do it as soon as petals fade to redirect energy to the bulb.
Nope! Never remove all the foliage right after blooming—lilies rely on their leaves for photosynthesis to fuel next year’s growth. Instead, deadhead spent flowers and let the stems/stalks die back naturally. Cut back to 2–3 inches above soil only when foliage turns yellow or brown (usually late fall).
Deadheading = Removing only the faded flowers (snip just below the bloom) to prevent seed pods and encourage bulb strength. Pruning = Cutting back entire stems/foliage at the end of the season. Both are key—but deadheading is a summer task, while pruning happens in fall/winter.
Possibly! Common mistakes:
Yes! Annual pruning keeps plants healthy and prevents disease. Skip it, and you risk:
