
Beautiful Plants For Your Interior
Beautiful Plants For Your Interior
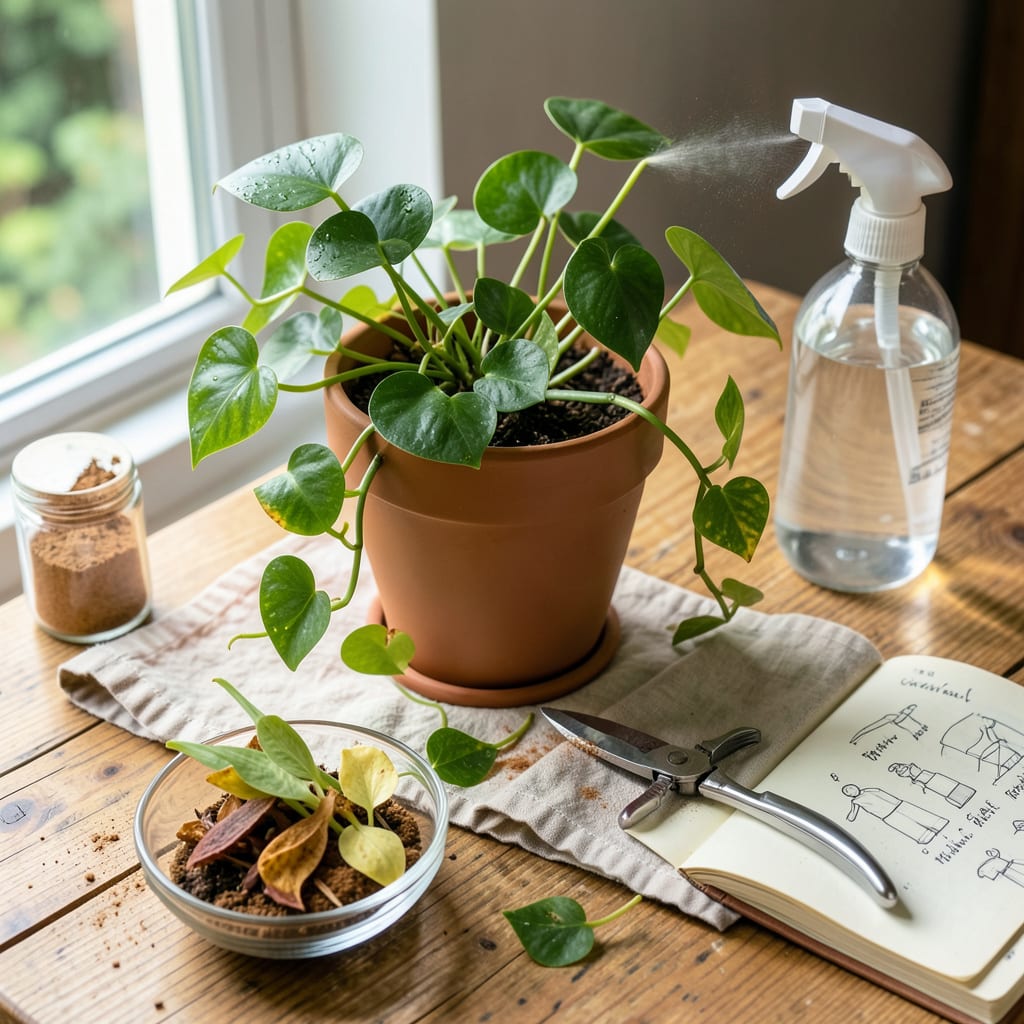
That leggy pothos trailing halfway across your living room? It’s begging for a haircut. Pruning houseplants isn’t just about aesthetics—it’s how you turn sparse, stretched-out greenery into full, vibrant plants that actually thrive. I used to avoid it until I realized my fiddle-leaf fig’s sad, bare stems were entirely my fault.
Here’s the good news: you only need three tools, 10 minutes, and the courage to make that first cut. Done right, your plants will reward you with bushier growth, more leaves, and a shape that finally fits your space—not the other way around. No green thumb required.
📚 In This Guide
Pruning doesn’t have to be intimidating—here’s how I keep my indoor plants thriving with simple, strategic cuts.
Start by examining your plant for dead, yellowing, or damaged leaves. These sap energy and attract pests. I like to run my fingers gently along each stem—healthy growth feels firm, while dying foliage often feels crispy or mushy.
Look for leggy stems (long, bare stretches between leaves) and crossing branches that rub together. These are prime candidates for pruning. Don’t forget to check the undersides of leaves—sometimes problems hide there.
Real talk: If you’re unsure whether a leaf is dead or just struggling, wait a week. A truly dead leaf won’t change, while a stressed one might recover with better care.
Use sharp, clean pruners or scissors (I wipe mine with rubbing alcohol first). For stems, cut just above a leaf node (the bump where leaves emerge) at a 45-degree angle. This prevents water pooling and encourages new growth.
When removing leaves, cut at the base where the stem meets the main plant. Never tear leaves—this creates jagged wounds that invite disease. I make my cuts in one smooth motion to avoid crushing the stem.
Here’s the thing—you can’t over-prune most houseplants. If you accidentally take too much, they’ll bounce back. I’ve never killed a plant by pruning too aggressively, but I’ve seen plenty suffer from neglect.
Step back and look at your plant’s overall shape. I aim for a balanced silhouette—no one side should be significantly heavier than another. For bushy plants like pothos or philodendrons, I trim longer vines back to encourage fuller growth.
If you want a plant to branch, make your cut just above a leaf node with multiple buds. This signals the plant to send out new shoots. I’ve found that rotating my plants quarter-turn weekly after pruning helps them grow evenly toward the light.
Don’t skip this (I learned the hard way): Always prune during the plant’s active growing season—spring through early summer for most houseplants. Winter pruning can stress them when they’re already conserving energy.
After pruning, give your plant a light watering (not a deep soak) and place it in bright, indirect light. I avoid fertilizing immediately—wait about 2 weeks to let the plant recover from the shock.
Watch for new growth at the cut sites—this is your reward! I’ve noticed that pruned plants often push out fresh leaves within 2-3 weeks if conditions are right. Keep the humidity slightly higher than usual for the first week to reduce stress.
The pruned material isn’t waste! I propagate healthy cuttings in water or share them with friends. Even the trimmings from my last pruning session rooted beautifully and became new plants.
I make pruning part of my monthly plant care routine. A quick trim here and there prevents the need for major overhauls later. I’ve found that plants actually grow faster and fuller with regular attention.
Keep an eye out for new leggy growth—this often means your plant needs more light. I adjust my plants’ positions seasonally, moving them closer to windows in winter when light is scarcer.
You’ll develop an instinct for when plants need pruning. The key is observing how they respond after each session. My once-sparse snake plant now has triple the foliage thanks to consistent, thoughtful pruning over two years.
Pruning becomes second nature once you understand these key principles—here’s what I wish I knew when I started.
The Observation Habit: Before making any cuts, spend at least 5 minutes carefully examining your plant from all angles. I use this time to identify not just obvious problems but also subtle issues like early signs of legginess or leaves that might be shading others. This prevents over-pruning and helps you make more strategic cuts. The plants that thrive best in my collection are the ones I observe most carefully before touching.
Tool Preparation: Always sterilize your pruners or scissors with rubbing alcohol before and after each plant. I keep a small spray bottle of alcohol near my plant station for quick cleaning between plants. This simple step prevents disease transmission—especially important if you’re working with multiple plants or have recently dealt with pests. Dull blades crush stems rather than cutting cleanly, so I sharpen my pruners every few months with a simple whetstone.
Seasonal Timing: The spring through early summer window mentioned in Step 3 is absolutely critical. I learned this after pruning a fiddle leaf fig in winter—it took months to recover. During active growth seasons, plants have the energy reserves to heal wounds and push new growth. If you must prune outside this window, limit yourself to removing only dead or diseased material, and avoid any shaping cuts that would stimulate new growth.
Post-Pruning Care: That 2-week waiting period before fertilizing in Step 4 isn’t arbitrary. When you prune, the plant redirects energy to healing and new growth at the cut sites. Adding fertilizer too soon forces the plant to divide its energy between healing and processing nutrients. I mark my calendar after pruning sessions to remind myself when it’s safe to resume my normal fertilizing schedule.
Most houseplants thrive when pruned in early spring (just before their active growth phase) or late winter. Avoid pruning in fall or winter when growth slows—this can stress plants. Succulents and flowering plants (like hibiscus) may prefer post-bloom pruning. Always check your plant’s specific needs!
Leggy plants (with long, sparse stems) benefit from pruning to encourage bushier growth. Snip just above a leaf node (where leaves meet the stem) at a 45° angle. This redirects energy to new shoots. For trailing plants like pothos, trim back to 1–2 inches from the soil for fuller regrowth.
Don’t panic! Temporary wilting or yellowing is normal—it’s just shock. Ensure your plant gets indirect light, consistent watering (not overwatering!), and avoid fertilizing for 2–3 weeks. If stems turn mushy or black, over-pruning or infection may be the issue. Trim damaged areas and repot if needed.
Yes! Try these first:
First, isolate the plant. Sterilize your shears with rubbing alcohol before/after cuts. Prune infested leaves/stems immediately and dispose of them in a sealed bag (not compost!). Follow up with neem oil or insecticidal soap. Avoid heavy pruning—stressed plants attract more pests!
