
Beautiful Plants For Your Interior
Beautiful Plants For Your Interior
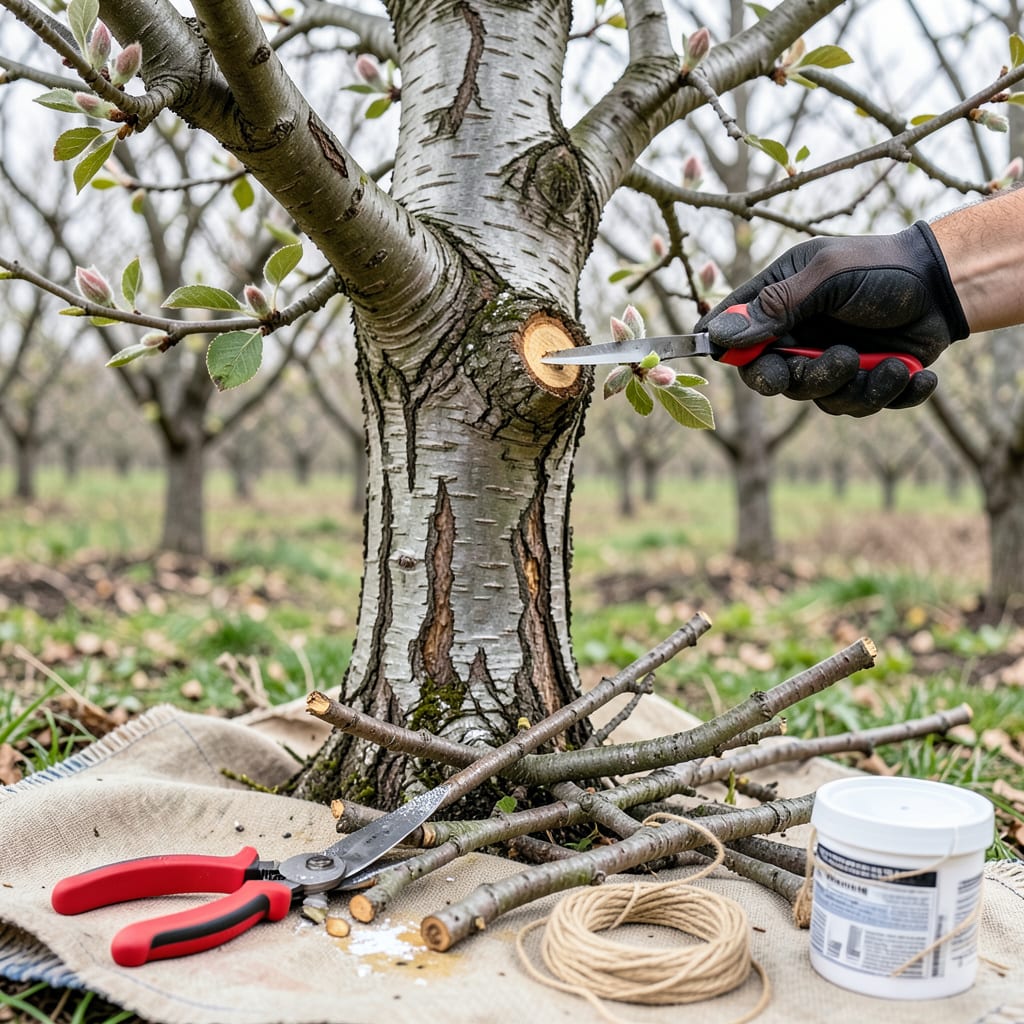
Every winter, I stand in my orchard with pruners in hand and think about next summer’s harvest. Pruning fruit trees isn’t just maintenance—it’s how you turn a good crop into a bountiful one. The right cuts at the right time mean bigger fruit, healthier trees, and fewer pest problems down the road.
I’ve learned the hard way that timing matters: apples need late winter, peaches prefer early spring. With just three basic tools (pruners, loppers, a saw) and 20 minutes per tree, you can shape growth for maximum production. The first time I did this properly, my apple yield doubled the following season.
📚 In This Guide
Pruning doesn’t have to be intimidating—here’s how I approach it to keep trees healthy and productive year after year.
Timing matters more than you might think. I prune my fruit trees in late winter or early spring, just before new growth starts. This is when the tree is still dormant but about to wake up. You’ll see swollen buds that haven’t opened yet—that’s your perfect window.
Avoid pruning in fall because the cuts won’t heal properly before winter, leaving your tree vulnerable to disease. If you must prune in summer (for damaged branches), do it lightly—never remove more than 10% of the canopy during active growth.
Start by cutting out anything that’s clearly problematic. Dead branches will be brittle and gray, while diseased wood often shows discoloration or oozing. I make these cuts first because they’re the most urgent—these branches drain the tree’s energy and spread problems.
Next, look for branches that rub against each other or grow inward toward the center. These create wounds and block airflow. Remove the weaker of any crossing branches entirely. You’ll know you’ve done this right when the tree’s center looks open like a vase—this allows sunlight and air to reach all parts of the tree.
Now focus on opening up the canopy. I aim to remove about 20-30% of last year’s growth on mature trees, concentrating on vertical shoots (called “water sprouts”) and branches growing straight up or down. These rarely produce good fruit and just clutter the tree.
Make thinning cuts just outside the branch collar—that’s the slightly swollen area where the branch meets the trunk. Never cut flush to the trunk, and never leave a stub. A proper cut heals cleanly, while a bad one invites rot. You’ll see the difference within weeks: clean cuts form callus tissue, while poor cuts ooze sap or turn black.
This is where you influence next year’s harvest. I look for outward-facing buds (they’re fatter and point away from the center) and make my cuts just above them. These buds will become your fruit-bearing branches. On young trees, I keep the strongest 3-5 main branches spaced evenly around the trunk.
Step back frequently to check your work—the tree should have a balanced, slightly conical shape when you’re done. The lowest branches should be about 18-24 inches above the ground to allow for airflow and easy harvesting. I always err on the side of pruning too little; you can always cut more next year, but you can’t put branches back.
Rake up all pruned material immediately and dispose of it (don’t compost diseased wood). I then spray my pruning tools with rubbing alcohol to prevent spreading pathogens to other trees. This might seem excessive, but I’ve lost trees to fire blight that spread from dirty tools.
Watch the tree over the next few weeks. Healthy pruning wounds will start to heal within 2-3 weeks, forming a smooth callus. If you see oozing, blackened edges, or wilting leaves, the tree might be stressed. In that case, hold off on any further pruning until you’ve identified the issue. Most trees bounce back beautifully—you’ll see vigorous new growth by mid-spring.
Pruning fruit trees becomes much easier once you understand these key details that most guides overlook.
Timing Nuance: That late winter or early spring window mentioned in Step 1 is absolutely critical because it’s when the tree’s energy is focused on healing rather than active growth. I’ve found that pruning just after the last frost but before buds swell gives the best results. If you’re unsure when that is in your area, watch for when daytime temperatures consistently stay above freezing—that’s your signal to start.
Cutting Technique: When making cuts in Step 3, angle your pruners slightly away from the trunk at about 45 degrees. This helps water run off the wound instead of pooling, which prevents rot. I also recommend making the first cut halfway through the branch from underneath, then finishing from the top—this prevents the bark from tearing as the branch falls. The branch collar should remain completely intact; think of it as the tree’s natural bandage.
Visual Balance Check: In Step 4, after you’ve made your cuts, step back and squint at the tree. This blurs the details and helps you see the overall shape. You’re looking for a slightly tapered profile—wider at the bottom, narrower at the top—that allows sunlight to reach all branches. If one side looks heavier, remove a few more branches from that area. Remember, fruit trees should look like an open umbrella, not a dense ball.
Tool Maintenance: The cleaning step in Step 5 isn’t just about hygiene—it’s about tool longevity. After disinfecting with rubbing alcohol, I wipe my pruners with a lightly oiled cloth to prevent rust. A quick sharpening every few uses makes cuts cleaner and reduces strain on your hands. Dull blades crush rather than cut, leaving ragged wounds that take longer to heal. I keep a small sharpening stone in my pruning kit for touch-ups between trees.
The ideal time depends on the tree type! Dormant season (late winter/early spring) is best for most fruit trees like apples and pears. Avoid pruning in fall—it stimulates new growth vulnerable to frost. Stone fruits (peaches, cherries) prefer late spring/summer to prevent disease. Always prune on a dry day!
Never remove more than 25-30% of the canopy in one season. Focus on dead/diseased branches first, then thin crowded areas. Over-pruning stresses the tree and reduces fruit production. For young trees, light pruning encourages strong structure. When in doubt, less is more!
While possible, it’s risky! Bypass pruners (for small branches) and a sharp pruning saw (for thicker limbs) ensure clean cuts that heal faster. Avoid anvil pruners—they crush stems. Sterilize tools with rubbing alcohol between cuts to prevent disease. A pole pruner helps reach high branches safely.
Common causes:
Pruning is selective: removes dead/diseased branches, shapes growth, and improves fruit production. Trimming is maintenance: light cuts for aesthetics or size control. Think of pruning as a health check and trimming as a haircut. Both matter, but pruning impacts harvests more!
