
Beautiful Plants For Your Interior
Beautiful Plants For Your Interior
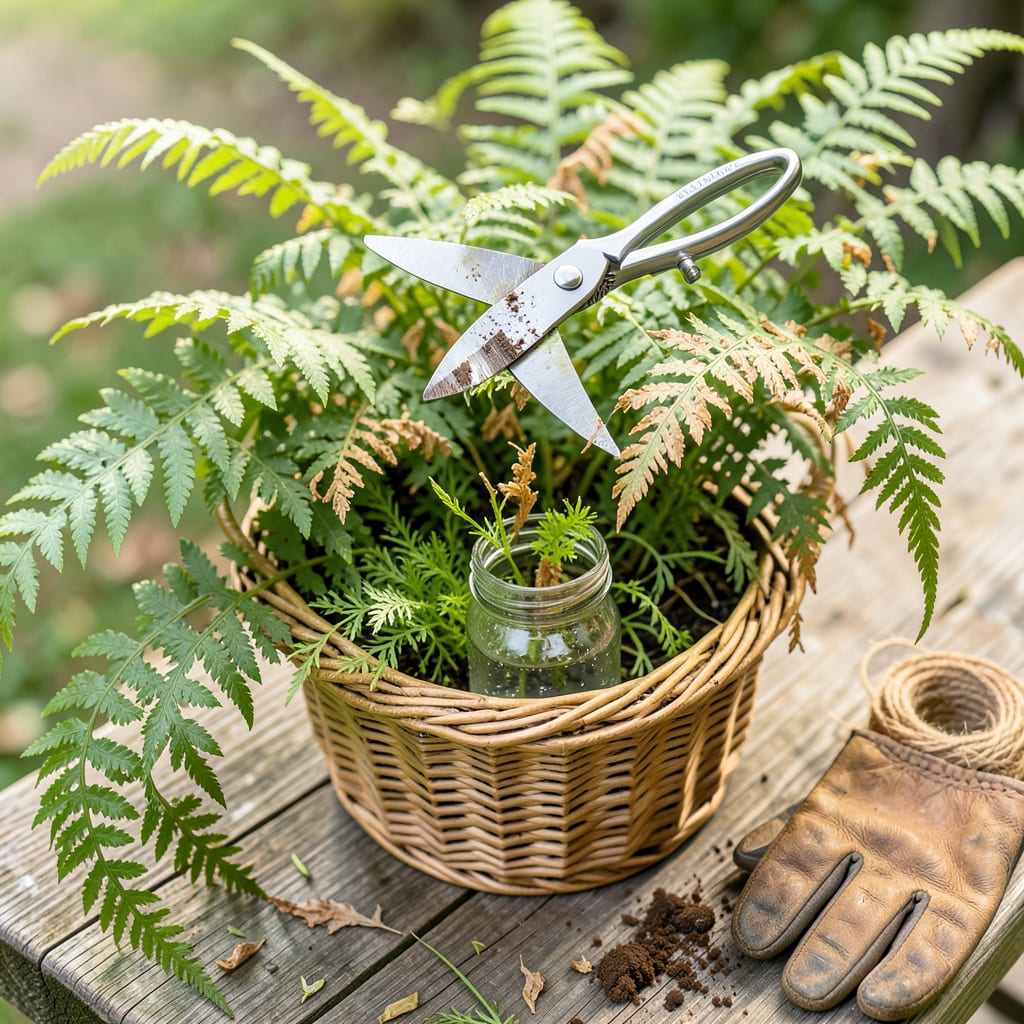
That moment when you realize your ferns look more like tangled weeds than lush greenery? Been there. Pruning ferns isn’t just about tidying up—it’s how you wake up tired plants, redirect energy to fresh growth, and keep them looking intentional instead of overgrown. I used to let mine get wild until I learned that a few strategic cuts make all the difference between a sad clump and a thriving, vibrant green showpiece.
Timing matters more than technique here. Do it right, and you’ll see new fronds unfurling within weeks. Do it wrong, and you risk stunting growth or leaving plants vulnerable. The good news? Ferns forgive mistakes better than most plants. Grab some sharp pruners and let’s turn that messy patch into something that actually looks like it belongs in your garden.
📚 In This Guide
Here’s the simple method I use to keep ferns healthy and looking their best—no guesswork, just clean cuts and fresh growth.
Start by examining your fern carefully. Look for any fronds that are brown, yellow, or crispy—these are dead or dying and should be removed first. I also check for fronds that are broken, damaged, or discolored, as these can drain energy from the plant.
Don’t worry about removing too much—ferns are resilient. If a frond is still green and healthy, leave it alone. Focus on the ones that are clearly past their prime. This is also the time to spot any diseased fronds, which may have dark spots, unusual textures, or a slimy feel.
With a pair of sharp, clean pruning shears or scissors, cut the fronds at the base where they meet the crown (the central part of the plant). Make sure your cuts are clean and precise—ragged cuts can invite disease or pests. I like to angle the shears slightly away from the crown to avoid damaging new growth.
If you’re dealing with a particularly large or overgrown fern, you might need to work in sections. Don’t rush—take your time to ensure each cut is intentional. Avoid tearing the fronds, as this can stress the plant and leave it vulnerable to infection.
After removing the dead or damaged fronds, step back and look at the overall shape of the fern. If the plant looks too dense, thin out some of the older, inner fronds to improve air circulation. This helps prevent fungal issues and encourages new, lush growth.
I usually remove about one-third of the oldest fronds to open up the center of the plant. This might feel aggressive, but it’s necessary for the fern’s long-term health. You’ll notice the difference in just a few weeks as fresh fronds begin to unfurl.
Once you’ve finished pruning, gather all the cut fronds and dispose of them—don’t leave them around the base of the plant, as this can attract pests. If your fern is in a pot, give it a light watering to help it recover from the stress of pruning. For outdoor ferns, a gentle misting can help settle any disturbed soil.
Over the next 2-4 weeks, keep an eye on your fern. You should see new fronds emerging from the center, which means your pruning was successful. If the plant looks stressed, make sure it’s getting enough indirect light and consistent moisture—ferns thrive in stable conditions.
Pruning ferns doesn’t have to be intimidating—these practical insights will help you avoid common pitfalls and get the best results.
The Cutting Technique: When removing fronds in Step 2, always cut at the base where they meet the crown. I’ve found that angling the shears slightly away from the center (as mentioned in the instructions) prevents accidental damage to new growth. A clean, precise cut heals faster and reduces the risk of disease. Avoid tearing fronds by hand—this creates jagged edges that take longer to recover.
How Much to Prune: Step 3 suggests removing about one-third of the oldest fronds, and I can’t emphasize enough how important this ratio is. It might feel drastic, but ferns are surprisingly resilient. If you’re hesitant, start with removing just the most damaged fronds first, then assess whether you need to thin further. The goal is to open up the center for better air circulation without removing so much that the plant struggles to photosynthesize.
Post-Pruning Care: After pruning in Step 4, many people overlook the importance of that light watering or misting. This isn’t just about hydration—it helps wash away any plant debris that might have fallen into the crown and could potentially rot. For potted ferns, I like to water from the bottom (place the pot in a tray of water for 10 minutes) to encourage root growth without disturbing the freshly pruned areas.
Monitoring New Growth: The 2-4 week window mentioned for seeing new growth is accurate, but here’s what to watch for specifically: tiny, tightly curled fronds (called “fiddles”) emerging from the center. If you don’t see these after 3 weeks, check your light and moisture levels—these are the two most common reasons for slow regrowth. A stressed fern might produce smaller, paler fronds at first; this is normal and they’ll strengthen with proper care.
Late winter or early spring (before new growth starts) is ideal, but light pruning in summer is fine if needed. Avoid heavy pruning in hot weather—ferns stress easily! If your plant looks ragged, trim only dead fronds and wait for cooler temps for major cuts.
Pruning trims dead or overgrown fronds to encourage fresh growth, while dividing splits the plant’s roots to create new plants. Prune yearly for health; divide every 3–5 years if your fern outgrows its space. Both boost vitality but serve different goals!
Brown fronds post-pruning are often normal (old growth dying off). But if new fronds brown, check for over-pruning (never remove >⅓ of the plant), dull tools (crushes stems), or underwatering. Trim at the base, sterilize tools, and keep soil moist to help recovery.
Low-maintenance ferns like Boston ferns or maidenhair ferns shed old fronds naturally—just pluck dead ones occasionally. Woodier ferns (e.g., holly fern) need minimal trimming. Even “no-prune” types benefit from a yearly tidy-up to redirect energy!
Yes! Chop healthy green fronds into small pieces for compost (they’re nitrogen-rich). Avoid diseased or pest-infested clippings. Dried fronds make lightweight mulch for acid-loving plants (like blueberries), but they break down quickly—mix with wood chips for longevity.
