
Beautiful Plants For Your Interior
Beautiful Plants For Your Interior
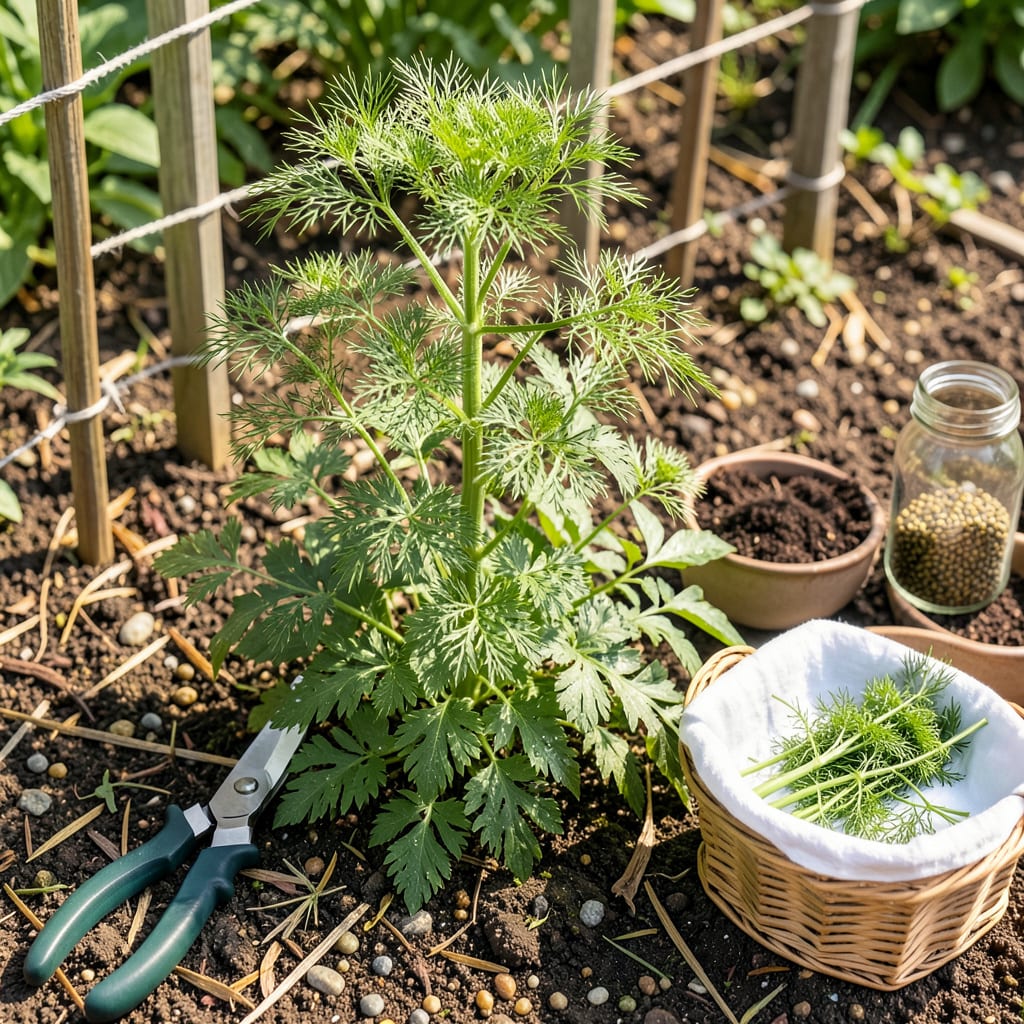
I used to let my dill grow wild—until I realized a few strategic snips could double my harvest. Pruning isn’t about cutting back; it’s about directing energy where you want it: into bushier leaves and delayed flowering. The difference between a leggy, seed-bound plant and one that keeps producing tender foliage for months? Just five minutes with a pair of scissors.
Timing matters more than technique here. Start when plants hit 12-18 inches tall, before those yellow flower umbels appear. I’ve found that regular light pruning every 2-3 weeks keeps dill in its sweet spot—producing abundant leaves without sacrificing flavor. The best part? You get to eat what you trim, so there’s zero waste in this process.
📚 In This Guide
Pruning dill properly encourages bushier growth and extends your harvest window—here’s how to do it without harming the plant.
Begin pruning when your dill plants reach 12-18 inches tall with at least 4-5 sets of true leaves. This typically occurs 4-6 weeks after germination. You’ll notice the central stem becoming thicker and lateral branches starting to form—this is your signal to act.
Never prune dill during its first 3-4 weeks of growth. The plant needs this time to establish a strong root system. Pruning too early stunts development and reduces overall yield. I always mark my calendar when I sow seeds so I don’t jump the gun.
Find the point where a leaf stem (petiole) meets the main stem—this junction contains dormant growth nodes. Using clean, sharp pruners, make your cut 1/4 inch above this junction at a 45-degree angle. This precise angle prevents water pooling while maximizing surface area for new growth.
The reason for cutting above a node is biological: it stimulates the plant to produce two new branches from that point instead of one. You’ll see new lateral shoots emerging within 7-10 days of proper pruning. Always sterilize your pruners with rubbing alcohol between cuts to prevent disease transmission.
When you spot the first yellow flower umbels forming at the stem tips, remove them immediately by pinching or cutting just below the flower cluster. Flowering signals the plant to stop leaf production and focus on seed development, which dramatically reduces your harvestable foliage.
Regular deadheading extends your dill’s productive leaf-growing phase by 3-4 weeks. I check my plants every 2-3 days during warm weather because dill can bolt (start flowering) surprisingly fast. The moment you see that central stem elongating rapidly, it’s time to intervene.
Never remove more than one-third of the plant’s foliage in a single pruning session. This rule prevents shock and ensures the plant has enough leaf surface to continue photosynthesizing effectively. I like to prune different stems on different days to maintain continuous growth.
After pruning, you’ll notice the remaining leaves may wilt slightly—this is normal. Provide consistent moisture (soil should feel evenly damp but not soggy) and the plant will recover within 24-48 hours. The new growth that emerges will be more compact and flavorful than the original stems.
Repeat the pruning process every 2-3 weeks throughout the growing season. This timing aligns with dill’s natural growth cycles and prevents the plant from becoming leggy. You’ll develop an eye for when the plant is ready—look for stems that have grown 6-8 inches since your last cut.
Stop all pruning 4-6 weeks before your first expected frost. This allows the plant to harden off naturally and directs energy toward seed production if you want to save seeds. The final pruning of the season should be lighter—just shape the plant and remove any damaged foliage.
Pruning dill isn’t complicated, but these key insights will help you avoid common pitfalls and maximize your harvest.
Timing Precision: The 4-6 week window mentioned in Step 1 isn’t arbitrary—it’s when dill transitions from seedling vulnerability to robust growth. I’ve found that plants pruned at exactly 12 inches tall (the lower end of the range) often respond with even bushier regrowth than those allowed to reach 18 inches. This earlier intervention seems to trigger more aggressive lateral branching, giving you more harvestable stems over time.
The Angle Matters More Than You Think: That 45-degree cut in Step 2 isn’t just for aesthetics—it creates the optimal surface area for callusing while preventing water from collecting on the wound. I use the “two o’clock” position as my mental guide: if the stem were a clock face, I angle my cut toward two o’clock. This consistency ensures I’m not accidentally creating flat surfaces that could trap moisture and invite fungal issues.
Post-Pruning Care: When you notice wilting after pruning (as mentioned in Step 4), resist the urge to overwater. The 24-48 hour recovery period is when dill is most susceptible to root rot. Instead of saturating the soil, I use a fine mist spray on the remaining foliage in the early morning—this provides hydration without overwhelming the roots while the plant redirects its energy toward new growth.
Seasonal Strategy: The 4-6 week pre-frost pruning cessation in Step 5 isn’t just about seed production—it’s about flavor concentration. Dill that hardens off naturally develops more intense aromatic compounds in its remaining leaves. I’ve noticed that plants allowed this gradual transition produce seeds with superior viability for next year’s crop, often germinating 20-30% faster than seeds from plants pruned until frost.
Yes! Light pruning every 2-3 weeks encourages bushier growth. Avoid heavy pruning after flowering (late summer), as this can stress the plant. Focus on trimming outer stems first, leaving the center intact for regrowth. Over-pruning weakens flavor, so never remove more than ⅓ of the plant at once.
Early morning is ideal —plants are hydrated, and wounds heal faster in cooler temps. Avoid pruning in midday heat (stresses the plant) or after rain (spreads disease). If morning isn’t possible, late afternoon works too—just ensure leaves dry before evening.
Yellowing often means over-pruning or poor recovery. Trim less next time (stick to 20-30% of stems) and water deeply. If stems are mushy, fungal issues may be present—remove affected parts and improve airflow. Healthy dill bounces back in 1-2 weeks with proper care.
Yes, but choose sharp, clean scissors (like kitchen shears) to avoid crushing stems. Disinfect blades with rubbing alcohol first to prevent disease. For thick stems, pruning shears give cleaner cuts. Pro tip: Snip at a 45° angle for faster healing!
Done correctly, pruning enhances flavor by promoting tender new growth. However, heavy pruning or cutting flower heads (seeds) too late can make leaves bitter. Harvest young stems for the best taste, and avoid pruning once seed pods form if you want strong dill flavor.
