
Beautiful Plants For Your Interior
Beautiful Plants For Your Interior
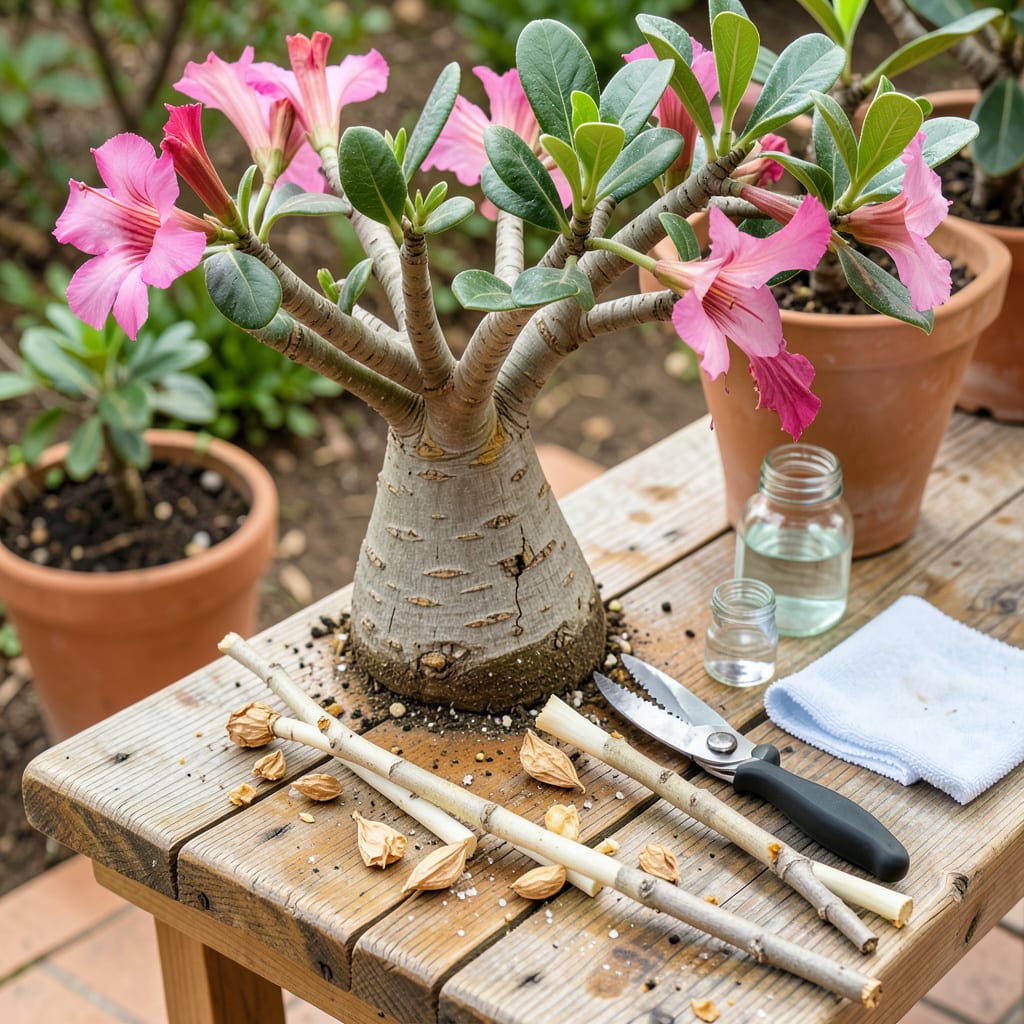
That first time I pruned my desert rose, I nearly chickened out. ✨ The thick stems and milky sap made me question everything—but the results were worth it. Pruning isn’t just maintenance; it’s how you unlock bigger blooms, stronger branches, and that dramatic, bonsai-like shape these plants are famous for.
Timing matters more than you’d think. Do it right before active growth starts (early spring for most zones), and you’ll see new shoots in 2-3 weeks. No fancy tools needed—just sharp shears, gloves (that sap is no joke), and the courage to make clean cuts. I’ll walk you through exactly where to snip and what to leave, so your plant thrives instead of sulking.
📚 In This Guide
This straightforward method keeps your plant thriving while encouraging those stunning blooms you love.
Prune your desert rose in early spring just as new growth begins, or after flowering if you’re in a warm climate. I always use sharp bypass pruners (never anvil-style) because clean cuts heal faster. Wipe the blades with rubbing alcohol first—this prevents spreading any potential diseases between plants.
Look for a day when temperatures stay above 60°F—cold weather stresses the plant. You’ll notice the stems (called caudex) feel firm to the touch when ready. Avoid pruning during extreme heat or when the plant looks wilted from drought stress.
Start by cutting out any dead or diseased branches first—these appear brown, shriveled, or mushy. Next, remove branches that cross or rub against each other. I trace each branch back to where it connects to the main stem before cutting to avoid leaving stubs.
For shaping, focus on branches growing inward or disrupting the plant’s natural vase shape. You’ll want to maintain an open center that allows air circulation. Don’t remove more than one-third of the plant’s total growth in a single session—this prevents shock.
Cut at a 45-degree angle just above a leaf node or branching point. This angle helps water run off instead of pooling on the cut surface. I position my pruners about ¼ inch above the node—close enough for clean growth but not so close it damages the bud.
For thicker branches (over ½ inch diameter), make a small undercut first to prevent bark tearing. You’ll hear a clean snap when done correctly. Avoid leaving jagged edges—these take longer to heal and invite pests.
After pruning, I always apply a thin layer of sulfur-based fungicide to the cuts. This protects against rot while the plant heals. Water lightly the next day—just enough to moisten the soil—but avoid wetting the pruned areas directly.
Within 2-3 weeks, you’ll see new buds forming at the cut sites. This is when I start fertilizing with a balanced liquid fertilizer (diluted to half strength) every 3-4 weeks to support the fresh growth.
Watch for new shoots emerging from the pruned areas—these will become your next season’s blooms. I check weekly for any dieback on the cuts and remove it immediately. The plant may look sparse at first, but it fills in quickly with proper care.
Reduce watering slightly for the first month after pruning—this encourages the plant to focus energy on healing rather than leaf production. You’ll know it’s recovering well when the remaining leaves look perky and new growth appears vibrant green.
Pruning doesn’t have to be intimidating—these practical insights will help your plant thrive.
Timing Matters: The 60°F temperature guideline in Step 1 isn’t arbitrary. I’ve found that pruning when it’s cooler than this slows healing dramatically, while waiting for warmer weather (but not extreme heat) gives the plant its best chance to recover quickly. Check your local forecast and aim for a mild, overcast day if possible—direct sun immediately after pruning can stress the cuts.
Tool Technique: In Step 3, that 45-degree angle isn’t just for looks—it’s critical for preventing water from pooling on cuts, which can lead to rot. I like to visualize the angle as matching the slope of a roof. For the ¼ inch spacing above nodes, think of it as leaving room for a dime between your cut and the bud. This small gap prevents damage while still encouraging new growth.
Healing Hack: The sulfur-based fungicide mentioned in Step 4 is my secret weapon. I learned the hard way that skipping this step can lead to ugly black spots on cuts. If you don’t have fungicide, cinnamon powder works in a pinch—it has natural antifungal properties. Just dust it lightly on fresh cuts with a small paintbrush.
Growth Monitoring: Those 2-3 weeks mentioned in Step 4 for new buds to appear? That’s your plant’s way of telling you it’s happy. If you don’t see buds by week 3, check that you didn’t remove more than one-third of the growth as warned in Step 2. Over-pruning is the most common reason for delayed regrowth.
The ideal time is late winter or early spring (just before new growth starts). Avoid pruning in fall—it can stimulate tender growth vulnerable to frost. In warm climates, light pruning can be done year-round, but major cuts should align with dormancy for best recovery.
Never remove more than one-third of the plant in a single session. Focus on dead/diseased branches first, then shape lightly. Over-pruning stresses the desert rose and may delay blooming. For drastic size reduction, spread cuts over 2–3 seasons. Pro tip: Sterilize tools between cuts!
Let cuttings dry (callus) for 3–5 days, then plant in well-draining soil (50% perlite/sand). Keep warm (70–80°F) and barely moist—overwatering causes rot. Rooting hormone helps but isn’t required. Patience is key; roots may take 4–8 weeks!
Common culprits:
Sharp bypass pruners (for clean cuts) and loppers (for thick stems) are essential. Avoid anvil pruners—they crush stems. Always disinfect tools with rubbing alcohol to prevent disease. For large plants, wear gloves—the sap is toxic and can irritate skin!
