
Beautiful Plants For Your Interior
Beautiful Plants For Your Interior
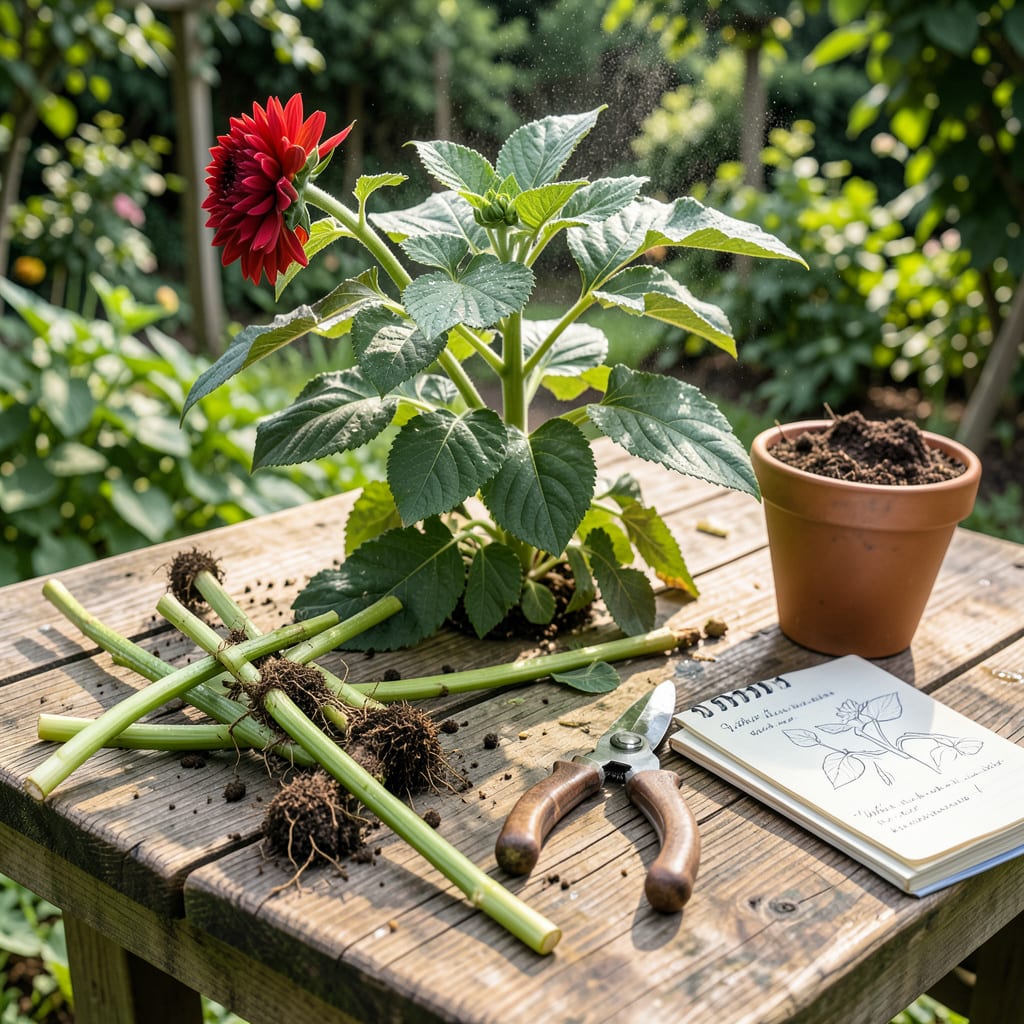
Dahlia stems loaded with blooms don’t happen by accident. I learned the hard way that unpruned plants turn into leggy, flower-sparse disappointments—until I mastered the simple technique that forces them to branch and bloom like crazy. The right cuts at the right time transform a single stem into a bush covered in dinner-plate-sized flowers.
Timing and method matter more than fancy tools. Pinch early for bushier growth, deadhead spent blooms to trigger new ones, and cut back strategically before winter. My dahlias now produce 3x more flowers on sturdier stems that don’t flop in summer storms. Here’s exactly how to make it happen in your garden.
📚 In This Guide
This simple method transforms leggy plants into powerhouse bloomers—no fancy tools required.
Start pruning when your dahlias reach 12-18 inches tall with at least 3-4 sets of leaves. This typically happens 4-6 weeks after planting, when the stems are sturdy but not yet woody. I check my plants weekly once they hit a foot tall—you’ll see the growth accelerate overnight in warm weather.
The perfect time is early morning on a dry day. Wet stems spread disease, and afternoon heat stresses freshly cut plants. Look for new growth at the leaf axils (where leaves meet stems)—that’s where your future blooms will form after pruning.
Find the main central stem—it’s usually the thickest, most vertical shoot. Using clean, sharp pruners, cut this stem just above the third set of leaves from the base. Make a clean 45-degree angle cut about ¼ inch above the leaf node. This prevents water pooling on the cut surface.
Don’t worry if this feels drastic. I know it seems counterintuitive to remove the tallest part, but this forces the plant to branch outward instead of upward. You’ll see new side shoots emerge within 7-10 days—these will become your flowering stems.
Next, remove any thin, spindly stems that won’t support blooms. Also cut stems that cross or rub against others—these create wounds that invite disease. I aim to leave 3-5 strong stems per plant, spaced evenly around the base for good air circulation.
Check the center of the plant for any dead or damaged growth. These hidden problems often appear as blackened stems or wilted leaves. Removing them now prevents rot from spreading later in the season when the plant is fully leafed out.
Once your side shoots reach 8-12 inches long, pinch back the tips just above a leaf node. This encourages even more branching. I use my thumb and forefinger for this—no tools needed. You’ll feel a slight resistance before the stem snaps cleanly.
The pinched stems will develop two new shoots from the node below your pinch. This doubles your potential blooms. Watch for tiny flower buds forming at the tips of these new stems—that’s your sign the plant is shifting energy from growing taller to producing flowers.
Repeat the pinching process every 3-4 weeks until mid-summer. After that, let the plant focus on blooming. Remove any suckers (small shoots from the base) that appear—they steal energy from your main flowering stems.
Keep an eye out for spent blooms. Deadheading regularly (cutting back to the next set of leaves) encourages continuous flowering. I make this part of my weekly garden walk—it takes just minutes per plant and makes a dramatic difference in bloom production.
These practical insights will help you master the art of dahlia pruning for maximum blooms.
Timing Matters: The 4-6 week window after planting mentioned in Step 1 is crucial. I’ve found that pruning too early (before stems are sturdy) can shock the plant, while waiting too long (after stems become woody) makes cuts less effective. Check your plants weekly once they hit that 12-inch mark—growth accelerates quickly in warm weather, and you might only have a few days where the stems are at that perfect semi-woody stage.
Cutting Technique: When making that 45-degree angle cut in Step 2, be precise about the ¼ inch above the leaf node measurement. This isn’t just about aesthetics—too close and you risk damaging the node, too far and water can pool on the cut surface. I use the width of my pinky finger as a quick measuring guide. Also, make sure your pruners are sharp; a clean cut heals faster than a jagged one.
Stem Selection Strategy: In Step 3, when thinning to 3-5 strong stems, look for stems with thick bases and even spacing around the plant. I like to visualize the plant as a clock face and aim for stems at roughly 12, 3, 6, and 9 o’clock positions. This creates optimal air circulation and sunlight exposure. Don’t overlook the center of the plant—hidden dead stems can become breeding grounds for pests.
Pinching Precision: The 8-12 inch length mentioned in Step 4 is ideal because that’s when stems are mature enough to branch but still flexible enough to pinch cleanly. When pinching, use your thumbnail to make the cut—it creates a cleaner break than using your fingertips. Watch for the tiny white dots that appear at the leaf nodes after pinching; these are your future flower buds forming.
Prune in early spring when new growth appears (but before stems harden) or late fall after the first frost blackens foliage. Avoid mid-summer pruning unless deadheading spent blooms—this encourages more flowers! For overwintering tubers, trim stems to 4–6 inches after frost kills the plant.
In spring, pinch or prune the top 1–2 sets of leaves on each stem to promote bushier growth. For fall cleanup, cut stems to 4–6 inches above ground—this prevents rot while marking tuber locations. Never remove more than ⅓ of the plant at once to avoid stressing it.
Dahlias are resilient. Focus on deadheading (removing faded blooms) and thinning crowded stems to improve airflow. Avoid pruning in extreme heat or when plants are water-stressed. Use clean, sharp shears to prevent disease—dip blades in rubbing alcohol between cuts.
Pinching (removing the top tip of young stems with fingers) encourages branching for more blooms. Pruning involves cutting thicker stems or spent flowers with shears. Do pinching in early summer (when plants are 12–18″ tall) and pruning as needed for shape or deadheading.
Over-pruning or cutting too late in the season can delay flowers. Ensure you’re:
