
Beautiful Plants For Your Interior
Beautiful Plants For Your Interior
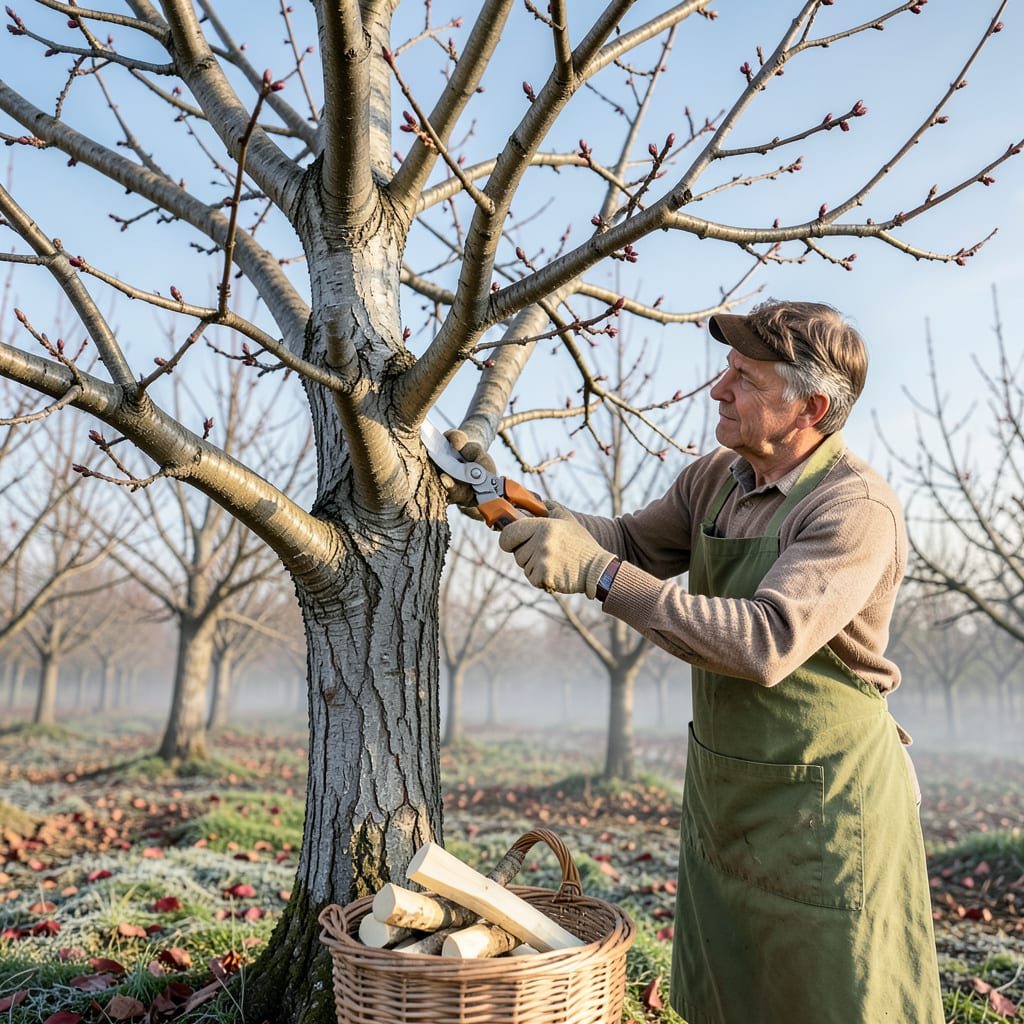
Every cherry tree I’ve pruned has rewarded me with bigger, sweeter fruit the next season. Pruning isn’t just about shaping—it’s about unlocking your tree’s full potential by removing what’s holding it back. Dead wood, crowded branches, and poor airflow steal energy from fruit production and invite disease.
The right cuts at the right time transform a struggling tree into a powerhouse. I’ve seen neglected cherries double their harvest after just one proper pruning session. We’ll cover exactly when to prune (timing matters more than you think), which branches to remove, and how to make cuts that heal fast. No guesswork—just results you can measure in bushels.
📚 In This Guide
Pruning cherry trees the right way ensures sweeter fruit and stronger growth—here’s how I do it every year.
Prune in late winter or early spring while the tree is still dormant but before buds begin to swell. I aim for February or early March in most climates. This timing minimizes stress on the tree and reduces the risk of disease entering through fresh cuts.
Avoid pruning in fall or mid-winter during freezing periods. You’ll know it’s the right time when daytime temperatures consistently reach 45°F or higher but leaves haven’t started emerging yet. Pruning at this stage directs all the tree’s energy into productive new growth.
Start by cutting out any branches that are clearly dead (brittle, gray, or hollow-sounding when tapped). Next, remove diseased wood—look for cankers, blackened areas, or oozing sap. Make these cuts 6-8 inches below the affected area to ensure you remove all compromised tissue.
Then tackle crossing branches that rub against each other. These create wounds that invite pests and disease. Always remove the weaker of the two branches. You’ll feel the difference—healthy branches bend slightly while dead ones snap cleanly. This step alone improves air circulation dramatically.
Remove about 20-30% of the oldest branches each year, focusing on those growing inward toward the center. I use the “3-D” rule: eliminate branches that are Dead, Diseased, or Directed inward. This opens the canopy so sunlight reaches developing fruit and reduces humidity that fosters fungal diseases.
Aim to create a vase-like shape with an open center. After thinning, you should be able to toss a baseball through the middle of the tree without it hitting branches. This structure prevents overcrowding and ensures even fruit ripening throughout the canopy.
Always cut at a 45-degree angle just outside the branch collar (the swollen area where the branch meets the trunk). Never leave stubs, as they invite rot. For larger branches over 1 inch in diameter, use the three-cut method: first cut 12 inches out from the trunk, then 2 inches further out, and finally make your angled cut at the collar.
After each cut, step back and assess the tree’s shape. You’re aiming for a balanced framework where no single branch dominates. I always sanitize my pruners with rubbing alcohol between cuts when dealing with diseased wood to prevent spreading pathogens.
Remove all cut branches from the area immediately—these can harbor pests and diseases. I like to shred the smaller branches for mulch (as long as they’re disease-free) and dispose of larger ones. Apply a thin layer of compost around the base of the tree, keeping it 6 inches away from the trunk to prevent rot.
Watch for new growth in spring. Healthy pruning stimulates vigorous shoots—you should see 4-6 inches of new growth within 4-6 weeks. If any branches show dieback after pruning, remove them promptly. The first year after proper pruning, you’ll notice larger, sweeter cherries and fewer pest problems.
Pruning fruit trees can feel intimidating at first, but these practical insights will help you avoid common pitfalls and get better results.
Timing Precision: The window for pruning in Step 1 is more critical than you might think. I’ve learned that waiting until daytime temperatures consistently reach that 45°F threshold makes all the difference in how well the tree responds. If you prune too early in freezing weather, the cuts won’t heal properly, and you risk winter dieback. Use a simple outdoor thermometer to track temperatures for a week before starting – this small step prevents costly mistakes.
Cutting Technique: When removing diseased branches in Step 2, that 6-8 inch buffer below affected areas isn’t arbitrary. Many gardeners make the mistake of cutting too close to visible damage, only to have the problem recur. I mark my cutting point with chalk first to ensure I’m removing enough tissue. For cankers, I actually go to the full 8 inches – it’s better to be aggressive than deal with recurring infections.
Canopy Assessment: The baseball test mentioned in Step 3 is my favorite trick for evaluating canopy openness. After thinning, I literally toss a softball through the center from different angles. If it hits branches, I know I need to remove more. This visual check is more reliable than guessing percentages. Remember that 20-30% removal is a guideline – some older trees might need closer to 30% to rejuvenate properly, while younger trees do fine with 20%.
Tool Sanitation: The rubbing alcohol mention in Step 4 isn’t just for diseased wood – I sanitize my pruners between every major cut, regardless. A quick spray bottle with 70% isopropyl alcohol makes this efficient. This practice has dramatically reduced fungal issues in my orchard. Also, sharpen your pruners before starting; dull blades create ragged cuts that heal poorly. I touch up mine with a diamond file every few cuts on thick branches.
The ideal time is late winter or early spring (before buds swell) for sweet cherries, and after harvest (summer) for tart cherries. Avoid pruning in fall—open wounds attract pests and diseases.
No! Young trees (1-3 years) need minimal pruning—focus on shaping the scaffold branches and removing dead wood. Mature trees handle heavier thinning. Over-pruning young trees stunts growth.
Skipping pruning leads to overcrowded branches, poor air circulation (hello, fungal diseases! ), smaller fruit, and weak limbs that break under harvest weight. Regular pruning boosts yield and tree health.
For dwarf or compact varieties, try “summer pinching”—gently snip new growth tips in early summer to control size without heavy cuts. Works best for container-grown trees!
Don’t panic! Cherry trees bleed sap (especially in spring) due to their high sugar content. It’s harmless but looks messy. Prune in dry weather to minimize it, and avoid heavy cuts during active growth.
