
Beautiful Plants For Your Interior
Beautiful Plants For Your Interior
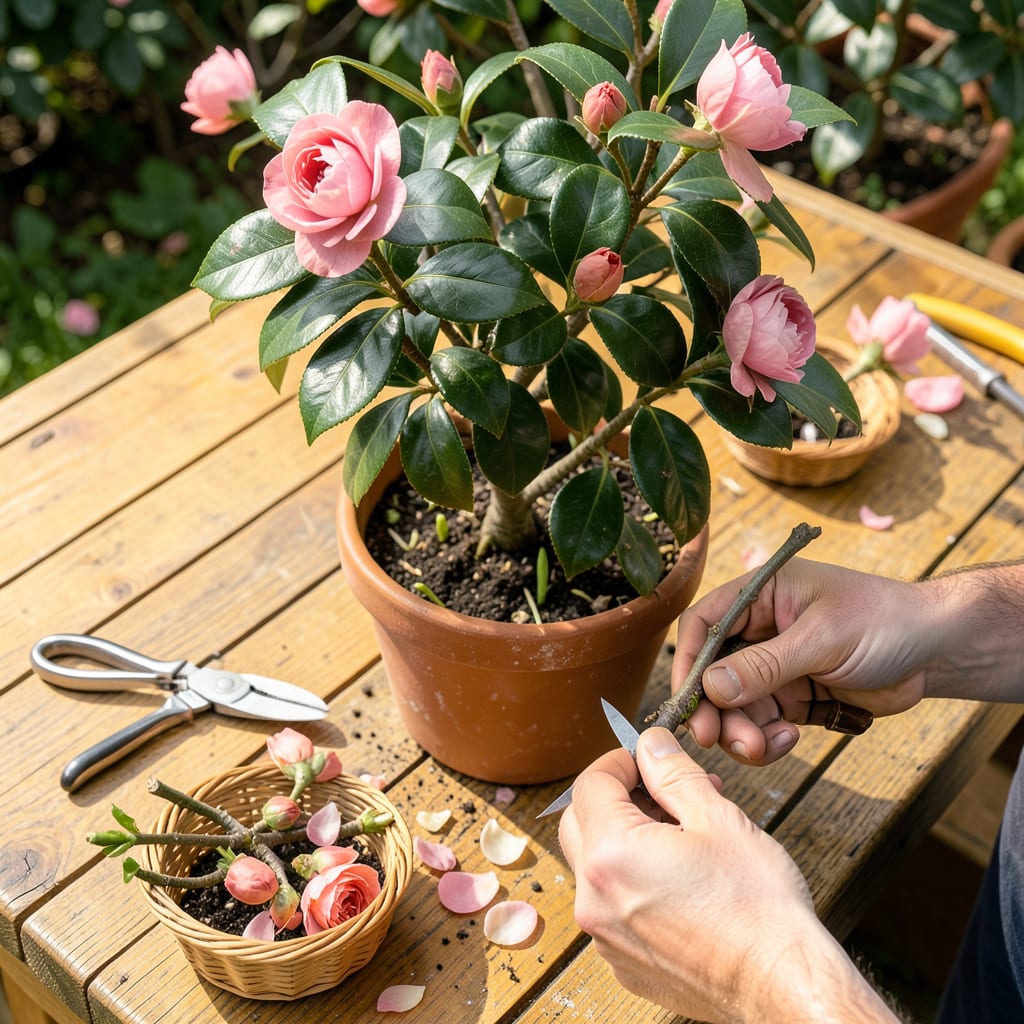
Three strategic cuts can transform a leggy camellia into a blooming powerhouse. I learned this the hard way after years of letting mine grow wild—until I discovered that proper pruning isn’t just about shape, it’s about unlocking more flowers and healthier growth. The timing matters most: prune right after blooms fade, and you’ll set the stage for next season’s showstopper display.
No fancy tools required—just sharp pruners, clean cuts, and a little confidence. I’ll walk you through exactly where to cut (and where to stop) so you avoid the common mistakes that leave camellias looking butchered. The payoff? A bush that stays compact, resists disease, and rewards you with dramatically more blooms year after year.
📚 In This Guide
Pruning camellias is simpler than you think—just a few strategic cuts will keep your shrubs blooming beautifully year after year.
Timing is everything with camellias. Prune immediately after flowering finishes—this is typically late spring to early summer, depending on your variety. I watch for when 90% of petals have dropped naturally, which signals the plant is shifting energy from blooms to new growth.
Never prune in fall or winter, no matter how tempting. Camellias set next year’s flower buds in late summer, and cutting then removes all potential blooms. If you missed the window, wait until after the next flowering cycle—it’s better to skip a year than risk damaging the plant.
Start by cutting out any brown, brittle branches (dead wood) or stems with blackened spots (disease indicators). Use clean, sharp bypass pruners and make cuts 1/4 inch above a healthy bud or branch junction. I always sterilize my tools with rubbing alcohol between cuts when dealing with diseased wood.
Next, thin out spindly, weak growth from the center of the plant. Look for stems thinner than a pencil—these won’t produce quality blooms and only drain energy. Removing them improves air circulation, which prevents fungal issues like petal blight that camellias are prone to.
Now focus on maintaining the natural vase shape. Camellias bloom best on new wood, so I cut back about one-third of the previous year’s growth on healthy branches. Make angled cuts just above an outward-facing bud to encourage the plant to grow wider rather than inward.
Avoid shearing the plant into a formal shape—this creates a dense outer shell that blocks light from reaching inner branches. Instead, make selective cuts to open the center. Step back frequently to check your progress; you want to maintain the plant’s natural elegance while ensuring sunlight penetrates to lower branches.
After pruning, remove all debris from around the base of the plant. I like to spread a 2-inch layer of mulch (pine bark works well) to protect shallow roots and retain moisture. Water deeply after pruning to help the plant recover—you’ll see new growth emerging within 3-4 weeks if conditions are right.
Apply a balanced, acid-forming fertilizer (10-10-10 or 12-4-8) about 6 weeks after pruning to support the new growth that will bear next year’s flowers. This timing ensures nutrients are available when the plant is actively growing but won’t force tender growth that could be damaged by late frosts.
Pruning camellias becomes effortless once you understand these key principles—here’s what I’ve learned from years of maintaining thriving shrubs.
Timing Precision: The window for pruning in late spring to early summer is critical because camellias form next year’s flower buds in late summer. I’ve found that waiting until exactly 90% of petals have dropped (as mentioned in Step 1) gives the plant just enough time to recover before bud formation begins. Missing this window by even a few weeks can dramatically reduce next season’s blooms.
Tool Technique: When making those 1/4 inch cuts above healthy buds in Step 2, angle your pruners at about 45 degrees with the higher side facing outward. This seemingly small detail prevents water from pooling on the cut surface, which is crucial for preventing fungal infections that camellias are particularly susceptible to. I also recommend wiping pruner blades with rubbing alcohol between each diseased branch cut—this simple step has saved me from spreading infections through entire plants.
Structural Strategy: The one-third reduction of previous year’s growth in Step 3 isn’t arbitrary—it’s the perfect balance between encouraging vigorous new growth and maintaining the plant’s structure. When selecting which branches to cut back, prioritize those growing inward or crossing over others. I’ve noticed that focusing on opening the center of the plant (rather than just shaping the outer edges) results in dramatically improved air circulation and sunlight penetration, which translates to more abundant blooms.
Post-Pruning Care: The 2-inch mulch layer mentioned in Step 4 serves multiple critical purposes beyond moisture retention. Pine bark mulch specifically helps maintain the acidic soil conditions camellias thrive in. I’ve experimented with various mulch types and consistently get the best results with pine bark—it decomposes at just the right rate to feed the shallow root system without smothering it. The deep watering immediately after pruning is equally important; it helps the plant recover from the stress of cutting while flushing out any potential pathogens that might have entered through fresh cuts.
The ideal time is right after flowering (spring for most varieties). This prevents cutting off next year’s buds while giving the plant time to recover. Avoid pruning in late summer or fall—it can remove developing flower buds!
Yes, but lightly. Summer pruning (June–July) is safe for shaping or removing dead wood, but avoid heavy cuts—it may reduce next year’s blooms. Focus on thinning crowded branches for better airflow.
Both are evergreens, but camellias bloom on old wood (prune after flowering), while azaleas bloom on new wood (prune in late winter). Camellias also tolerate harder pruning for rejuvenation.
Likely causes: pruning at the wrong time (removing buds), over-pruning (cutting too much), or poor light. Camellias need partial shade and minimal stress. Skip fertilizer until after blooming next year.
For formal hedges, yes—but hand pruners are better for health. Shears can cause jagged cuts and dense outer growth, blocking sunlight inside. Always sterilize tools to prevent disease!
