
Beautiful Plants For Your Interior
Beautiful Plants For Your Interior
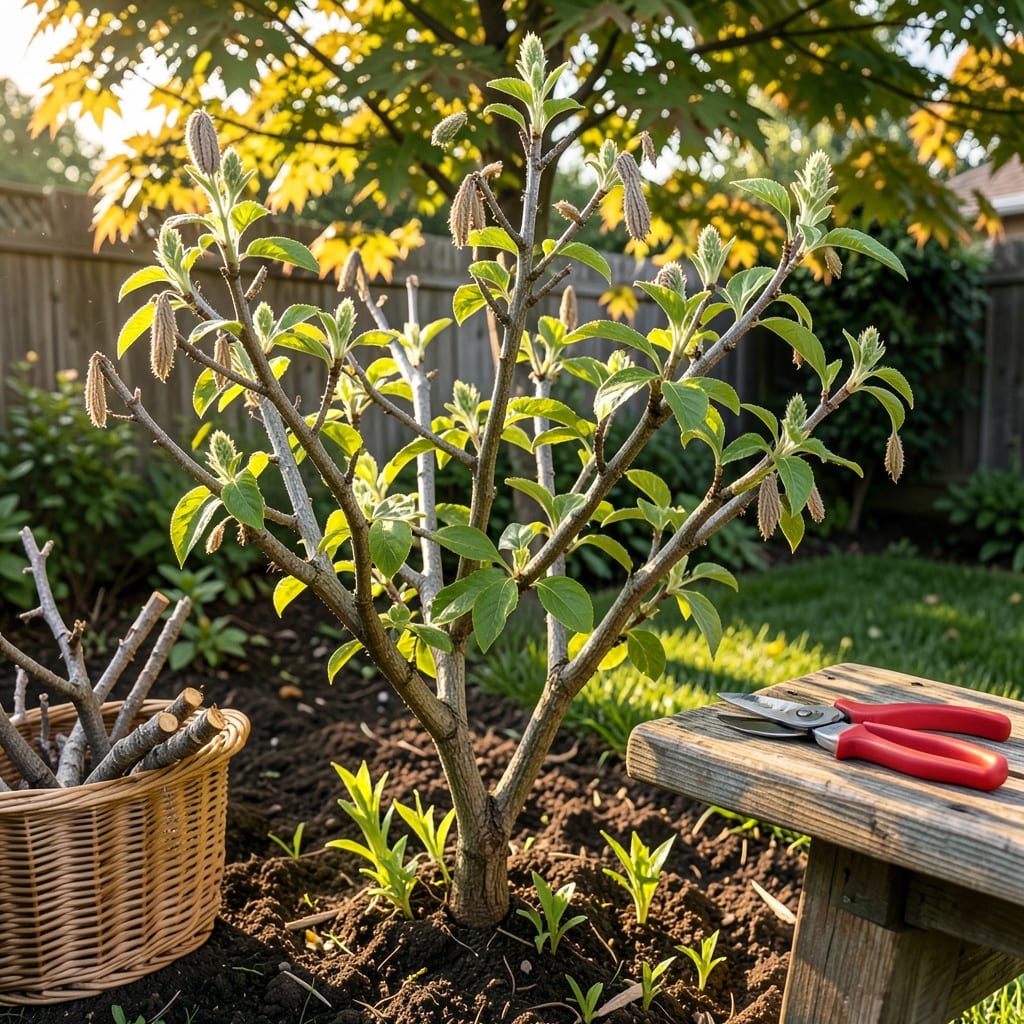
I used to dread pruning my butterfly bush—until I saw how a few strategic cuts transformed it from a leggy mess into a bloom machine. That first summer after proper pruning, the difference was shocking: twice as many flowers, stronger stems, and a shape that actually fit my garden space. The secret isn’t complicated tools or perfect timing—it’s understanding what this plant really needs to thrive.
Here’s what changed everything for me: pruning isn’t about hacking back growth—it’s about directing energy where you want it. Do it right in early spring, and you’ll get a bush that explodes with color by midsummer. No green thumb required, just a sharp pair of pruners and 20 minutes of your time. The payoff? A plant that looks better, blooms harder, and keeps butterflies coming back all season.
📚 In This Guide
Pruning doesn’t have to be intimidating—here’s my simple method for healthier plants and more vibrant blooms.
Timing matters more than technique with butterfly bushes. I always prune in late winter or early spring, just as new growth begins to emerge at the base. You’ll see tiny green buds forming on the stems—this is your signal to start.
Never prune in fall, no matter how tempting. The hollow stems collect water and freeze, which can kill the plant. If you must tidy up in autumn, simply remove dead flower heads but leave the main structure until spring.
Start by cutting out any completely dead stems (they’ll be brittle and brown inside) at ground level. Then remove about one-third of the oldest, thickest stems—these produce fewer flowers and block light from reaching newer growth.
Look for stems thicker than a pencil or those with peeling bark. I use bypass pruners for clean cuts that heal faster. Make each cut just above a bud or side branch, angled slightly away to prevent water pooling on the cut surface.
Now focus on the living stems. I cut them back to 12-18 inches tall, always just above a healthy bud. This might seem drastic, but butterfly bushes bloom on new wood, so you’re actually encouraging more flowers.
Shape the bush by making some stems slightly shorter than others—this creates a natural, staggered look. Avoid cutting all stems to the same height, which creates an unnatural “flat top” appearance that looks unnatural as it grows out.
Rake up all cut stems immediately to prevent disease. I like to sterilize my pruners with rubbing alcohol between cuts if I notice any blackened or diseased wood—this prevents spreading problems to healthy stems.
Stand back and check your work: the plant should look like a collection of short, sturdy stems with plenty of light reaching the center. Within 4-6 weeks, you’ll see vigorous new growth emerging from every cut you made.
During the growing season, I remove spent flower clusters regularly—this isn’t true pruning, but it encourages continuous blooming. Simply snip off the faded blooms just above the next set of leaves or buds.
If any stems grow significantly taller than others, you can trim them back by one-third in early summer to maintain shape. Always water deeply after any pruning to help the plant recover quickly.
Pruning butterfly bushes becomes effortless once you understand these key details that make all the difference.
Timing is Everything: The late winter or early spring window mentioned in Step 1 isn’t just a suggestion—it’s critical. I’ve learned that pruning when those first tiny green buds appear at the base (but before leaves form) gives the plant maximum time to recover and produce new flowering wood. If you wait until leaves are fully formed, you’ll lose potential blooms. Never prune in fall no matter how tempting—those hollow stems really do collect water that freezes and damages the plant.
The One-Third Rule: In Step 2, removing one-third of the oldest stems might feel aggressive, but this is where many gardeners hesitate and end up with weak blooms. I use this trick: after removing dead wood, I physically count the remaining stems, then divide by three—that’s how many thick, pencil-sized stems to remove. This ensures proper light penetration without over-thinning the plant.
Height Matters: The 12-18 inch height range in Step 3 isn’t arbitrary. I’ve found that cutting closer to 12 inches produces more compact bushes with slightly smaller but more numerous flowers, while 18 inches creates taller plants with larger blooms. For a balanced approach, I vary stem heights within this range—some at 12, some at 15, others at 18 inches—which creates that natural, staggered look mentioned in the instructions.
Post-Pruning Care: The 4-6 week timeline in Step 4 for new growth is accurate, but here’s what speeds it up: immediately after pruning, I water deeply (about 1 inch of water) and apply a balanced fertilizer. This kickstarts the new growth process. Also, don’t skip the cleanup—those cut stems can harbor disease spores that might infect your freshly pruned plant.
Prune in late winter or early spring (February–March) before new growth starts. This timing avoids damaging tender new shoots while encouraging vigorous blooms. In warmer climates (Zones 8–10), light pruning can also be done after the first flush of flowers fades in summer.
Yes! Butterfly bushes (Buddleia) are resilient. Even if cut to 6–12 inches above ground, they’ll regrow quickly—often with more blooms and bushier growth. Just avoid pruning after mid-summer to prevent stimulating tender growth before frost.
Skipping pruning leads to leggy, sparse growth with fewer flowers. Over time, the center may become woody and weak. While the plant survives, annual pruning keeps it healthy, compact, and blooming abundantly. Prune at least every 2–3 years for best results.
Avoid fall pruning—it can stimulate new growth vulnerable to winter damage. Instead, wait until late winter or remove only dead/damaged branches in fall. If you must tidy up, limit cuts to no more than ⅓ of the plant.
Try these gentler methods:
