
Beautiful Plants For Your Interior
Beautiful Plants For Your Interior
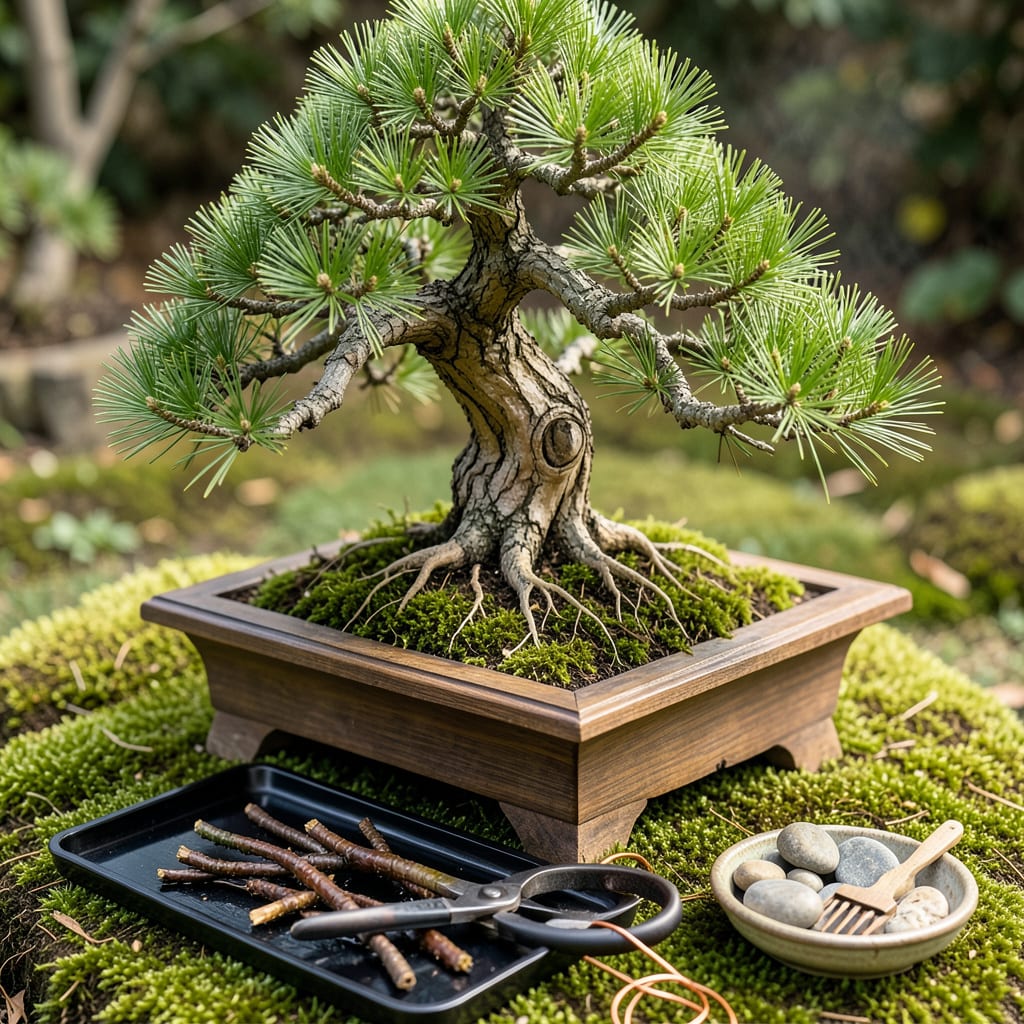
Every snip shapes decades of growth. Bonsai pruning isn’t just maintenance—it’s how you sculpt living art from a tree. I ruined my first three attempts by cutting too much, too fast, before learning the rhythm: small adjustments, right tools, perfect timing. The difference between a struggling twig and a thriving miniature masterpiece often comes down to where you make that first cut.
What most beginners miss is that pruning does double duty—it controls shape and forces healthier growth. Your juniper won’t respond like your ficus, and spring cuts behave differently than summer ones. The good news? With three basic tools and five minutes of weekly attention, you’ll start seeing those tight, artistic branches form. No green thumb required—just patience and the right approach.
📚 In This Guide
Pruning bonsai is where art meets horticulture—these steps will help you shape while keeping your tree thriving.
Before making any cuts, study your bonsai from all angles. Look for branches that disrupt the tree’s natural flow or cross over others. I always start by identifying the front view—the side that shows the trunk’s best movement and branch structure. This becomes your focal point for shaping.
Check for dead or diseased wood first—these need removal regardless of aesthetics. Then note branches growing straight up, straight down, or directly toward/away from you. These rarely contribute to a balanced design. Mark problem areas mentally before picking up your tools.
Begin with your concave branch cutters to remove dead wood, crossing branches, and any growth that’s clearly out of place. Cut just outside the branch collar (the swollen area where branch meets trunk) at a slight angle. This prevents dieback and promotes faster healing.
I work from the inside out—clearing the tree’s interior first creates space for light and air circulation. Never remove more than 20% of the foliage in one session, even if the tree looks overgrown. Bonsai recover better from gradual pruning than aggressive cuts.
Now focus on the tree’s silhouette. Use your sharp scissors to trim back new growth to maintain the desired shape. For deciduous trees, I prune just above a leaf node facing outward—this encourages the next branch to grow in the right direction. On conifers, pinch back the candles (new spring growth) rather than cutting with scissors.
Step back frequently to check your progress. The goal is to create negative space—areas where no branches exist—to highlight the tree’s structure. I aim for a triangular profile on most species, wider at the base and tapering toward the apex. This mimics how trees grow in nature while emphasizing the bonsai’s miniature scale.
After the major cuts, examine the branch tips. Trim back to secondary buds to encourage ramification (the splitting of branches into finer twigs). This creates the dense, intricate branching that makes bonsai so captivating. I use tweezers to carefully remove any remaining brown needle clusters on conifers or spent flowers on flowering species.
Check the branch thickness ratio—upper branches should be thinner than lower ones to maintain visual balance. If any branch appears too thick for its position, consider removing it entirely over several pruning sessions rather than trying to reduce it all at once. This prevents unsightly stubs and maintains the tree’s health.
Once pruning is complete, mist the entire tree with water to remove debris and reduce stress. Place your bonsai in bright, indirect light for 2-3 days to help it recover before returning to its normal position. I avoid fertilizing for 2 weeks after heavy pruning to prevent pushing weak growth.
Monitor the cut surfaces over the next few weeks. Healthy trees will form callus tissue at the wounds—this looks like slightly swollen, lighter-colored areas. If you notice any blackening or oozing, you’ve likely cut too aggressively or at the wrong time of year. In that case, reduce watering slightly and keep the tree out of direct sun until it stabilizes.
Pruning bonsai is as much about patience as it is about technique—these insights will help you avoid common pitfalls while achieving beautiful results.
The Observation Step: In Step 1, take your time identifying the front view. I’ve found that rotating the tree slowly and viewing it from different angles helps reveal its natural flow. Don’t rush this process—what seems like the best angle at first glance might not showcase the trunk’s movement as effectively as another perspective. This initial observation determines your entire pruning strategy, so it’s worth getting right.
Branch Removal Technique: When executing Step 2 with your concave cutters, remember that the angle of your cut matters more than you might think. A proper cut should be just outside the branch collar at about a 45-degree angle. I learned the hard way that cutting too close or at the wrong angle can lead to dieback. Also, when working from the inside out, resist the temptation to remove more than the recommended 20% of foliage—this threshold exists because bonsai have limited energy reserves, and over-pruning can shock the system.
Canopy Shaping Strategy: As you work through Step 3 shaping the outer silhouette, focus on creating that triangular profile by maintaining proper branch thickness ratios. I’ve noticed that many beginners make the mistake of leaving thick branches high on the tree, which disrupts the natural tapering effect. When trimming deciduous trees, always cut just above an outward-facing leaf node—this small detail makes a huge difference in how the tree fills out over time. For conifers, be gentle with those spring candles; pinching rather than cutting preserves their natural growth pattern.
Recovery Period Importance: The aftercare in Step 5 is just as crucial as the pruning itself. Those 2-3 days in bright, indirect light aren’t just suggestion—they give your tree time to begin healing without the stress of full sun. I’ve seen many bonsai struggle when returned to normal conditions too soon. Similarly, the 2-week pause on fertilizing prevents the tree from putting energy into new growth when it should be focused on healing the cuts you’ve made.
Pruning frequency depends on the species and growth rate. Fast-growing trees (like Chinese elm) may need trimming every 4-6 weeks during growing season, while slower types (like juniper) thrive with 2-3 prunes per year. Always check for new growth—snip when shoots extend 3-4 nodes.
Avoid heavy pruning in winter when most bonsai are dormant—it stresses the tree. Light maintenance pruning (removing dead branches) is okay, but save structural cuts for late winter/early spring (just before growth resumes). Deciduous trees are more flexible than evergreens.
Maintenance pruning () keeps shape by trimming new growth, while structural pruning () reshapes the tree’s skeleton (thick branches/trunk). Do maintenance year-round; reserve structural cuts for dormancy or early spring. Overdoing structural pruning can weaken your bonsai!
Common mistakes: pruning too much at once (never remove >30% of foliage), using dull tools (causes tearing), or pruning during stress (e.g., drought/repotting). Fix it: Keep the tree in partial shade, mist leaves, and avoid fertilizing until recovery (1-2 weeks).
No bonsai is completely prune-free, but slow growers like Portulacaria afra (jade plant) or Ficus retusa require minimal trimming. Even these need occasional maintenance to direct growth and prevent legginess. Choose low-maintenance species if you’re a beginner!
