
Beautiful Plants For Your Interior
Beautiful Plants For Your Interior
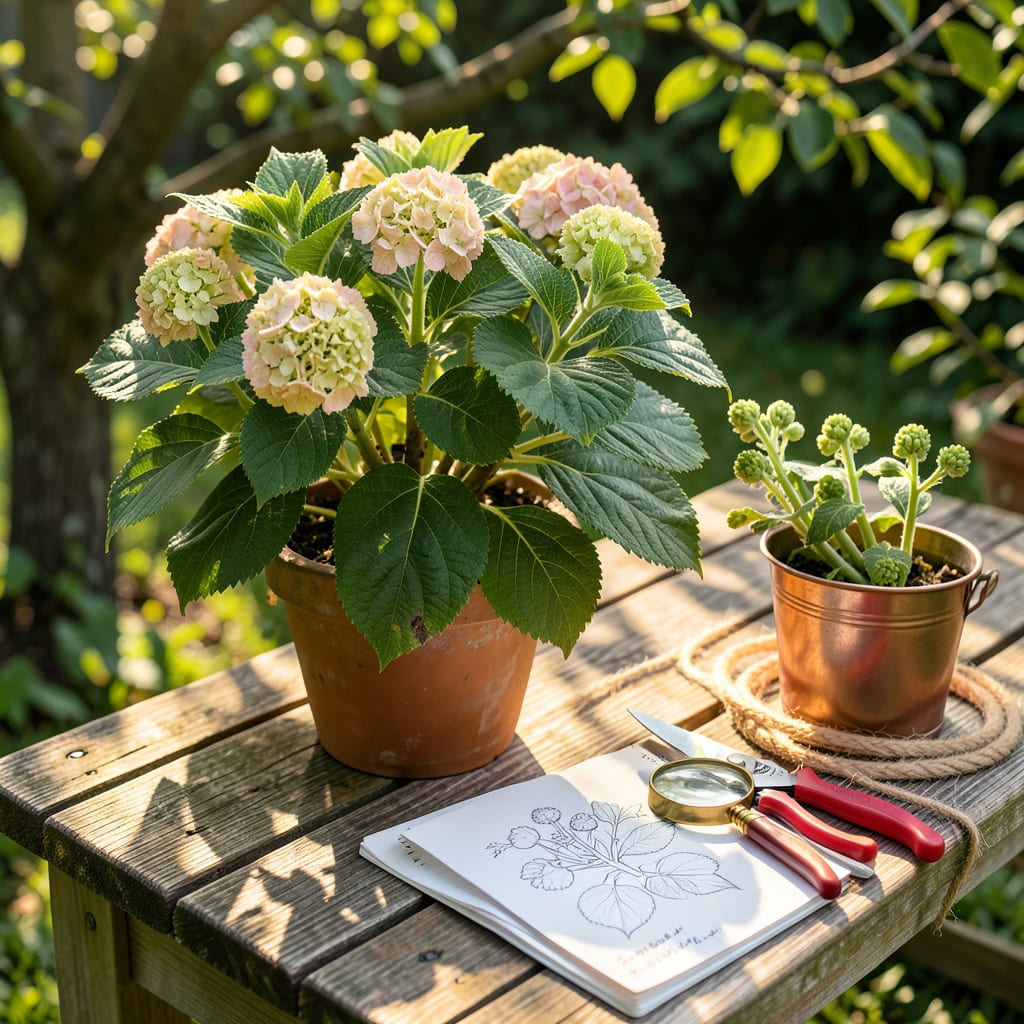
I used to stare at my big leaf hydrangeas wondering why they looked so scraggly—until I learned the secret to pruning them right. These beauties bloom on old wood, so timing and technique make all the difference between a bushy, flower-packed shrub and one that sulks all season.
Prune at the wrong time, and you’ll accidentally cut off next year’s blooms. Do it correctly in late summer (right after flowering), and you’ll get bigger, bolder flowers the following season. No fancy tools needed—just sharp pruners, a little confidence, and knowing where to make the cut.
📚 In This Guide
This method guarantees vibrant blooms year after year—no guesswork, just proven techniques that work.
Big leaf hydrangeas (Hydrangea macrophylla) bloom on old wood, meaning next year’s flowers form on this year’s stems. Prune immediately after flowering—typically late summer to early fall—when you can clearly see which stems have bloomed and which haven’t. Waiting until spring risks cutting off flower buds that developed the previous season.
Here’s the thing—I’ve ruined blooms by pruning too late. If you miss the window, wait until after the next bloom cycle. In warmer climates (USDA zones 7-9), you might get a second flush of blooms; in cooler zones (4-6), stick to post-flowering pruning only.
Start by cutting out any dead, diseased, or damaged stems at the base using clean, sharp bypass pruners. These won’t produce flowers and can harbor pests. Next, thin out the weakest stems—those thinner than a pencil—to improve air circulation. I aim to remove about one-third of the oldest stems annually to rejuvenate the plant.
Look for stems with peeling bark or no visible buds—these are past their prime. Real talk: If a stem hasn’t bloomed in two years, it’s stealing energy from productive growth. Cut it back to the ground to make room for vigorous new shoots.
After removing unproductive growth, step back and assess the plant’s shape. Cut back the remaining stems by one-third to one-half, making each cut just above a pair of healthy buds. This encourages bushier growth and larger flowers. For overgrown plants, you can be more aggressive—just never remove more than one-third of the total plant volume in a single season.
The key is to maintain a balanced framework. I like to leave stems at varying heights (some at 18 inches, others at 24 inches) for a natural, layered look. This also ensures continuous blooms since not all stems will flower simultaneously.
Rake up all pruned material from around the base to prevent disease. I apply a 2-3 inch layer of mulch (shredded bark or compost) to protect roots and retain moisture, but keep it 3 inches away from the stems to avoid rot. Water deeply after pruning to help the plant recover—this is when next year’s flower buds begin forming.
Mark your calendar for a light fertilizer application in early spring (use a balanced 10-10-10 formula). The pruning you’ve just done sets the stage for that fertilizer to fuel explosive growth. You’ll see the payoff in larger, more vibrant blooms next season.
Pruning hydrangeas doesn’t have to be intimidating—these practical insights will help you avoid the mistakes I made early on.
Timing Precision: The late summer to early fall window mentioned in Step 1 is absolutely critical. I learned this the hard way after pruning in early spring and losing an entire season of blooms. In cooler climates (zones 4-6), you have exactly one opportunity to prune correctly each year, so mark your calendar immediately after the last flowers fade. The plant is already preparing next year’s buds by then, and cutting too late disrupts this process.
Tool Selection: Clean, sharp bypass pruners make all the difference in Step 2. Dull blades crush stems rather than making clean cuts, which invites disease. I keep a small container of rubbing alcohol nearby to sanitize my pruners between cuts—especially important when removing diseased wood. This simple habit prevents spreading pathogens to healthy stems.
Structural Balance: When shaping in Step 3, resist the urge to create perfect symmetry. The varying heights I mentioned (18-24 inches) aren’t just aesthetic—they create microclimates within the plant. Taller stems provide shade for lower buds, preventing sun scorch in hot climates. This layered approach also staggers bloom times, extending your flowering season by several weeks.
Post-Pruning Care: The 2-3 inch mulch layer in Step 4 serves two critical purposes: moisture retention and root insulation. I’ve found that shredded bark breaks down more slowly than compost, providing longer protection. Keep that 3-inch clearance from stems religiously—mulch piled against the base creates the perfect environment for stem rot, which can kill established plants within a season.
Prune right after blooming (late summer to early fall) or in early spring before new growth starts. Avoid pruning in late fall or winter—this can remove next year’s flower buds! If you miss the window, wait until after flowering to avoid cutting off potential blooms.
Pruning at the wrong time (like late fall or winter) may remove flower buds, leaving you with fewer or no blooms next season. Big leaf hydrangeas bloom on old wood, so timing is key! If you accidentally prune too late, be patient—it may take a year to recover.
Yes! To reduce size, prune just after flowering by cutting back up to ⅓ of the oldest stems to the base. Avoid heavy pruning—it can sacrifice blooms. For gradual size control, remove a few older stems each year instead of drastic cuts.
Likely causes: pruning at the wrong time (cutting off buds), over-pruning, or harsh winter damage. Big leaf hydrangeas need old wood to bloom. If buds froze, new growth may not flower. Try fertilizing with a bloom booster and avoid late-season pruning next time!
Deadheading (removing spent blooms) isn’t required but can encourage tidier growth and redirect energy. Snip just below the flower head—stop by late summer to avoid stimulating new growth before winter. Avoid cutting into thick stems unless shaping.
