
Beautiful Plants For Your Interior
Beautiful Plants For Your Interior
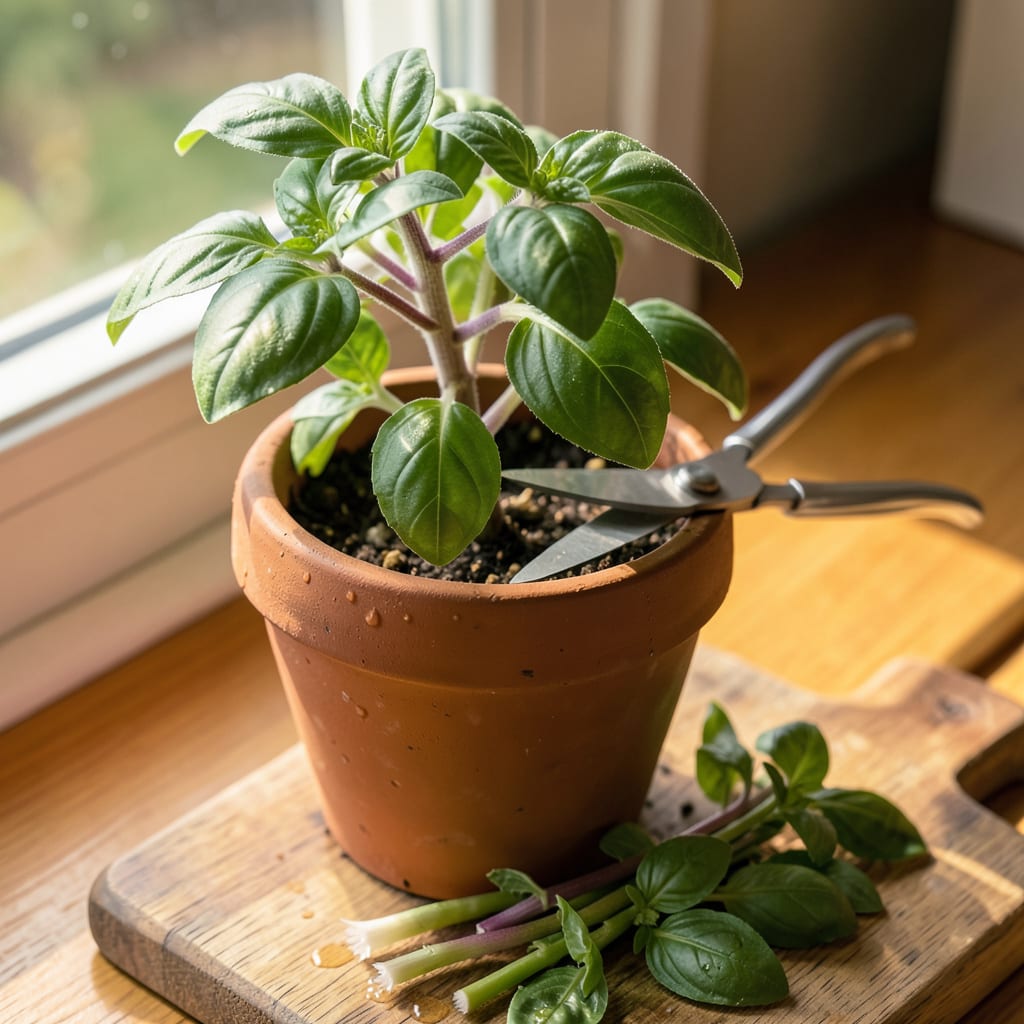
That first basil plant changed everything for me. What started as a spindly stem from the grocery store became a bushy, leafy powerhouse—all because I learned one simple trick: pruning the right way at the right time. No fancy tools, no green thumb required, just a pair of scissors and 30 seconds of attention every few weeks.
Here’s the thing—basil wants to grow tall and flower, but we want leaves. Lots of them. The moment you see that third set of true leaves, you’re ready to make your first cut. Do it correctly, and you’ll double your harvest before summer’s over. Do it wrong, and you’ll end up with a sad, leggy plant that bolts faster than you can say “pesto.”
📚 In This Guide
Here’s my foolproof method for turning leggy basil into full, productive plants—no fancy tools required.
Start pruning when your basil reaches 6-8 inches tall and has 3-4 sets of true leaves. This usually happens about 4-6 weeks after planting. Look for the point where two large leaves meet the main stem—this is called a “node” and it’s where new growth will sprout.
Never prune a plant that’s still small or struggling. If your basil looks pale or wilted, give it more light and water first. I always check the plant in the morning when stems are firm—pruning in the evening can leave cuts vulnerable to overnight dampness.
Using clean scissors or your fingernails, snip the main stem just 1/4 inch above a set of leaves. Always cut at an angle to prevent water from pooling on the wound. The remaining stem should have at least two sets of leaves below your cut.
This first cut might feel drastic—you’re removing the top third of the plant—but it forces the basil to grow outward instead of upward. Within 7-10 days, you’ll see two new stems emerging from where you cut. That’s your sign the plant is responding correctly.
Every 2-3 weeks afterward, repeat the process: find the tallest stems and trim them back to just above a leaf node. Focus on any stems that are flowering—those white or purple buds might look pretty, but they make the leaves taste bitter.
I like to rotate which stems I prune each time, creating an even shape. You’ll know you’re doing it right when the plant starts looking like a full, rounded bush instead of a single tall stalk. The more you prune, the more the plant will branch out.
Here’s the best part—every time you prune, you get fresh basil to use. The leaves you remove are perfect for cooking. Just rinse them gently and pat dry. I always leave at least two sets of leaves on each stem so the plant can keep growing.
If a stem gets too woody (thick and brown), it’s past its prime for good leaf production. Cut these stems all the way back to the base—they won’t regrow, but this makes room for newer, more productive stems to take their place.
After each pruning session, give your plant a drink of water and move it to bright, indirect light for a day. This helps reduce stress. You’ll notice the plant might wilt slightly after pruning—that’s normal. It should perk back up within 24 hours.
Keep the soil consistently moist but not soggy. Pruned plants need steady moisture to support all the new growth they’re about to produce. I check the soil daily after pruning—if the top 1/2 inch feels dry, it’s time to water.
Pruning basil doesn’t have to be intimidating—these practical insights will help you get it right every time.
Timing Tip: The 4-6 weeks mentioned in Step 1 is crucial because that’s when your basil has enough energy stored to recover from pruning. I’ve found that plants pruned too early (before they reach 6-8 inches) often struggle to regrow properly. Wait until you see at least 3-4 sets of true leaves—those are the larger leaves that appear after the initial seed leaves.
The Technique That Changed Everything: When making that first cut in Step 2, don’t just eyeball the 1/4 inch above the leaves—use your fingernail as a guide. Place your nail just above the leaf node and cut right at the tip. This ensures you’re leaving exactly the right amount of stem for new growth to emerge. Cutting too high leaves a bare stem, while cutting too close can damage the node.
What to Watch For: In Step 3, when you’re doing maintenance pruning every 2-3 weeks, pay special attention to the center of the plant. Many people focus only on the outer stems, but the center can get overcrowded. By pruning a few inner stems each time, you improve air circulation and prevent mold or pests from taking hold in that dense growth.
Post-Pruning Care: The 24 hours recovery time mentioned in Step 5 is when your plant is most vulnerable. During this period, avoid moving it to different locations or exposing it to direct sunlight. I like to think of it as giving the plant a “recovery day”—just like we need after a workout, your basil needs this time to heal and prepare for its next growth spurt.
Prune basil every 2-3 weeks during the growing season (spring to early fall). Start when the plant has 4-6 sets of true leaves—this encourages bushier growth. If you notice leggy stems or flowers forming, trim immediately! Regular pruning prevents bitterness and boosts leaf production.
Sharp kitchen scissors or pruning shears work perfectly! Just sanitize them with rubbing alcohol first to avoid spreading disease. Avoid dull blades—they crush stems, slowing healing. For thick stems, shears give cleaner cuts. No fancy tools needed!
Yes! Pinch off flowers and the top 2-3 leaves immediately. Flowering signals the plant to stop leaf production, making leaves bitter. After pruning, water well and place in bright light. New growth should appear in 1-2 weeks. Don’t toss those flowers—basil blooms are edible!
Avoid pruning during peak heat (above 90°F) or direct midday sun—stress can wilt leaves. Instead, prune in the early morning or late afternoon. Keep soil moist afterward to help recovery. If leaves droop, move the plant to shade temporarily.
Place 4-6 inch cuttings in water, ensuring nodes (where leaves grow) are submerged. Change water every 2-3 days. Roots appear in 1-2 weeks—then transplant to soil. Free plants! Pro tip: Use a clear jar to watch root growth.
