
Beautiful Plants For Your Interior
Beautiful Plants For Your Interior
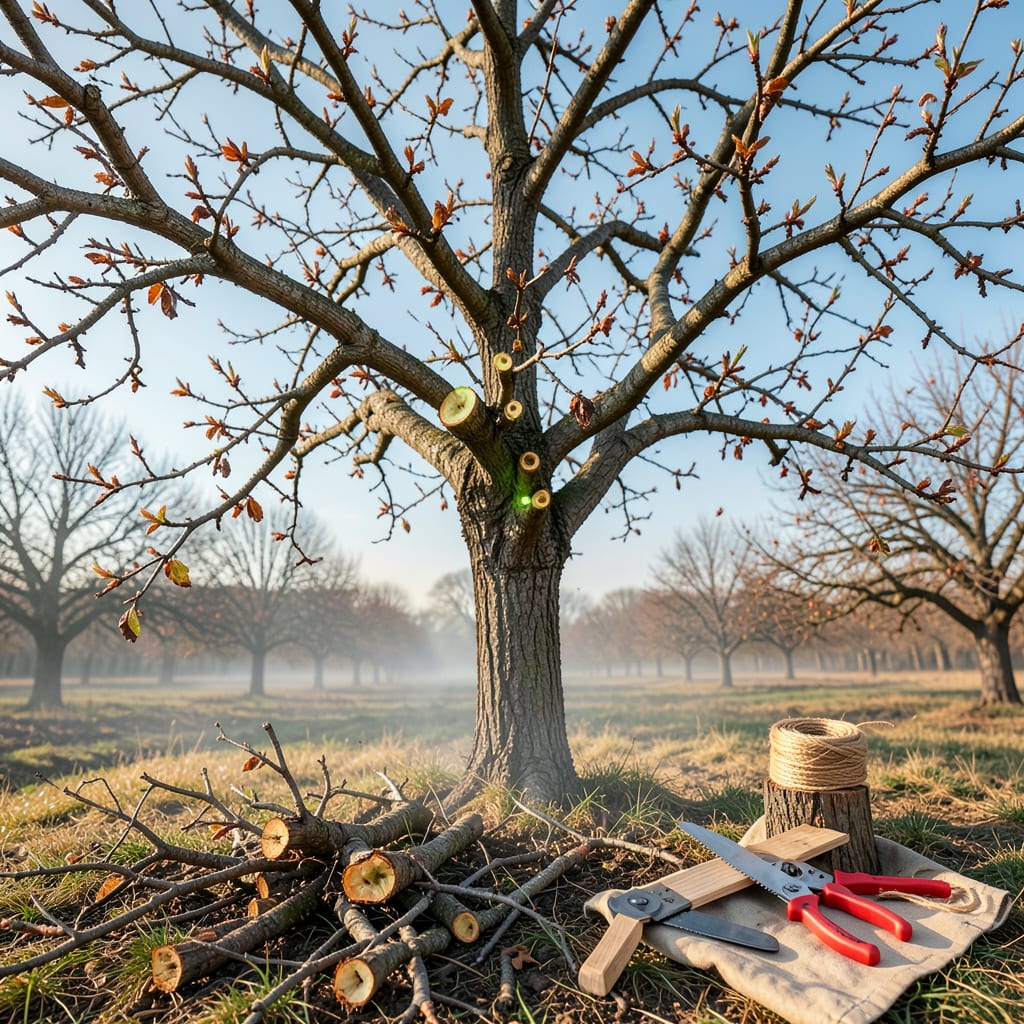
I used to think pruning apple trees was about making them look neat—until I saw what proper cuts did to my harvest. The year I finally learned to prune correctly, my trees produced twice as much fruit, with apples so plump they bent the branches. Pruning isn’t just maintenance; it’s how you tell your tree where to put its energy: into strong limbs and sweet fruit, not wasted growth.
Timing and technique make all the difference. Do it wrong, and you’ll get a tangle of weak branches and tiny, sun-starved apples. Do it right—removing the right wood at the right angle—and you’ll get a tree that’s easier to pick from, resists disease better, and loads up with fruit year after year. No fancy tools required, just a sharp pair of shears and about 30 minutes per tree.
📚 In This Guide
Pruning transforms a good apple harvest into a great one—here’s how I shape my trees for maximum fruit and health.
Late winter, when trees are still dormant but the worst cold has passed, is ideal for pruning. I aim for February to early March in most climates. This timing minimizes stress while allowing cuts to heal before spring growth begins. You’ll see the tree’s structure clearly without leaves in the way.
You’ll need sharp bypass pruners for small branches, loppers for medium ones, and a pruning saw for anything thicker than your thumb. I always keep rubbing alcohol and a clean rag nearby to disinfect tools between cuts—this prevents spreading disease between branches.
Start by cutting out anything dead (dry, brittle wood), diseased (discolored or oozing), or damaged. These branches won’t produce fruit and can spread problems to healthy wood. Next, look for branches that cross or rub against each other—these create wounds that invite pests and disease.
Make clean cuts just outside the branch collar (that slightly swollen area where the branch meets the trunk). Never leave stubs, and don’t cut flush with the trunk either. You’ll see the collar more easily if you look at the underside of the branch where it connects.
Apple trees fruit best when sunlight reaches all branches and air circulates freely. I remove about 20-30% of the inner branches that grow toward the tree’s center. These vertical “water sprouts” and inward-growing branches block light without producing good fruit.
Step back frequently to check your progress. The goal is an open vase shape where you can see daylight through the tree’s canopy. This structure prevents fungal diseases and ensures even fruit ripening. You’ll notice the remaining branches look stronger and more horizontal after this step.
Focus on keeping the strongest, most horizontal branches—these will bear the most fruit. I leave branches that angle upward at about 45 degrees, as these produce the best quality apples. Remove any that grow straight up or sharply downward.
Shorten last year’s growth by about one-third to encourage fruiting spurs. Make these cuts just above an outward-facing bud. This directs new growth away from the tree’s center. You’ll see these buds swell noticeably as spring approaches, confirming you’ve made the right cuts.
Remove all cut branches from the area and dispose of them (don’t compost diseased wood). I like to make a final pass with my pruners to smooth any rough cuts. Apply a thin layer of horticultural oil to the blades after cleaning—they’ll stay sharp longer and resist rust.
Watch for new growth in spring. If you see excessive vertical shoots (water sprouts), pinch them out early when they’re still soft. The tree will redirect that energy into fruit production instead. You’ll notice your pruned tree leafs out more evenly and produces larger, healthier apples come harvest time.
Pruning apple trees doesn’t have to be intimidating—here are the key insights I’ve learned from years of shaping trees for better harvests.
Timing is Everything: The February to early March window mentioned in Step 1 is critical because it’s when trees are still dormant but preparing for spring growth. I’ve found that pruning too early in winter can leave cuts vulnerable to cold damage, while waiting too long (into late March) means you might remove buds that have already started swelling. Watch your local weather—aim for a stretch of dry days above freezing when you can work comfortably.
Tool Maintenance Matters: Between Step 1 and Step 2, I can’t stress enough how important it is to keep those pruners sharp and clean. A dull blade crushes rather than cuts, creating jagged wounds that heal poorly. I sharpen my bypass pruners every few trees and wipe them with alcohol between each major cut. This might seem tedious, but it prevents spreading fire blight or other diseases that could devastate your tree.
The 45-Degree Rule: In Step 4, when selecting which branches to keep, that 45-degree angle is your golden rule for fruit production. Branches growing at this angle receive optimal sunlight while maintaining structural strength. I use a simple trick: hold my pruners at a 45-degree angle to visualize what the perfect branch should look like. Anything steeper than this tends to produce more leaves than fruit.
Monitoring New Growth: After completing Step 5, don’t assume your work is done. Those water sprouts mentioned can appear shockingly fast—sometimes within just two weeks of pruning. I make it a habit to check my trees every 7-10 days in early spring. When you spot these vertical shoots, pinch them out when they’re still green and flexible (about 2-3 inches tall). Waiting until they’re woody means you’ll need to cut them, creating more wounds.
The ideal window is late winter to early spring (February–March in most zones) while the tree is still dormant but before buds swell. Avoid pruning in fall—it stimulates new growth vulnerable to frost. Light summer pruning (June–July) can help shape young trees or remove water sprouts.
Never remove more than 20–25% of the canopy in a single year—over-pruning stresses the tree and reduces fruit production. Focus on dead/diseased wood first, then thin crowded branches for airflow. Spread major pruning over 2–3 years if needed.
For small branches (under ½-inch thick), sharp bypass pruners work fine. But for thicker limbs, use lopping shears or a pruning saw to avoid jagged cuts that invite disease. Avoid anvil pruners—they crush stems. Always sanitize tools with rubbing alcohol between cuts!
Over-pruning (especially removing fruiting spurs) or pruning at the wrong time (e.g., late spring) can delay harvests. Check for:
Yes! Try “summer pinching”—use your fingers to snap off new growth tips (up to 6 inches) in June. This redirects energy to fruit without major cuts. For espaliered trees, tie branches to supports instead of heavy pruning. Always prioritize removing dead wood, regardless of tree size.
