
Beautiful Plants For Your Interior
Beautiful Plants For Your Interior
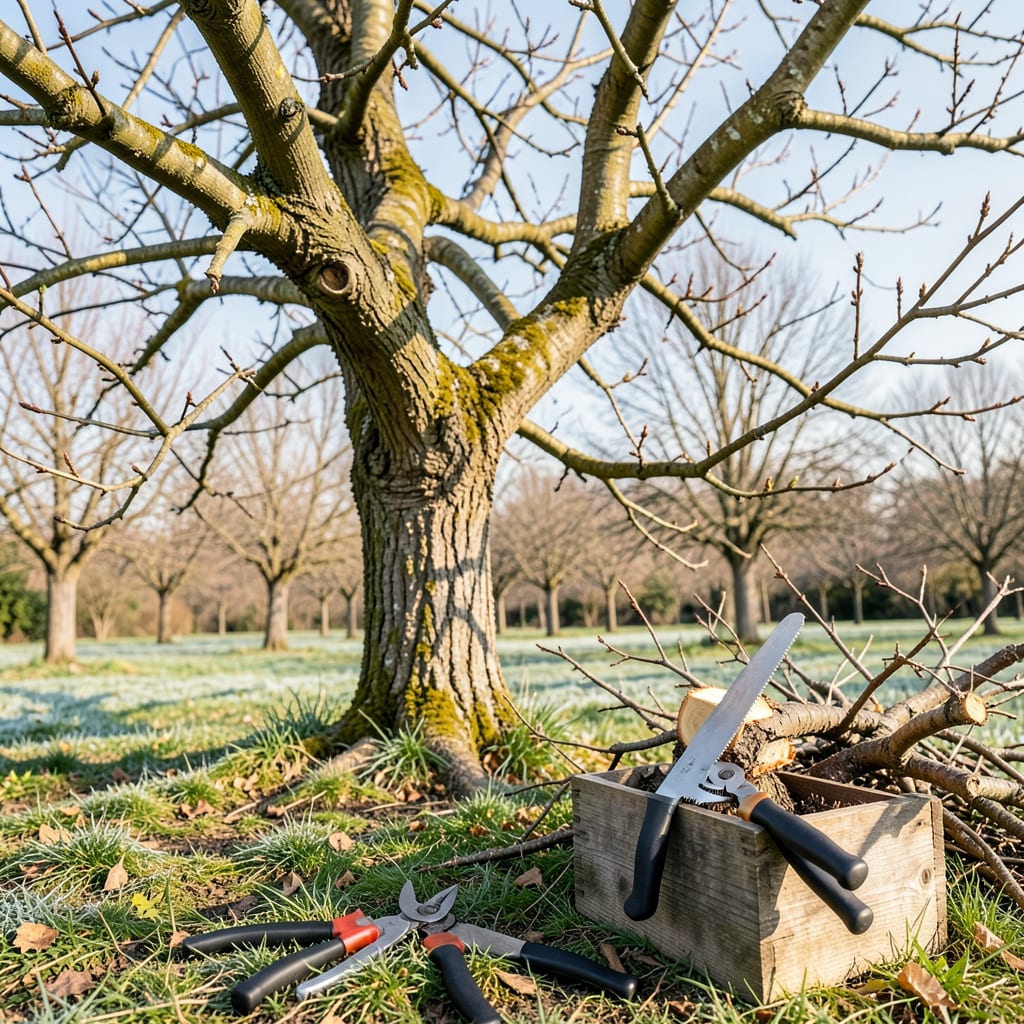
That first crisp bite of a homegrown apple makes every minute with pruners worthwhile. I used to avoid pruning until I realized it’s the secret to bigger, sweeter fruit and healthier trees. A well-pruned apple tree isn’t just tidier—it produces more fruit, resists disease better, and lives decades longer than a neglected one.
Timing and technique matter more than fancy tools. Late winter, just before buds swell, is ideal—you can see the tree’s structure clearly, and cuts heal fast. The goal isn’t to hack blindly but to shape for sunlight, airflow, and strong branches that won’t snap under heavy fruit. Trust me, your future self (and your apple pies) will thank you.
📚 In This Guide
This method transforms overgrown trees into productive, healthy specimens—no guesswork required.
Late winter or early spring, when the tree is still dormant but buds are beginning to swell, is ideal. I aim for a day when temperatures are above 40°F but before new growth starts. Pruning now minimizes stress and disease risk while maximizing healing time before summer.
You’ll need sharp bypass pruners for small branches, loppers for medium ones, and a pruning saw for anything thicker than 1.5 inches. A sturdy ladder and thick gloves protect you from thorns and rough bark. Disinfect tools with rubbing alcohol between cuts to prevent spreading pathogens.
Start by cutting out any dead wood—it’s brittle and gray, often with peeling bark. Next, remove branches showing signs of disease (cankers, fungal growth, or discolored leaves). Make clean cuts just outside the branch collar (that swollen ring where branch meets trunk) at a 45-degree angle.
Look for branches crossing or rubbing against each other. Remove the weaker of the two entirely. Also eliminate any suckers growing straight up from the base or downward-facing branches that won’t produce fruit. You’ll see the tree’s structure open up immediately.
Apple trees need sunlight to reach the center for even fruit production. Remove about 20-30% of the remaining branches, focusing on those growing inward or straight up. Aim to keep branches spaced 6-12 inches apart along the main limbs.
Step back frequently to assess your progress. The goal is a vase-like shape where sunlight can penetrate to the center. You’ll know you’ve thinned enough when you can see daylight through the branches from any angle. This prevents fungal diseases and improves fruit quality.
Select 3-5 strong, outward-growing branches as your main scaffold limbs, spaced evenly around the trunk. Shorten these by about one-third, cutting just above an outward-facing bud. This encourages horizontal growth that will support more fruit.
Remove any water sprouts (vigorous vertical shoots) and leave the strongest fruit spurs (short, stubby branches). You’ll see these develop into flower buds next season. The tree should now have a balanced structure with no single branch dominating the canopy.
Collect all pruned material and dispose of it (don’t compost diseased wood). Apply a thin layer of mulch around the base, keeping it 6 inches away from the trunk to prevent rot. Water deeply to help the tree recover from stress.
Watch for new growth in spring. If you see excessive water sprouts, rub them off while they’re still small. The tree will focus energy on fruit production rather than unnecessary foliage. You’ll notice stronger growth and more blossoms next season.
Pruning doesn’t have to be intimidating—these practical insights will help you avoid common pitfalls and get better results.
The Right Timing: I can’t stress enough how important that 40°F threshold is in Step 1. Pruning when it’s colder risks damaging the tree, while waiting until new growth starts means you’ll lose valuable healing time before summer. I’ve found that late February through early March works perfectly in most climates, just as those buds begin to swell but haven’t opened yet.
Tool Maintenance Matters: Between us, I ruined my first pruning job by using dull tools. In Step 1, when it mentions disinfecting with rubbing alcohol, take it seriously—this prevents spreading diseases between cuts. I keep a small spray bottle of alcohol handy and wipe blades between every major cut. Also, sharpen your bypass pruners regularly; clean cuts heal faster and reduce stress on the tree.
Canopy Thinning Technique: The 20-30% removal guideline in Step 3 is crucial, but here’s what nobody tells you—start from the inside out. Remove inward-growing branches first, then work your way outward. This creates that ideal vase shape mentioned in the instructions. I like to visualize sunlight paths—imagine beams needing to reach the center of the tree from all angles.
Future Growth Strategy: When shortening branches by one-third in Step 4, always cut just above an outward-facing bud. This might seem obvious, but I’ve seen many people cut randomly and end up with branches growing back toward the center. That outward-facing bud will become your new growth direction, so choose wisely—it determines next year’s fruit production locations.
The ideal time is late winter to early spring (before buds swell) when the tree is dormant. Avoid pruning in fall—fresh cuts won’t heal properly before winter. Light summer pruning (June-July) can also help control growth, but avoid heavy cuts during active growth.
Never remove more than 25-30% of the tree’s canopy in a single year. Over-pruning stresses the tree and reduces fruit production. Focus on dead/diseased branches first, then thin for airflow. When in doubt, prune less—you can always trim more next season!
For small, young trees, you might pinch off suckers or tiny shoots by hand. But for mature trees, always use sharp, clean tools (bypass pruners, loppers, or a saw). Ragged tears from breaking branches invite disease and pests—never a good idea!
Don’t panic! Temporary “shock” (wilting or slow regrowth) is normal, especially if you pruned heavily. Ensure you made clean cuts at a 45° angle just outside the branch collar. If the tree doesn’t rebound in 4-6 weeks, check for disease or improper technique.
Pruning = selective cutting to improve health, structure, and fruit production (e.g., removing crossed branches). Trimming = light shaping for aesthetics (e.g., hedging). Apple trees need pruning for long-term yields—trimming alone won’t cut it!
