
Beautiful Plants For Your Interior
Beautiful Plants For Your Interior
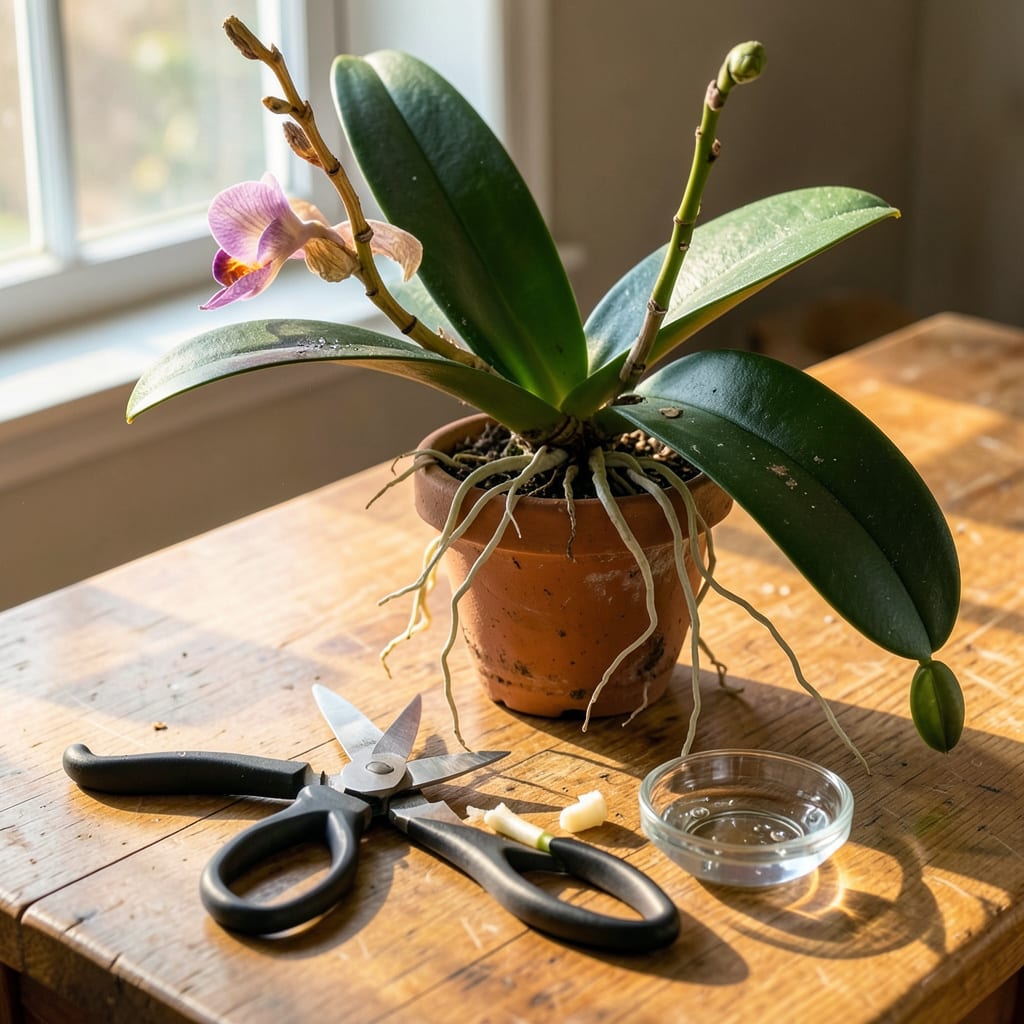
That moment when your orchid’s last bloom fades doesn’t have to mean months of waiting. Pruning at the right time transforms a tired plant into one that’s already preparing its next spectacular show. I’ve turned struggling orchids with yellowing spikes into reblooming powerhouses just by making three strategic cuts—no green thumb required.
The secret lies in knowing exactly where to cut and when to do it. Too many people snip randomly or wait too long, missing the window when the plant is primed to redirect energy. With the right technique, you’ll see new growth emerging within 4-6 weeks, and those dramatic blooms return faster than you’d expect. Here’s how to do it without the guesswork.
📚 In This Guide
Pruning orchids doesn’t have to be intimidating—here’s how I keep mine thriving with just a few simple cuts.
Wait until your orchid’s blooms have completely faded and the flower spike turns brown or yellow. If the spike stays green, it might rebloom, so hold off on cutting. I check for dried, papery stems—that’s the signal it’s time to act.
Never prune while the plant is actively flowering or growing new leaves. The best window is late fall or early winter, when most orchids enter dormancy. If you cut too early, you risk removing potential buds.
Use sharp, clean scissors or pruning shears—dull blades crush stems, inviting infection. I wipe mine with rubbing alcohol or a 10% bleach solution before and after each cut. This prevents bacterial or fungal spread between plants.
Hold the blade at a 45-degree angle to the stem. This helps water run off instead of pooling, which can cause rot. A clean cut heals faster, so don’t rush this step.
For a spent spike, trim it back to about 1 inch above the base where it meets the main plant. If the spike is still green and healthy, you can cut just above a dormant bud (those little brown lines) to encourage a second bloom.
Never leave a long stub—it wastes the plant’s energy. I’ve found that shorter cuts lead to stronger regrowth. If the spike is hollow, seal the cut with a dab of cinnamon or melted wax to prevent water from entering.
Gently tug on any yellowed or shriveled leaves—they should pull away easily if fully dead. For stubborn ones, cut them off at the base with sterilized tools. Avoid tearing, as jagged edges invite pests.
Check the leaf bases for hidden rot or pests. A healthy orchid has firm, green leaves. If you spot mushy spots, remove the affected area immediately to stop the spread.
After pruning, reduce watering slightly for 2-3 weeks to let the plant recover. I keep mine in bright, indirect light and avoid fertilizing until new growth appears. This prevents stress and encourages fresh blooms.
Watch for new spikes or leaves—this means your orchid is happy. If growth stalls, check humidity levels or adjust light exposure. Patience pays off; some orchids take months to rebloom.
Pruning orchids becomes much easier when you know these key details that most guides overlook.
Timing Precision: In Step 1, don’t rush to prune just because blooms fade—wait until the spike actually turns brown or yellow. I’ve ruined potential reblooms by cutting too early when the spike still had green sections. That dormant bud mentioned in Step 3 can produce a second flower spike if you’re patient. The late fall/early winter window isn’t arbitrary; it aligns with the plant’s natural dormancy cycle when it’s least stressed by pruning.
Tool Technique: The 45-degree angle in Step 2 isn’t just for aesthetics—it’s critical for preventing stem rot. I learned this after losing two orchids to bacterial infections from water pooling in flat cuts. Use sharp bypass pruners rather than anvil-style shears; the latter crushes stems. For the 10% bleach solution, that’s exactly 1 tablespoon bleach to 9 tablespoons water—stronger can damage plant tissue, weaker won’t properly sterilize.
Post-Pruning Care: The 2-3 week reduced watering period in Step 5 is non-negotiable. I made the mistake of maintaining my normal watering schedule once, and the fresh cuts developed fungal spots within days. During this recovery time, mist the leaves lightly instead of watering normally—it maintains humidity without saturating the vulnerable cut areas. Place your orchid in east-facing windows if possible; the gentle morning light is ideal for recovery without stressing the plant.
Leaf Removal Strategy: When dealing with damaged leaves in Step 4, never pull them if they resist—this can tear healthy tissue. Instead, make a clean cut at the base where the leaf meets the main stem. For leaves with partial damage, trim only the affected portion using curved scissors to maintain the natural leaf shape. I keep a small paintbrush handy to dust cinnamon powder on any fresh cuts—it’s a natural antifungal that works better than commercial products in my experience.
No—wait until all flowers drop and the stem turns brown or yellow. Pruning too early cuts off potential blooms and stresses the plant. If the stem stays green, it may rebloom! Patience pays off with more flowers later.
Aim for late fall or early winter after blooming ends. This mimics their natural dormant cycle. Avoid pruning during active growth (spring/summer) or right before flowering—it can weaken the plant or delay blooms.
Do I have to use sterilized tools? Why?
Yes! Unsterilized tools spread bacteria/fungi, risking infections like rot. Wipe blades with rubbing alcohol (70%+) or flame a metal tool briefly. Even scissors from your junk drawer need a quick sanitize—your orchid’s health depends on it!
Hold off! A green stem may produce new buds. Instead, try this trick: Trim just above a dormant node (little brown line) to encourage reblooming. If it stays green for months with no action, then prune it back to the base.
Don’t panic! Orchids are resilient. Focus on proper aftercare: keep it in bright, indirect light, water lightly (no soggy roots!), and avoid fertilizer for 2–3 weeks. New growth will emerge from the base or remaining nodes—just give it time.
